Maintenance and Service 6–13
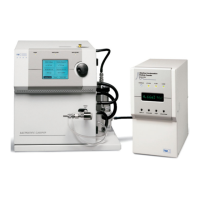
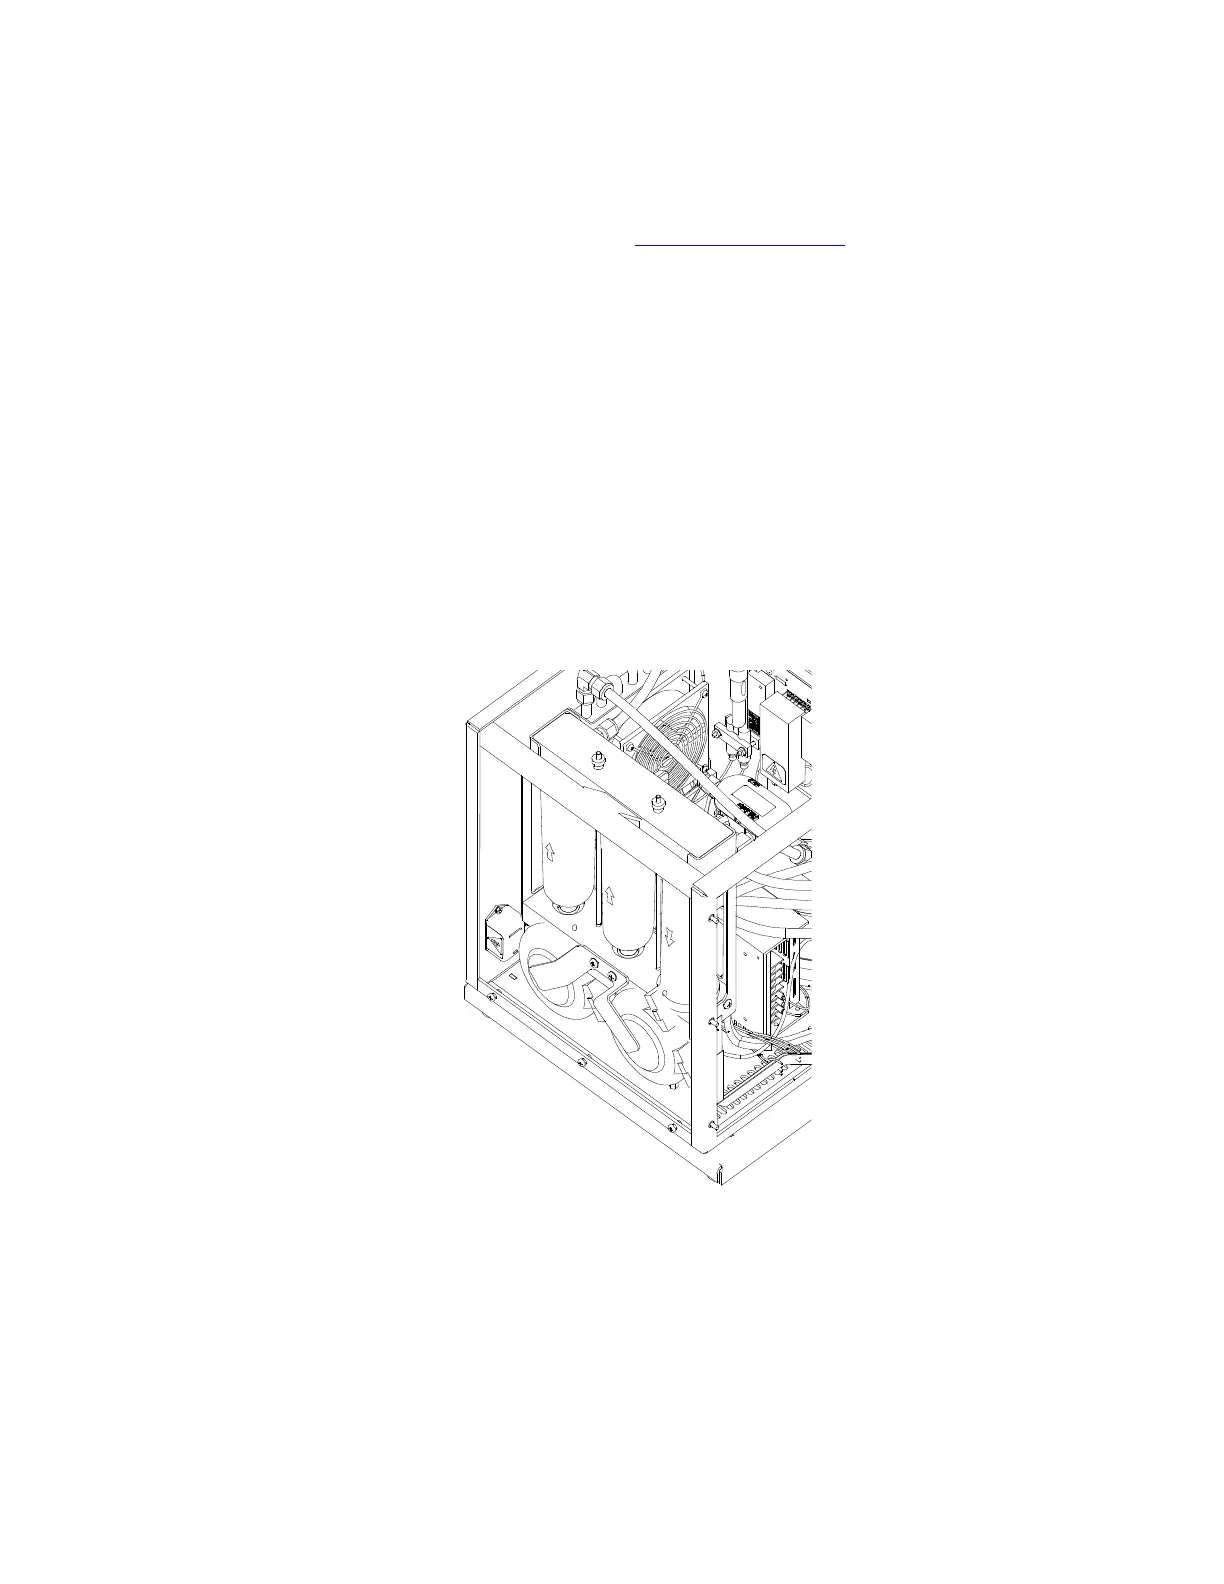
There are three filters in the Classifier: two in the Sheath Air line
(before and after the pump) and one in the Bypass Air line (before
the pump). The cartridges in both filters require periodic
replacement (see “Periodic Maintenance
” earlier in this chapter).
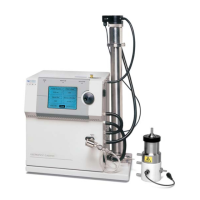
To replace the filter cartridges, refer to Figure 6-8 and follow the
steps below:
1. Disconnect the electric power cable and remove the cabinet
cover by loosening the seven (7) screws on the side panels
securing the cover (the screws do not have to be removed).
2. Remove the filter assembly support screw from the upper-left
strut in the cabinet.
3. Loosen the two thumb nuts on the top of the filter assembly.
4. Raise the upper assembly about ½-inch (12 mm).
5. Replace the filter cartridges making sure that the O-rings are in
place on the top and bottom filter manifolds. Observe the
correct filter orientation (arrows as shown in Figure 6-8).
Figure 6-8
Replacing Classifier Filters
6. Push the top manifold back down over the filters and tighten
the thumbnuts evenly.
7. Replace the filter assembly support screw in the upper-left strut
in the cabinet.
8. Replace the instrument cover.
 Loading...