Basic Operation
3-22
Send as E-mail (E-mail Addr Entry)
Sends a scanned original image as an E-mail attachment.
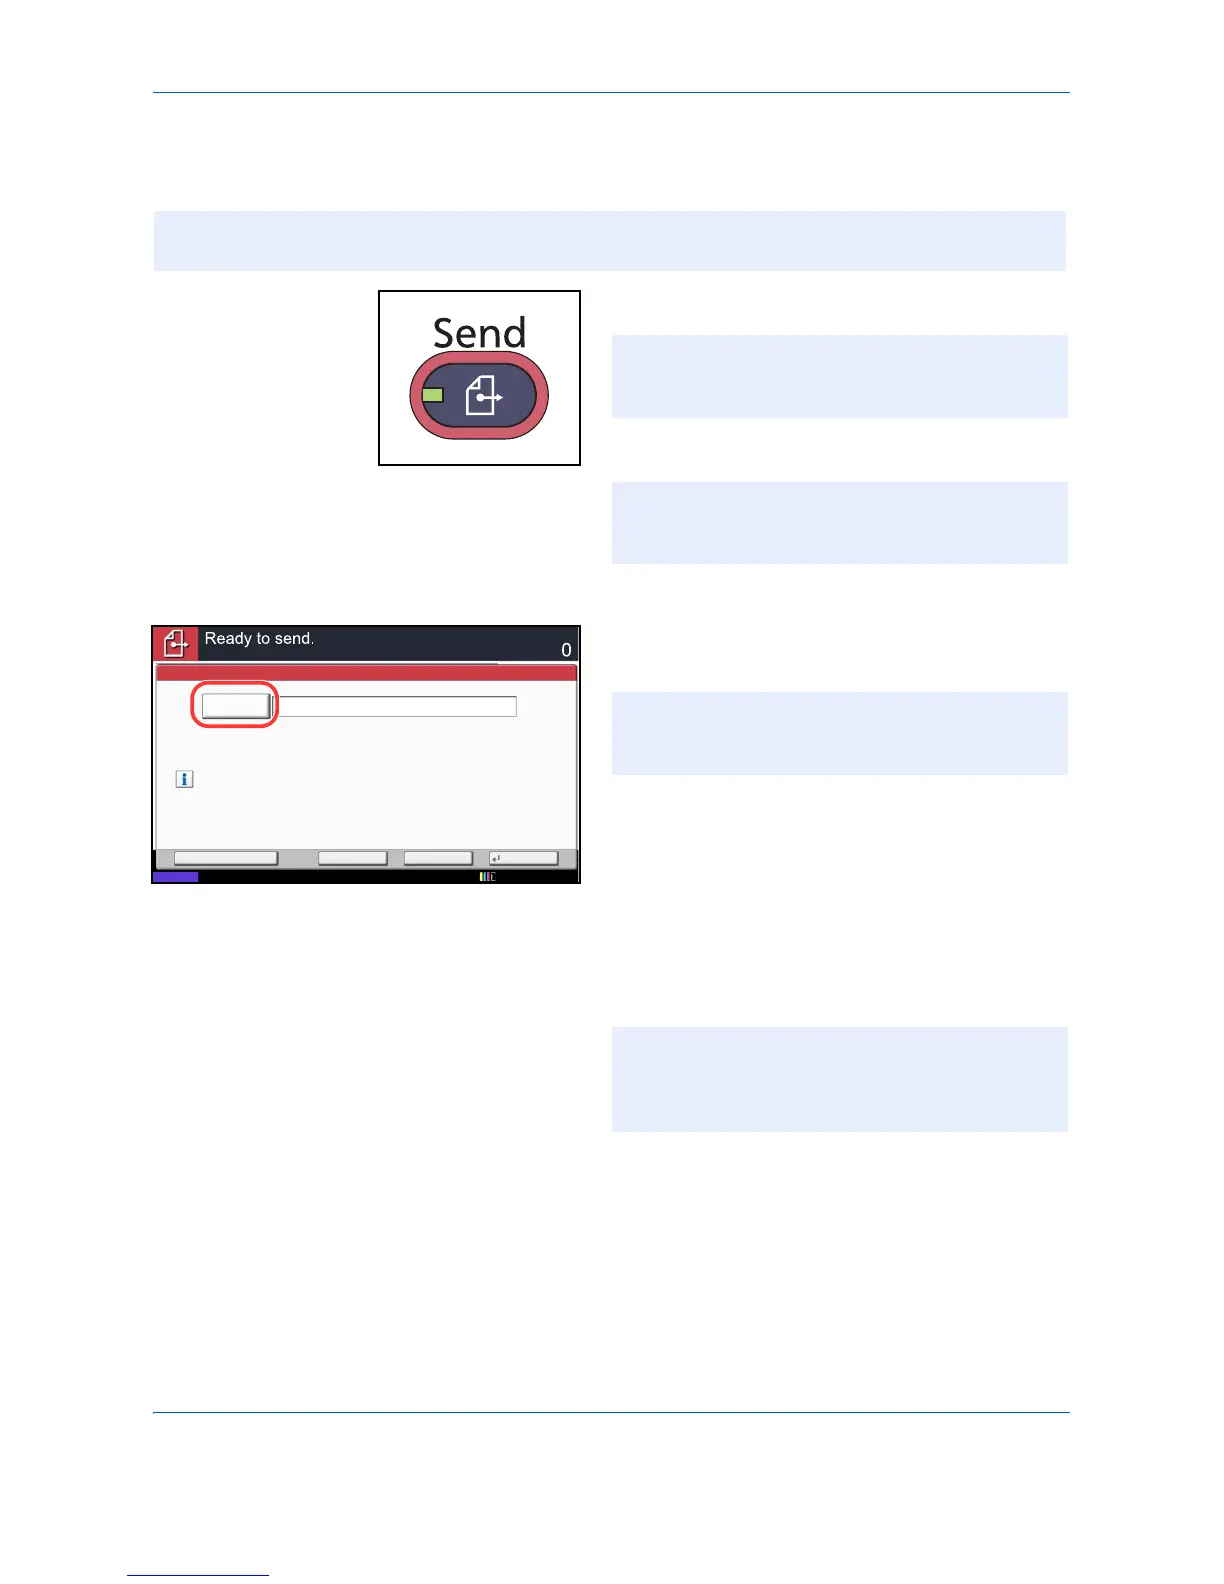
1 Press the Send key.
Displays the screen for sending.
2 Place the originals on the platen.
3 Press [E-mail Addr Entry] and then [E-mail
Address].
4 Enter destination E-mail address and press [OK].
5 Press [Next Dest.] and repeat step 3 to specify the
destination. Up to 100 e-mail addresses can be
specified.
6 Press [OK]. The destinations are registered in the
destination list.
NOTE: Access the Embedded Web Server RX beforehand and specify the settings required for sending e-
mail. For details, see Embedded Web Server RX (Settings for E-mail) on page 2-25.
NOTE: If the touch panel is turned off, press the
Energy Saver key or the Power key and wait for the
machine to warm up.
NOTE: Depending on the settings, the address
book screen may appear. In this event, press
[Cancel] to display the screen for sending.
E-mail
Address
Add a new e-mail destination.
Press [E-mail Address], then enter
the address using the keyboard screen.
Status
E-mail Address Entry
Enter Destination.
Destination
Cancel OKNext Dest.Add to Addr Book
12/12/2011 10:10
NOTE: Destinations can be specified using the
Address Book or the One Touch Keys. Refer to
Specifying Destination on page 3-39.
NOTE: When [Add to Addr Book] is displayed, the
destinations are registered in the Address Book. You
can also replace the information for a previously
registered destination.
 Loading...