2DA/2DB-1
1-6-43
4. Remove the screw and then remove the
stopper and spacer.
When attaching the spacer, place the fixing
unit on the original step.
Figure 1-6-78
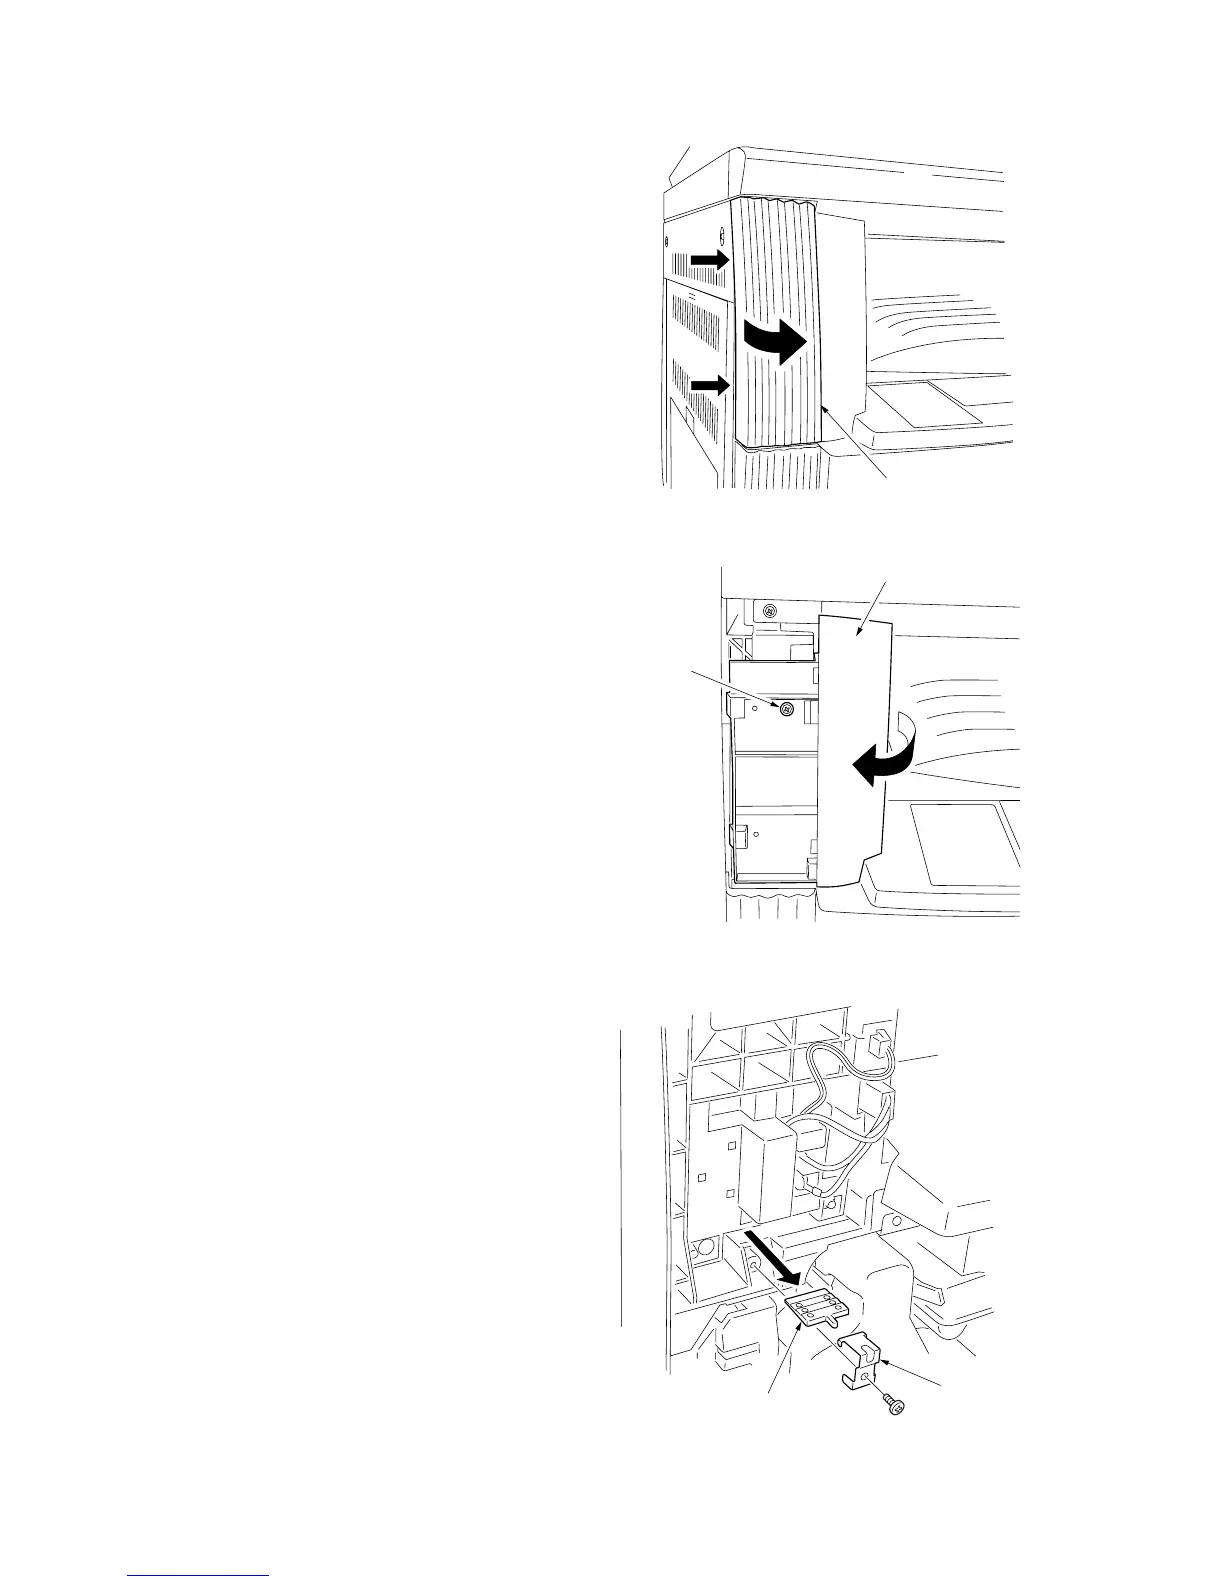
Front left cover 1
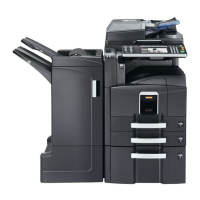
Front left cover 2
Screw
1-6-7 Fixing section
(1) Detaching and refitting the fixing unit
Follow the procedure below to replace the fixing unit.
Procedure
1. Open the front cover and left cover and then
remove the inner cover.
2. Insert a flat-blade screwdriver or the like
through the groove at the left side of the
machine and unlock the engaged portion of
front left cover 1 to remove it.
Figure 1-6-76
Figure 1-6-77
3. Remove the screw and then remove the front
left cover 2.
Spacer
Stopper