1-3-43
2DA/2DB
1-3-11 Installing the scan system (option)
<Procedure>
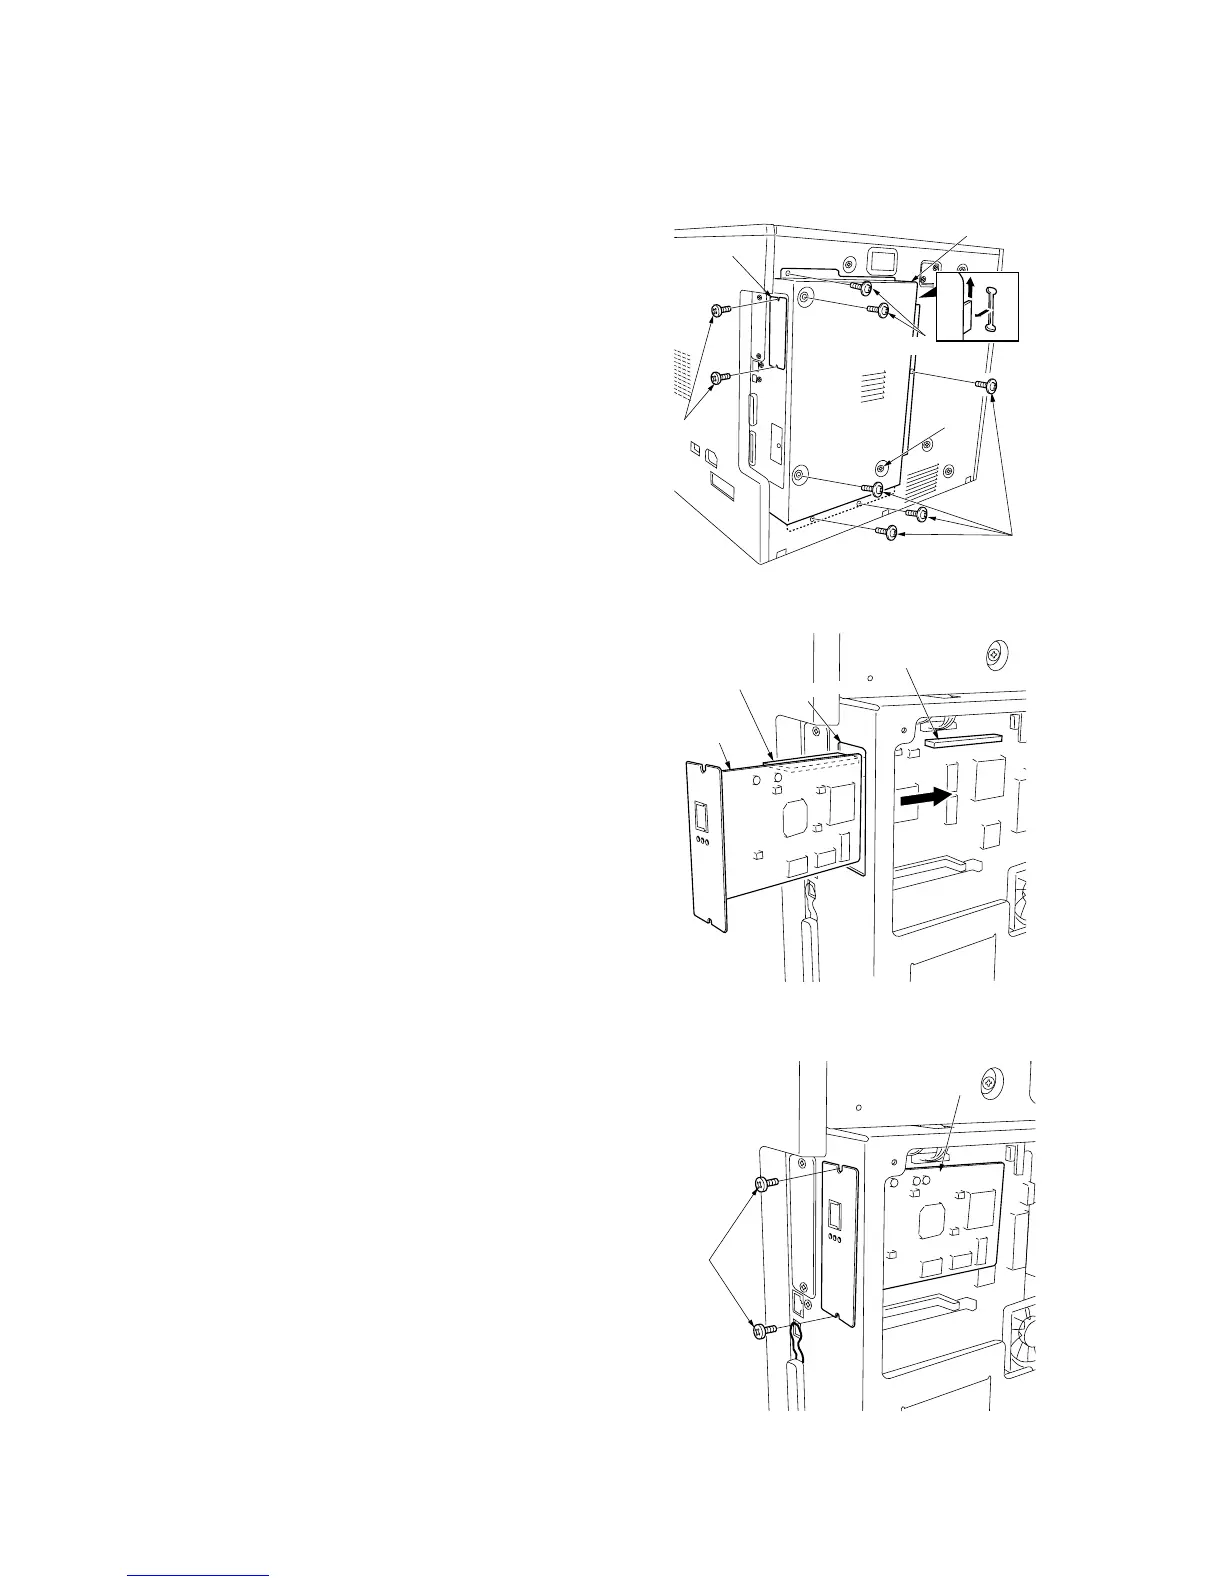
Remove the covers.
1. Remove the six screws (a), lift the shield cover and
then remove the cover.
If the fax system is installed, remove the six screws
(a) and screw (b), lift the shield cover and then
remove the cover.
2. Remove the two screws, and take off the cover.
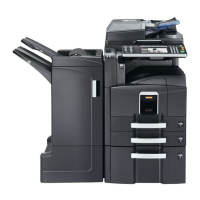
Install the scanner board.
3. Insert the scanner board into the OPT1 opening of
the shield box and firmly push the CN5 connector on
the scanner board all the way into the YC12
connector on the engine circuit board.
4. Fasten the scanner board onto the shield box cover
using the two screws that have been removed by
Procedure 2.
Screws (a)
Screws (a)
Screw (b)
Shield cover
Cover
Screws
OPT1 opening
Connector
Connector
YC12
CN5
Scanner board
Screws
Scanner board
Figure 1-3-86
Figure 1-3-87
Figure 1-3-88