Installation, Operating & Maintenance Instructions
Series 615 DN 40 (I.D. 1½”), DeviceNet
VAT Vakuumventile AG, CH-9469 Haag, Switzerland
Tel +41 81 771 61 61 Fax +41 81 771 48 30 CH@vatvalve.com www.vatvalve.com
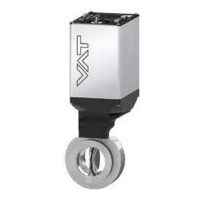
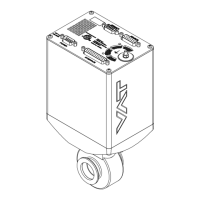
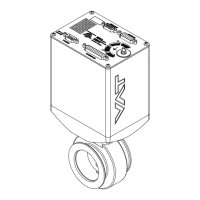
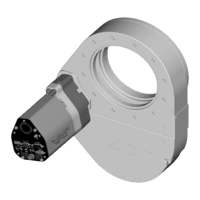
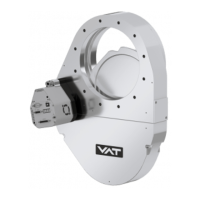
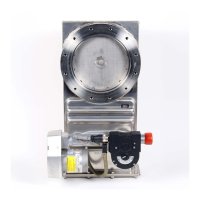
Butterfly control & isolation valve
with extended control range
with DeviceNet interface
This manual is valid for the valve ordering number(s):
61532-KEAQ-0001
configured with firmware 615P.1F.08 and 502689 (DeviceNet
®
)
The fabrication number is indicated on each product as per the label
below (or similar):
615 . . – . . . . – . . . . / . . . .
Explanation of symbols:
Read declaration carefully before you start any other
action!
Keep body parts and objects away from the valve
opening!
Hot surfaces; do not touch!
Loaded springs and/or air cushions are potential
hazards!
Disconnect electrical power and compressed air lines.
Do not touch parts under voltage!
Read these «Installation, Operating & Maintenance Instructions» and the enclosed «General
Safety Instructions» carefully before you start any other action!