wallPen E2 | User Manual
54
Software
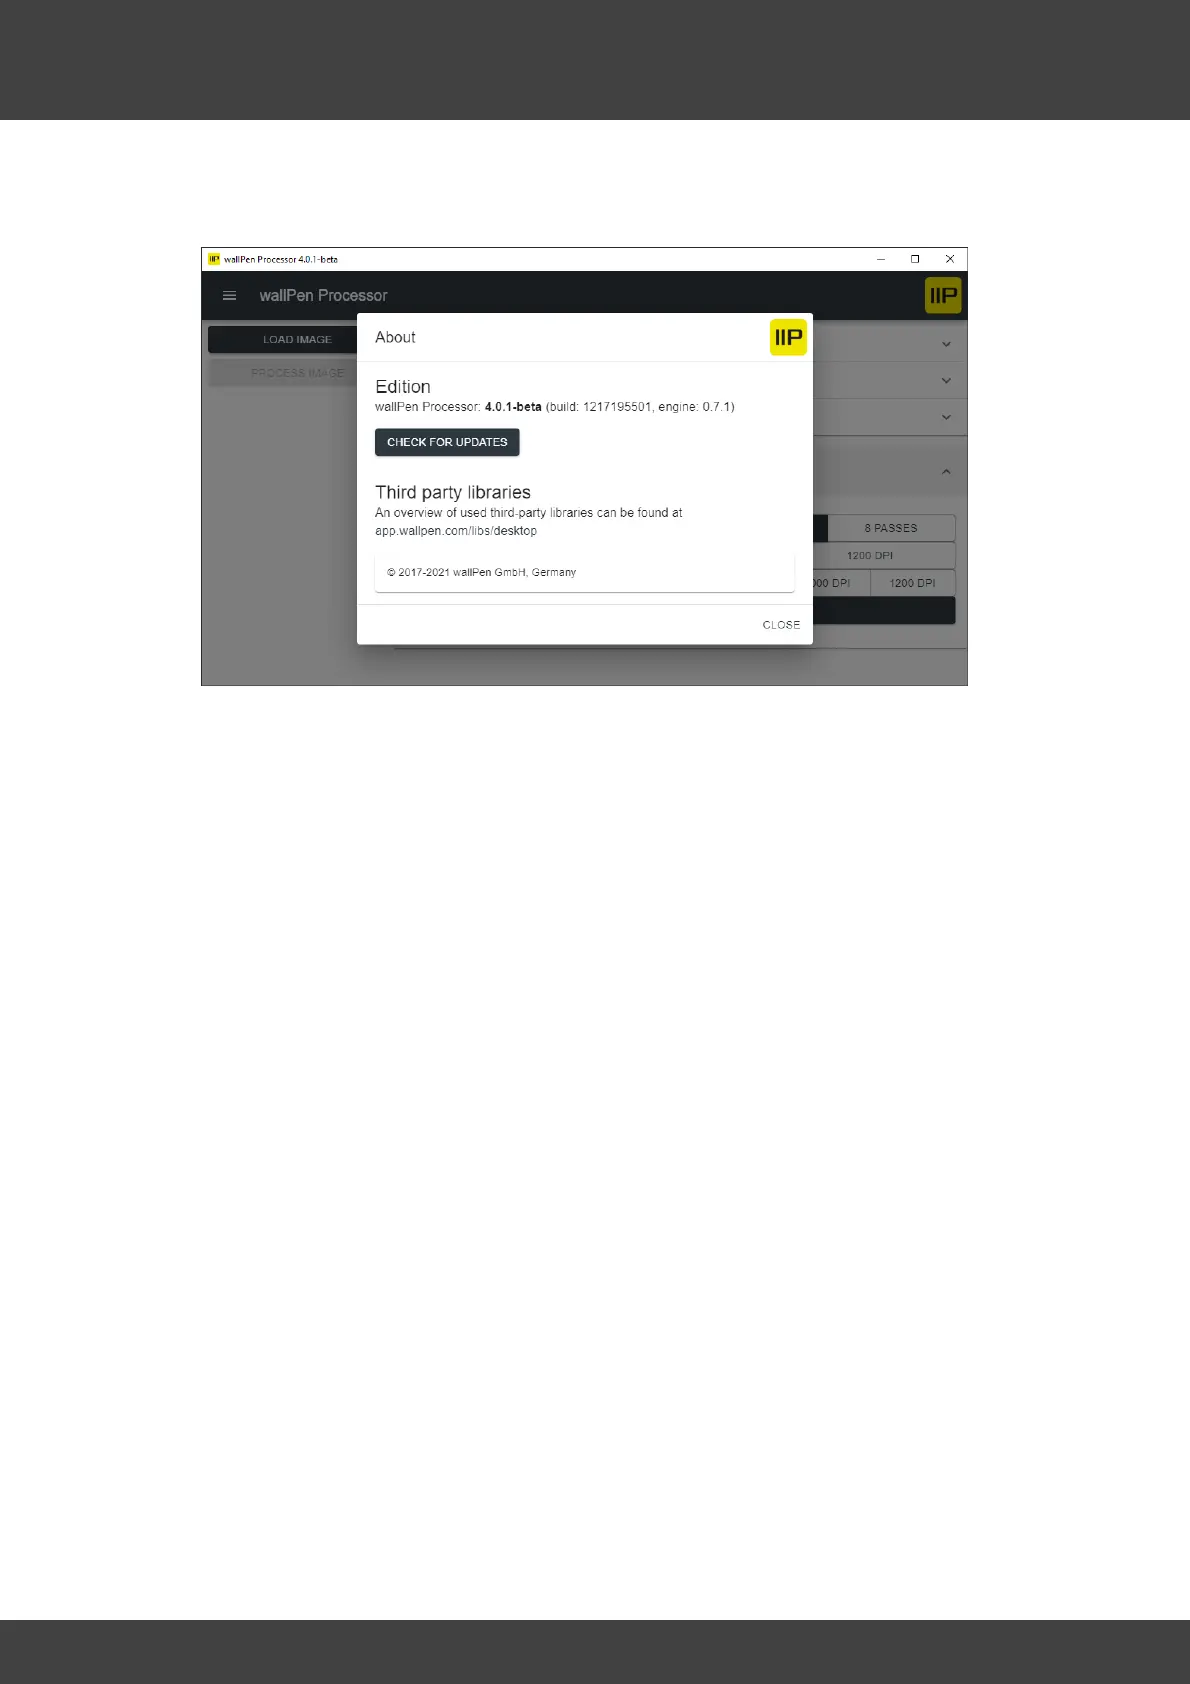
H - About - Displays information about the wallPen Processor, the remaining time of
your license and a link to legal information about the third-party licenses used.
B - Load Image - Opens a OS specific dialog for selecting an image for calculation.
This function is identical with the possibility to drag and drop an image into the upper
left area of the main screen of the wallPen Processor. Use the mouse to drag and drop
the desired PNG or TIF file according to the above specifications to determine an
image for calculation. This function is identical to the checkbox "Load Image" in the
upper left corner of the main screen but much faster and more convenient. After the
import some technical information about the selected image will be displayed here i.e.:
File name: Sample-Image
File size: 2.45 GB
Width: 32929 px
Height: 26949 px
Printed width: 139 cm
Printed height: 114 cm
Color Space: CMYK
C - Process Image - Starts the calculation of the RIP file and finally creates a ".wallpen"
file in the selected directory. The file name of this ".wallpen" file consists by default of
the image name, the dimensions (width x height in centimeters), the number of yoke
(1x, 2x, 4x or 8x) and the attachment "_bi", if the image was calculated bidirectionally.
This generated ".wallpen" file is now copied to a slim high quality "USB 3" flash drive
and plugged into the printer' USB connector at the front side of the slide, next to the
black Wifi adapter.
D - Preset selection - Select, modify or delete presets for different machine setups.
The function of the values is described above in this chapter.
E - Color Intensity