890557_d•en•01.07.2014
We reserve the right to carry out improvements
86
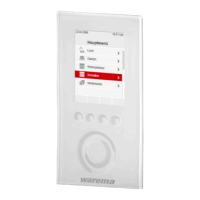
Wisotronic 1-channel
Operating instructions
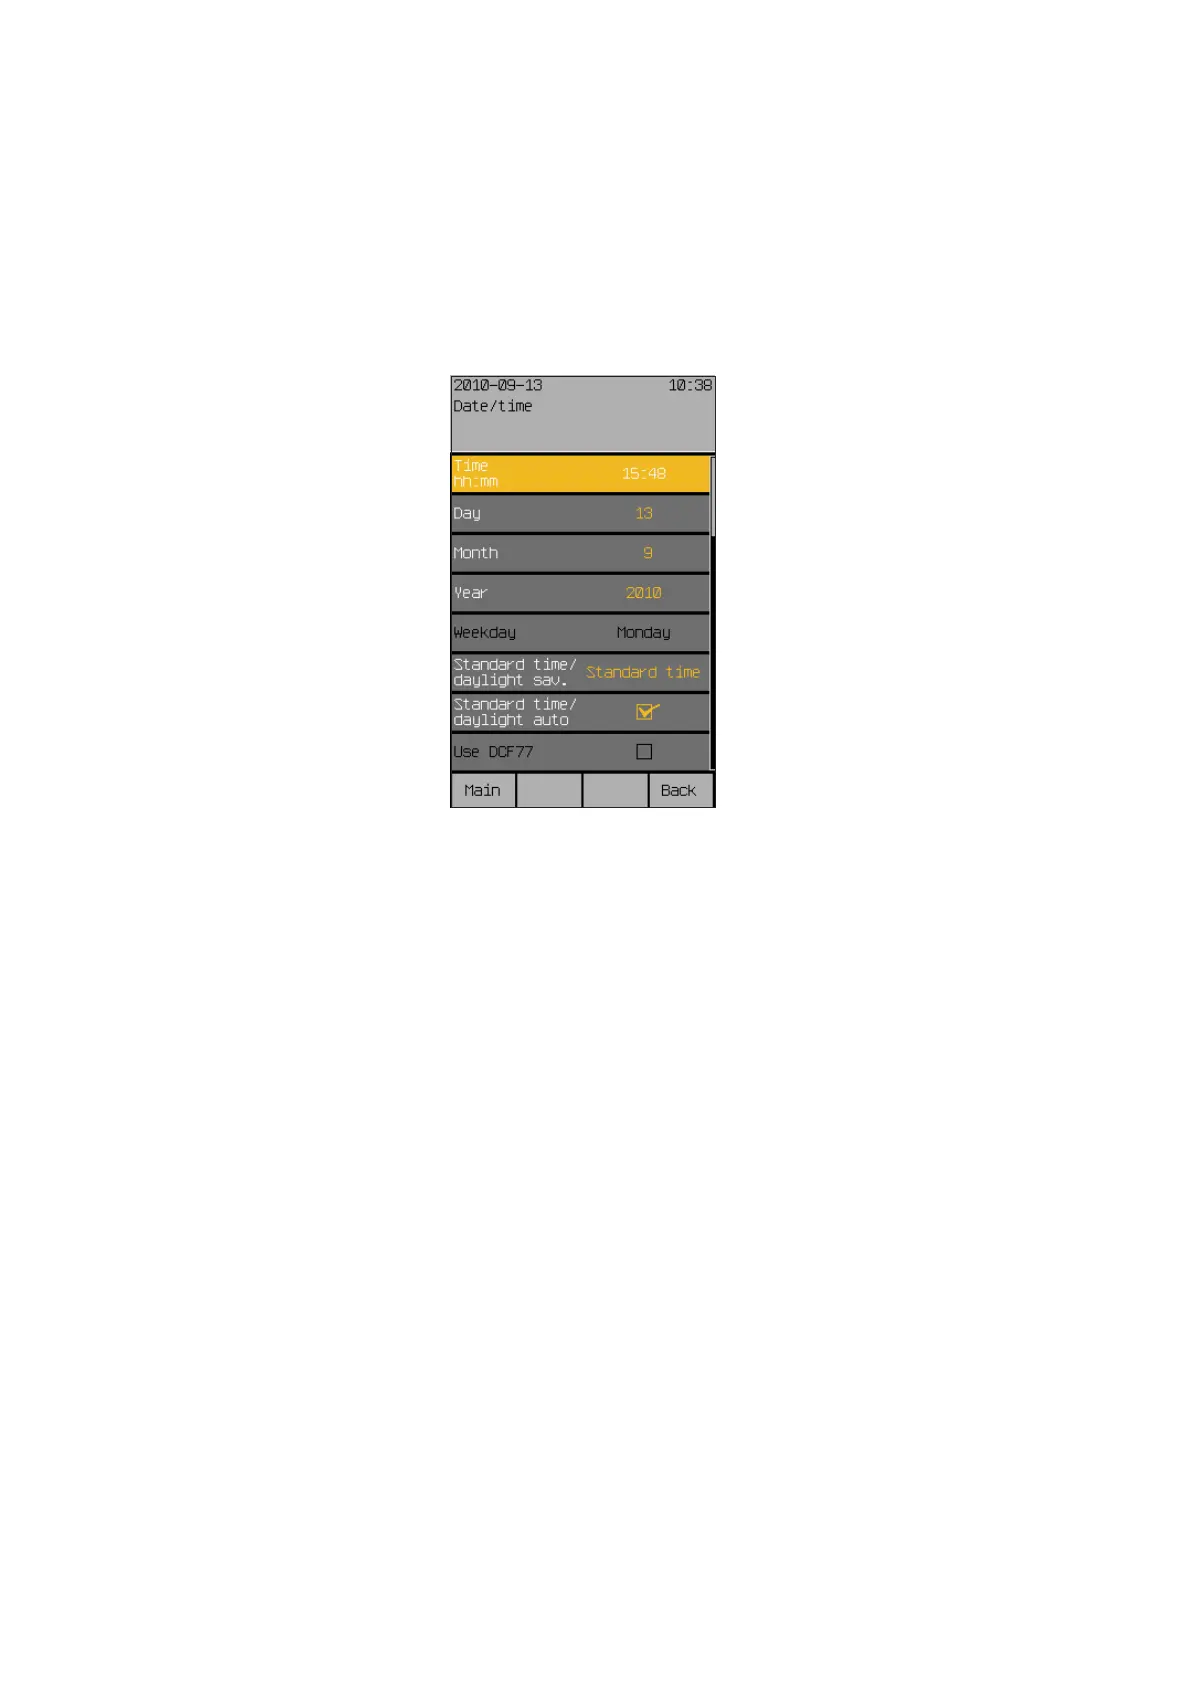
7.5.1 Date / time
Set the date and time of the Wisotronic in this menu:
Press the function button [Sett.] in the main menu and then go to the
[System] > [Date / time] menu.
The following view appears in the display:
Set the time in 24-hour format in the first menu line.
Turn the touchwheel to set the hours of the "Time hh:mm" value. Pressing on
the wheel causes the display to jump to minutes. Set the minutes in the same
manner.
Accept the value by pressing the touchwheel.
The function button [Stand.] sets the hours to 12, the minutes to 30 (factory
setting).
Now select the line [Day] by turning the touchwheel and enter the day in the
same manner. Proceed in the same manner with month, year and weekday.
After you have selected the [Standard time/daylight sav.] menu line,
one rotation increment of the touchwheel to the left sets the standard time;
one rotation increment to the right sets the daylight saving time.
The [Standard time/daylight auto] and [Use DCF77] functions can be ac-
tivated or deactivated by setting or deleting the checkmark.
NOTE The DCF-77 time signal is only available if you are using a suitable sensor.
This function is not available at this time. Ensure that the "Use DCF77" func-
tion is deactivated.
The new settings for date and time have now been set.
Pushing the function button [Back] returns you to the menu [System].
Start menu
Main menu
Settings
System
Date/Time
System settings