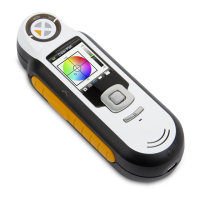
CI6X SERIES SPECTROPHOTOMETER
29
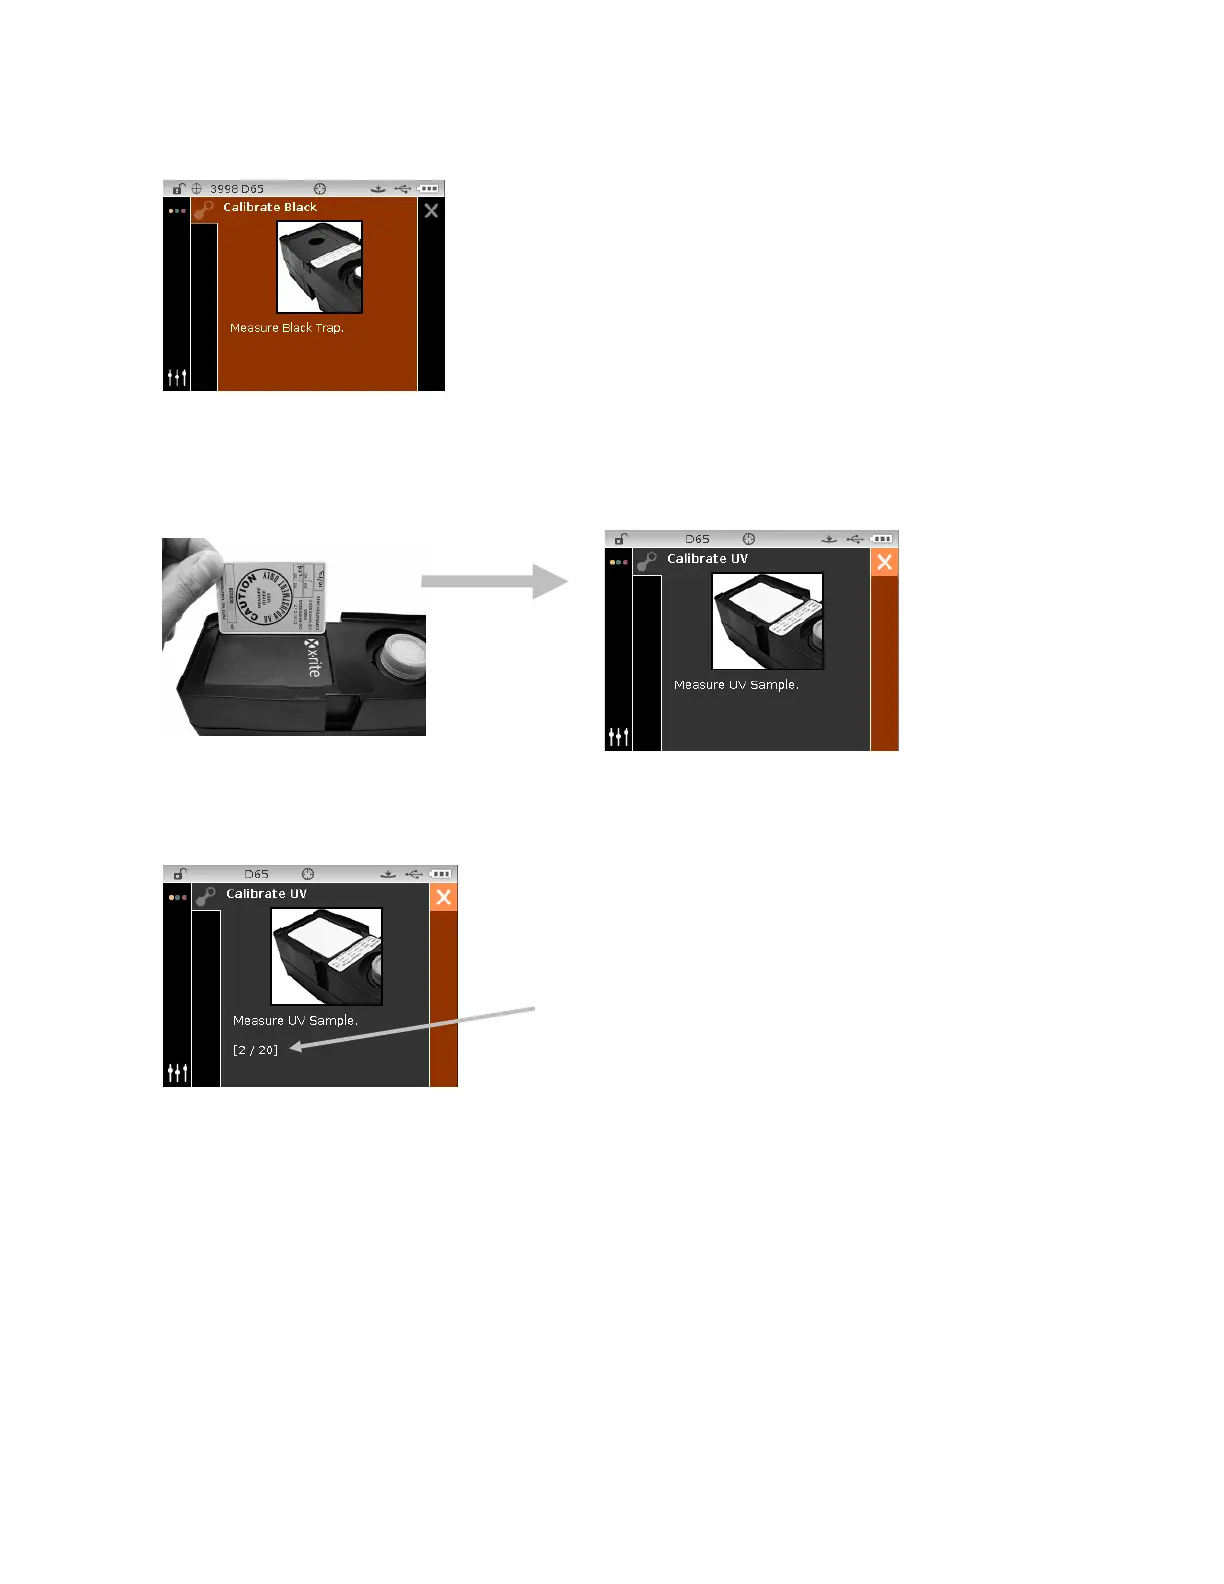
9. Position the instrument target window over the black trap opening of the calibration reference.
10. Press the instrument firmly to the shoe and hold steady until the display indicates that the
reading is complete. Release the instrument.
11. Remove the UV calibration plaque from the protective bag and position it in the recessed area
on the other side of the calibration reference. Make sure the white surface to measure is
facing upward and the plaque is orientated as shown.
12. Press the instrument firmly to the shoe and hold steady until the display indicates that the
reading is complete. Release the instrument.
13. Continue with additional UV sample measurements (minimum of three) until the instrument
indicates that you are finished.
14. Position the instrument target window over the white ceramic plaque and take the
measurement.
15. After the white measurement, position the instrument target window over the black trap
opening of the calibration reference and take the measurement.
16. Position the UV calibration plaque in the recessed area on the other side of the calibration
reference and take the measurement. This measurement performs a UV verification.
17. When calibration is complete, return the UV calibration plaque to its protective bag, and store
the calibration reference in a dry, dust free area, away from direct exposure to light.
indication