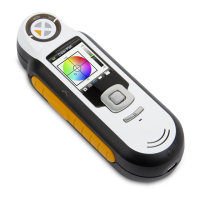
CI6X SERIES SPECTROPHOTOMETER
48
Basic Operation
Measuring a Sample
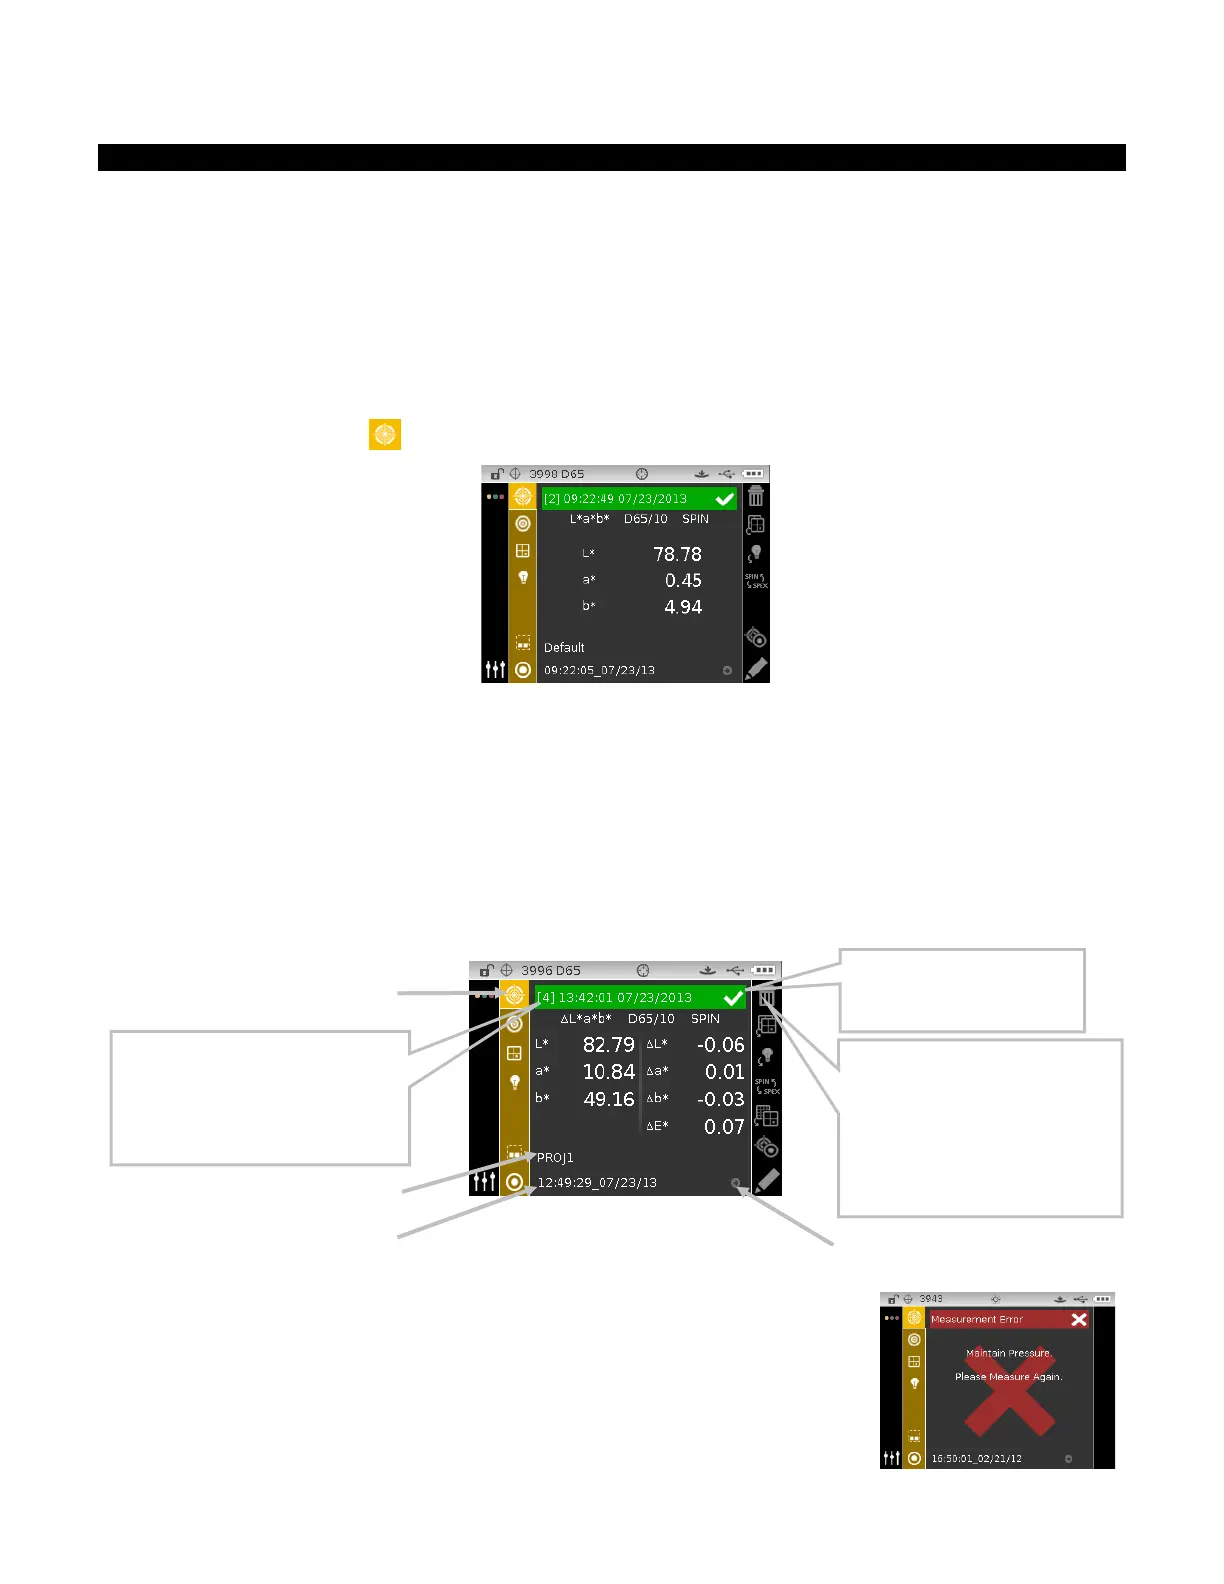
The measurement results displayed depend on how the instrument configuration is set, and color
space and illuminant/observer selections. Measurement results can display as absolute or color
difference compared to a standard. If tolerance values are included with the standard, pass/fail
status appears for each measured sample.
To measure a sample:
1. Select the project, standard (if required), illum/obs, and color space as previous explained.
2. From the Measure screen, use the Up or Down navigation buttons to move the highlight focus
to the Measure icon
.
3. Position the instrument on the sample using the techniques previously explained.
4. Take a measurement via read switch and/or the measure button.
5. If averaging is used, reposition the instrument on the sample and take additional
measurements. Refer to Using Measurement Averaging later in this section for information.
6. View measurement results on the display. Refer to the following pages for additional
information on viewing pass/fail and reflectance sample data.
NOTE: If you would like to see the list of the next closest standards to the measured sample,
refer to the Next Best Standard Selection section that follows.
NOTE: If an error occurs during a measurement, try measuring the
sample again. If the error still occurs, refer to the Troubleshooting
section in the Appendices.
You can delete the currently
displayed sample by moving the
highlight to the trash can icon and
tapping the Select button. The
Delete Sample option must be
activated in Configuration to
perform this function.
indicates a passed within
tolerance.
Current standard selected
Measurement number and timestamp
appear for each measurement. The
Sample Storage option must be
activated in Configuration to display
the measurement number..
Indicates Auto Standard is
selected in Configuration.