October 2012
2-70
ColorQube 8570/8870 Service Manual
99,002, 99,003, 99,004, 99,005
Revised, 3rd Revision - Xerox Internal Use Only
Fault Messages and Codes
YN
Perform the following checks:
• Test F2 in the Power Supply. Refer to Testing F2 and F3 in the Electrical Trou-
bleshooting section in Chapter 6.
• Test for bad Jetstack triac. Refer to Checking for Shorted and Leaky Triacs in
the Electrical Troubleshooting section in Chapter 6, General Troubleshooting.
• Test for shorts to Earth. Measure the resistance of P/JAC2 Pin 1 to Pin 7. It
should be greater than 2 Megaohms.
Are F2 and the triacs OK, and is P/JAC2 Pin 1 to Pin 7 greater than 2 Megao-
hms? (Ensure your DMM is rated to measure high-impedance resistance.)
YN
Replace the following components:
• Electronics Module (REP 5.1)
• Printhead Assembly (REP 2.3)
• Jetstack Fuse Assembly
Replace the Jetstack Fuse Assembly.
Did either the Pin 1-4 or Pin 1-5 check above give an open reading?
YN
Replace the Printhead Assembly (REP 2.3).
Replace the Power Supply Board (REP 5.6) (Electronics Module).
Replace the following components:
• Printhead Assembly (REP 2.3)
• Electronics Module (REP 5.1)
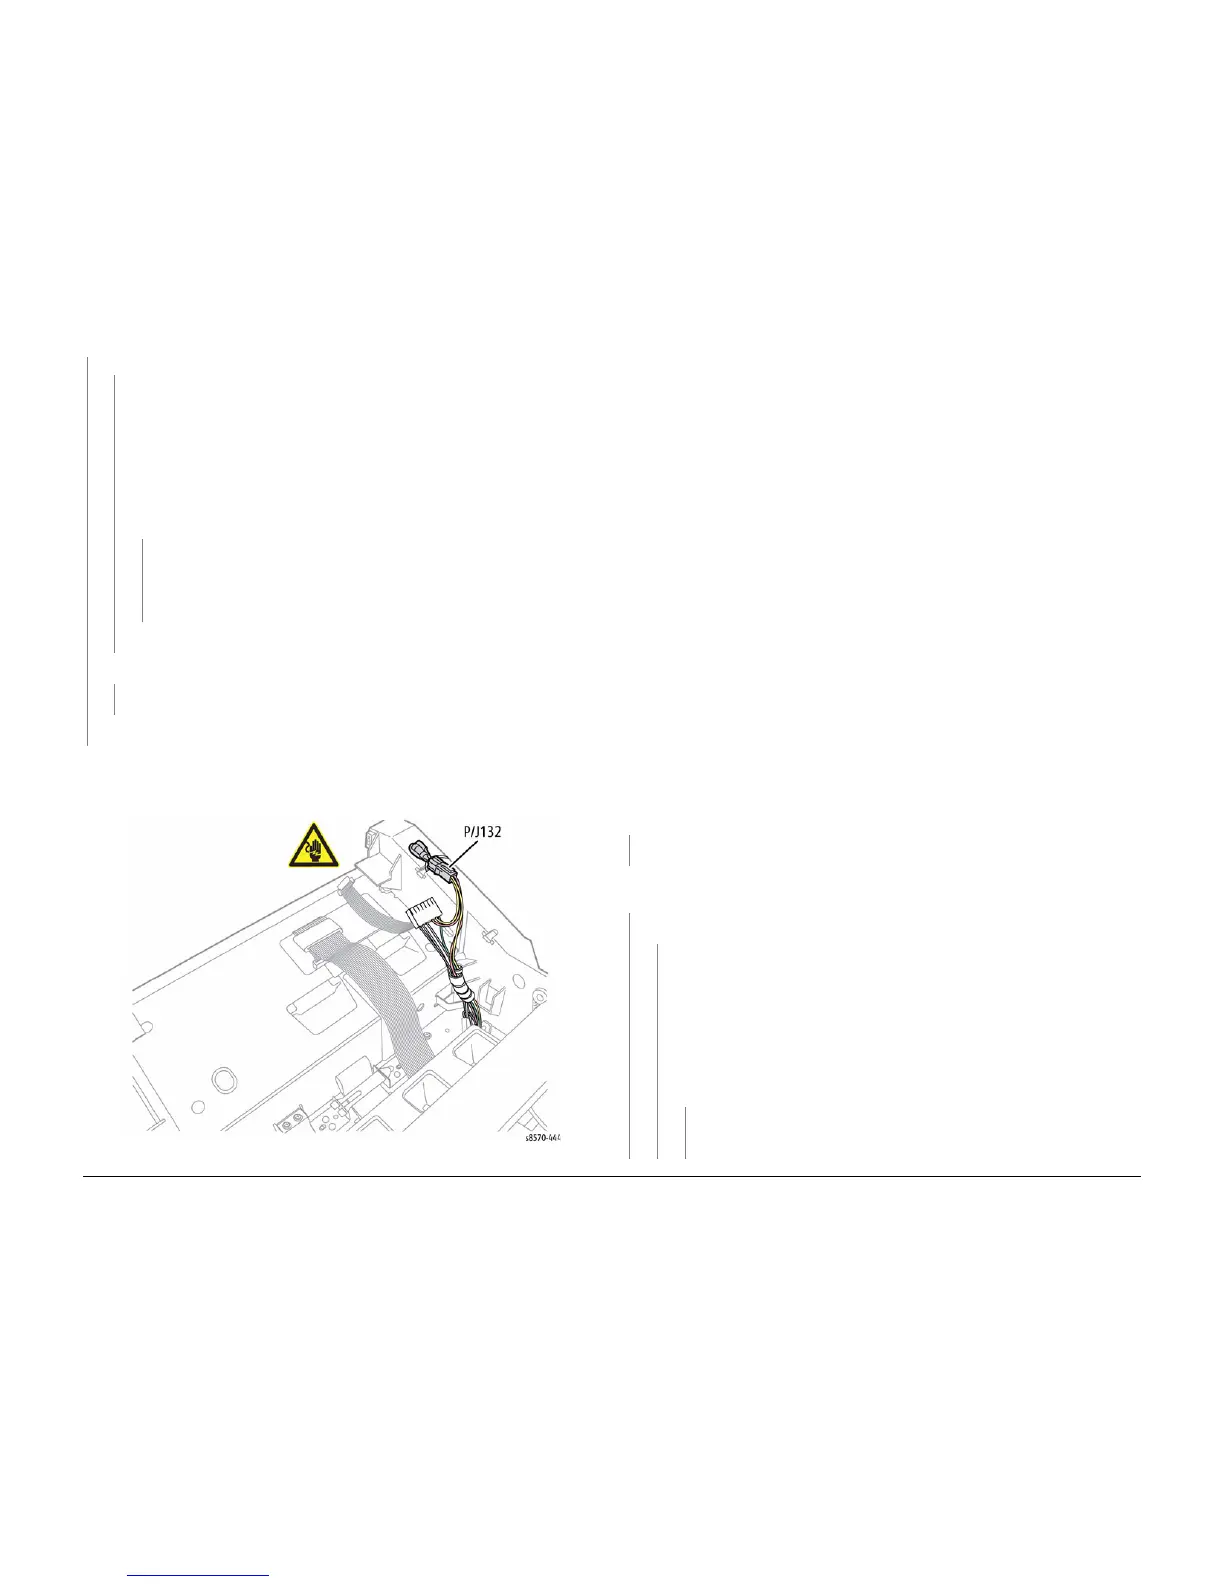
Figure 1 Jetstack Fuse
99,004, 99,005 PEST - Reservoir Disconnect
A Printhead Reservoir error has occurred. The Reservoir is not drawing the expected power
from the Power Supply. The following troubleshooting applies to these errors.
Initial Actions
• Reboot the printer and verify the error persists.
• Check the Printhead wiring harness connections.
• If the problem persists, perform the following procedure.
Troubleshooting Reference
Applicable Parts (Chapter 5 - Parts List)
• Printhead Assembly, PL 2.1 Item 3
• Electronics Module, PL 5.1 Item 1
• Power Supply Board, PL 5.1 Item 6
Wiring and Plug/Jack References (Chapter 7 - Wiring Data)
• Figure 2, Wave Amplifier, Printhead Heaters
• Figure 4, Top Side Electronics Module P/J Locations
• Figure 6, Printhead P/J Locations
Procedure
Check the Printhead wiring harness connector P/JAC2. Is the connection secure and
undamaged?
YN
Reseat and/or replace the wiring harness.
Measure the Pin 1-2, black-white circuit and the Pin 1-3 black-white circuit. Each should mea-
sure ~49 ohms. Are they open or shorted?
YN
Check the Heater. Is the Heater test open?
YN
Perform the following checks:
• Test F2 in the Power Supply. Refer to Testing F2 and F3 in the Electrical Trou-
bleshooting section in Chapter 6.
• Test for bad Jetstack triac. Refer to Checking for Shorted and Leaky Triacs in
the Electrical Troubleshooting section in Chapter 6, General Troubleshooting.
• Test for shorts to Earth. Measure the resistance of P/JAC2 Pin 1 to Pin 7. It
should be greater than 2 Megaohms.
Are F2 and the triacs OK, and is P/JAC2 Pin 1 to Pin 7 greater than 2 Megao-
hms? (Ensure your DMM is rated to measure high-impedance resistance.)
YN
Replace the following components:
• Power Supply Board (REP 5.6) (Electronics Module)
• Printhead Assembly (REP 2.3)
Table 1 Applicable Fault Codes
99,004 PEST - Reservoir0 Disconnect
99,005 PEST - Reservoir1 Disconnect
A
A B C

 Loading...


