October 2012
4-53
ColorQube 8570/8870 Service Manual
REP 2.22, REP 2.24
Repairs and Adjustments
Xerox Internal Use Only - Revised, 3rd Revision
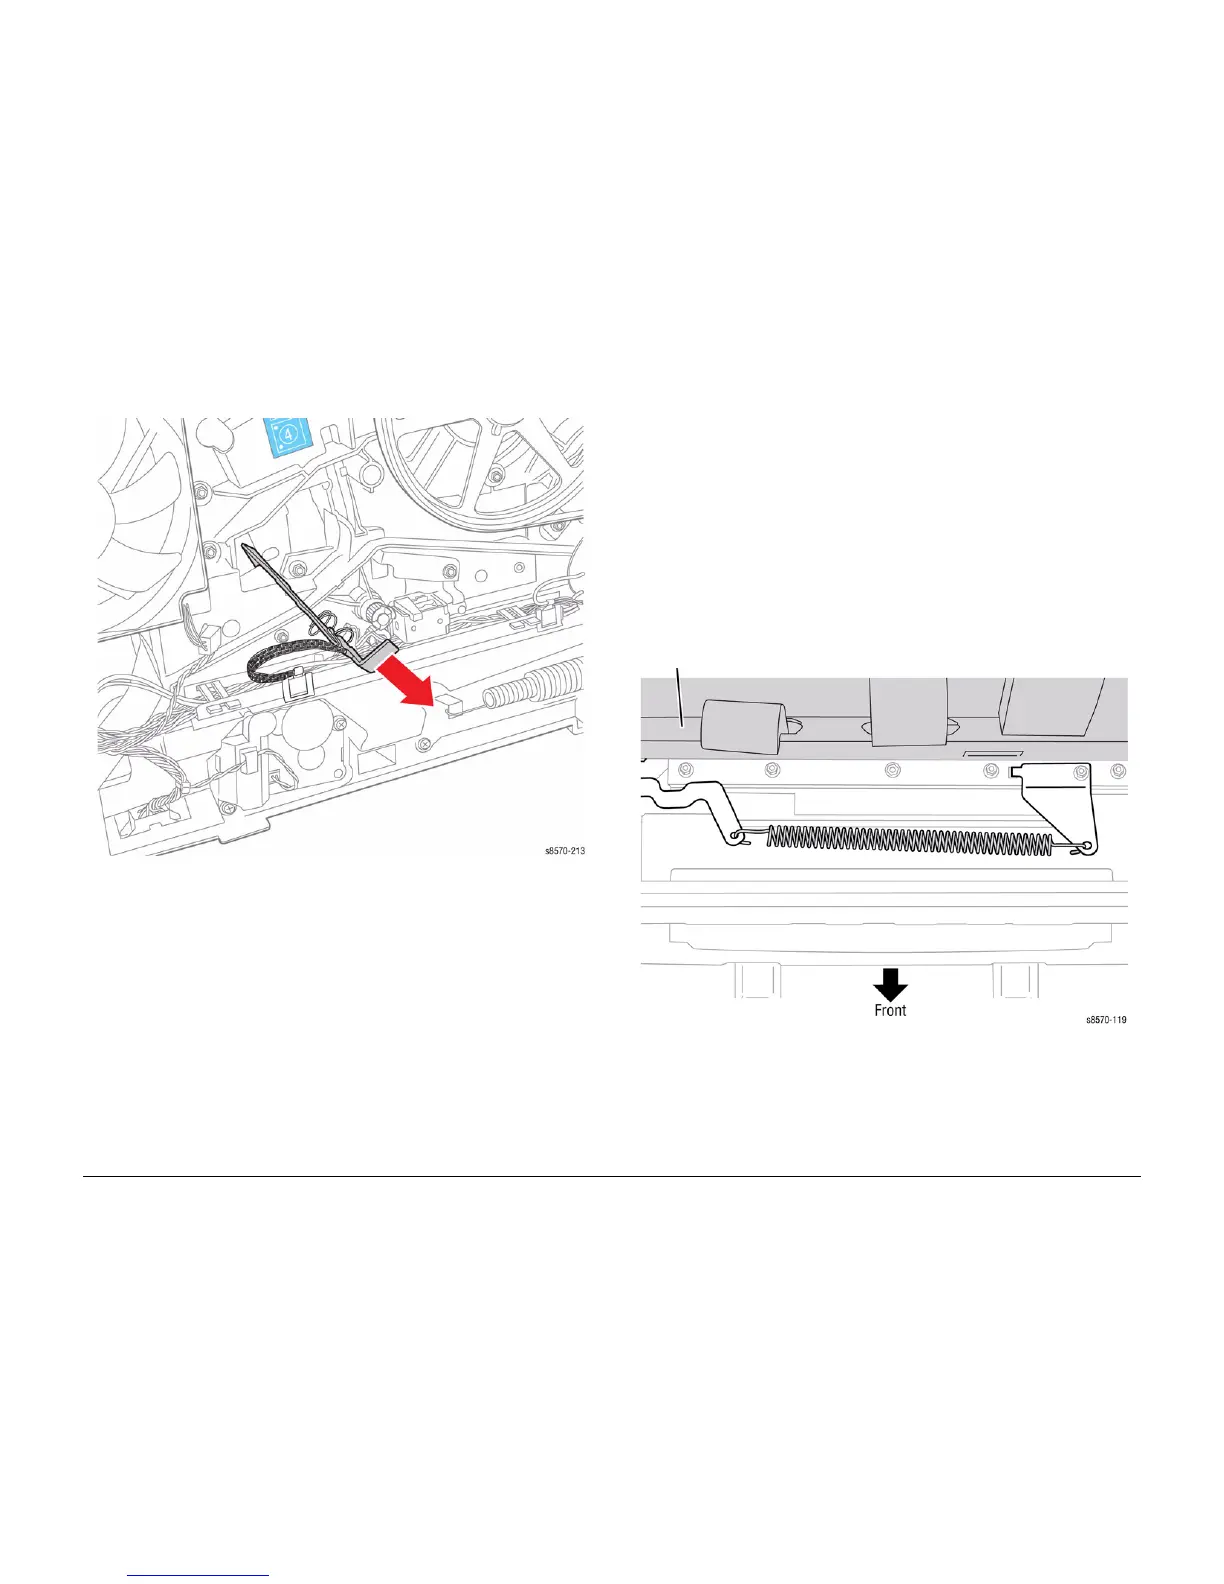
9. Pull the X-Axis Bias Spring Hook out.
10. Disconnect the wiring harness connector on the X-Axis Bias Spring Hook.
Figure 3 Removing the X-Axis Bias Spring Hook
REP 2.24 X-Axis Bias Spring
Parts List on PL 2.1 Item 24
Removal
CAUTION
The X-Axis Bias Spring is in close proximity to the Drum Assembly. Use care to not damage
the Drum while servicing the Spring.
1. Remove the Control Panel Cover (REP 1.5).
2. Remove the Left Side Cover (REP 1.10).
3. Remove the Right Side Cover (REP 1.11).
4. Remove the Exit Cover (REP 1.7)
5. Remove the Ink Loader (REP 1.8).
6. Remove the Funnel Cap (REP 2.1).
7. Remove the Jetstack Cap (REP 2.2).
8. Remove the Printhead (REP 2.3).
9. Remove the X-Axis Bias Spring using a spring hook or pliers.
Figure 1 Removing the X-Axis Bias Spring
Replacement
DO NOT rotate the spring more than one-quarter turn. Perform the Homing the Printhead For-
ward to Print Position procedure (ADJ 1.2) and Process Drive Alignment procedure (ADJ 1.3)
before restoring printer power.

 Loading...


