October 2012
4-30
ColorQube 8570/8870 Service Manual
REP 2.4
Revised, 3rd Revision - Xerox Internal Use Only
Repairs and Adjustments
CAUTION
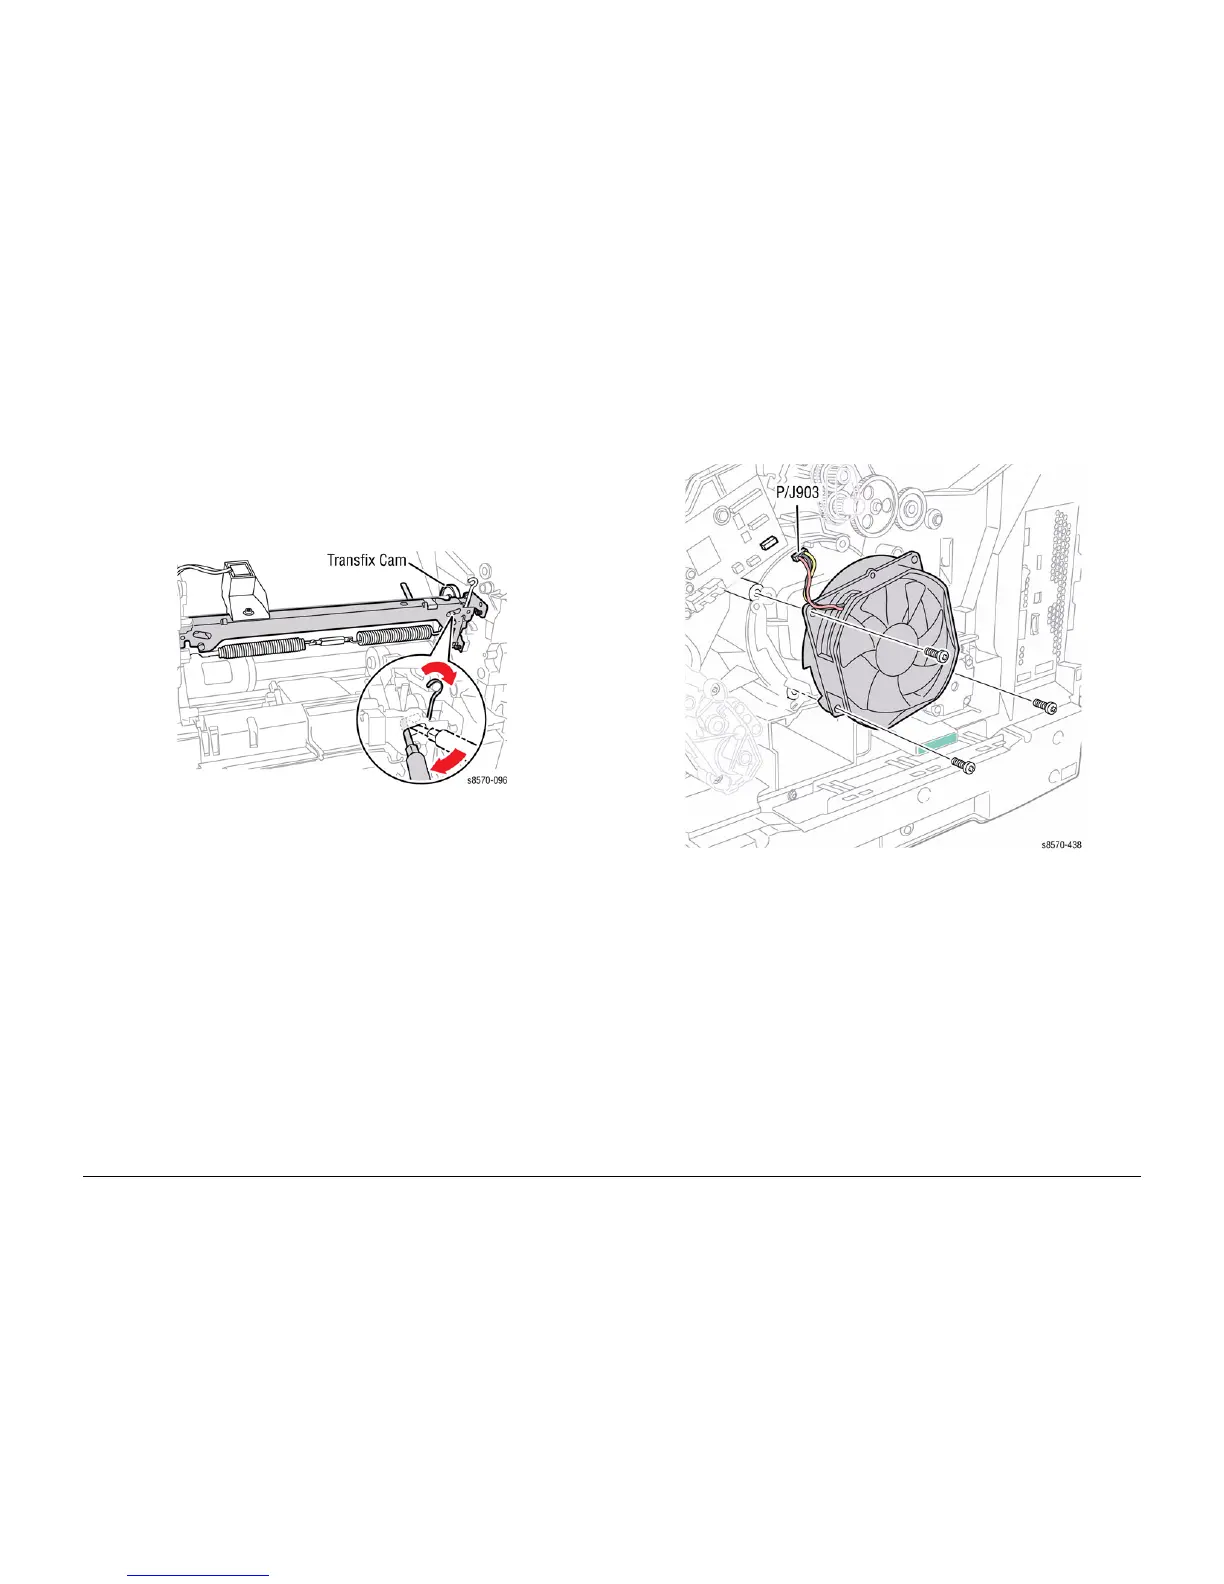
Use care when releasing the Transfix Module Spring Hooks. Move the lever handle towards
the center of the printer as indicated in Figure 1.
CAUTION
Be careful not to pry against the Transfix Cams as shown in Figure 1 to prevent damaging the
Cam.
20. Insert a T-20 Torx or T-15 Torx bit through the right side slotted hole in the Transfix Load
Module. Engage the hole at the back of the module, and lever the module’s spring cam
towards the center of the printer while disconnecting the spring hooks from the Transfix
Load Arms. Repeat this process for the left side.
Figure 1 Detaching the Transfix Load Module Spring Hooks
21. Disconnect the Drum Cooling Fan wiring harness connector P/J903 from the I/O Board.
22. Remove 3 screws (plastic, T-20) that secure the Drum Cooling Fan to the Drum and
remove the Fan.
NOTE: Note the location of the Ground Plate behind the Fan.
Figure 2 Removing the Drum Cooling Fan

 Loading...


