October 2012
4-33
ColorQube 8570/8870 Service Manual
REP 2.4
Repairs and Adjustments
Xerox Internal Use Only - Revised, 3rd Revision
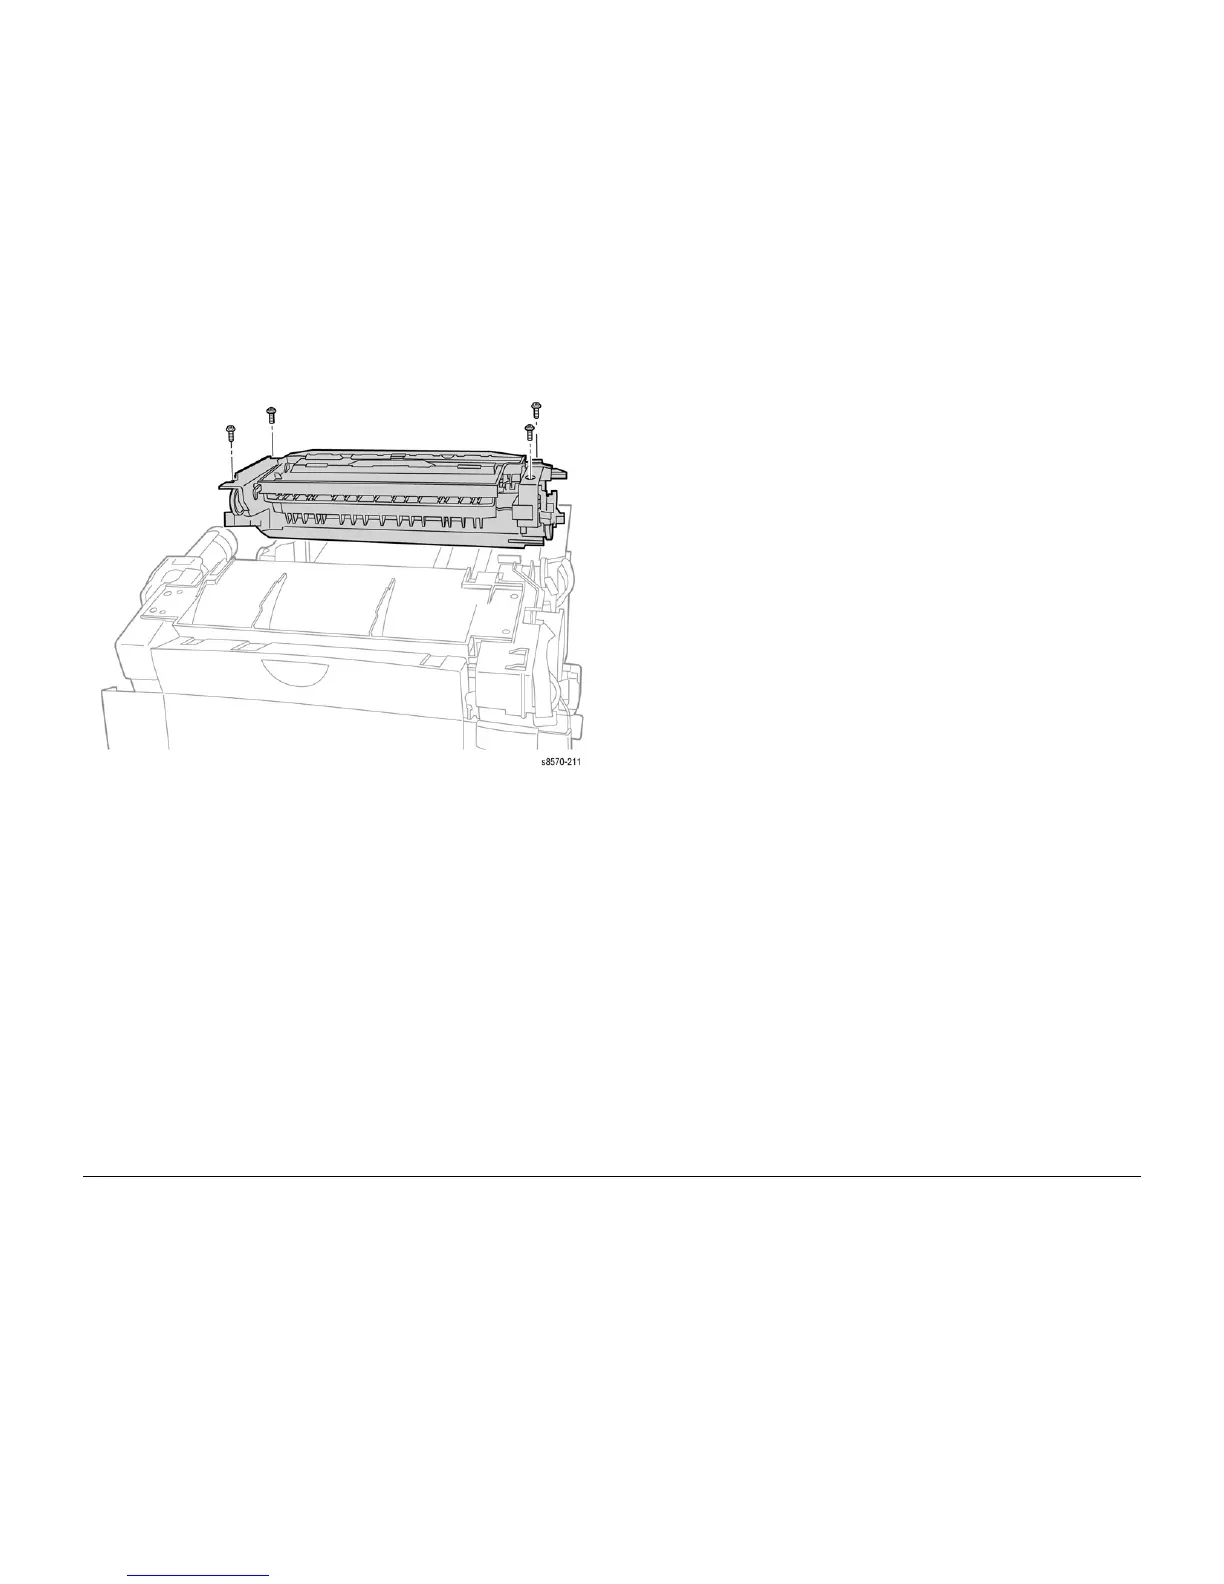
12. Install the Exit Module; secure and torque the 4 screws to 12 in-lbs.
Figure 8 Installing the Exit Module
NOTE: After installing the Exit Module, perform the Wiper Blade Alignment procedure
(ADJ 1.1). The printer may report errors 91,720~91,723 if the Wiper is misaligned.
13. Pull the lower end of the Y-Axis Spring Arm toward the front of the printer and install the Y-
Axis Belt first on the motor pulley, and then on the drum pulley. Align the grooves of the
belt with those on the motor pulley. Check that the cross-ribs are away from the pulleys.
14. Install the Media Drive and connect the wiring harness.
15. Connect the Drum Heater Load Dump wiring harness connector P/J120 to the Right Side
Harness.
16. Connect the Drum Heater wiring harness connector P/J114 to the Right Side Harness.
17. Dress the left side cabling into the retainers in the frame. Secure the Drum Heater and
Drum Encoder harnesses under the retainer located on the Process Drive.
18. Install the Drum Fan and secure it with 3 screws (plastic, T-20). Torque the screws to 12
lbs.
NOTE: Use care not to pinch the Drum Heater or Drum Encoder harnesses between the
chassis and fan shroud.
19. Route the Strip Solenoid wiring harness through the right side of the chassis and install
the Upper Duplex Guide and solenoid on the 4 mounting pins on the frame.
20. Connect the Drum Fan wiring harness connector P/J903 to the I/O Board.
21. Install the Ink Loader.
22. Install the Lower Duplex Guide.
23. Install the Inner Simplex Guide and Pre-Deskew Sensor.
24. Install the Control Panel.
25. Install all Covers and Doors.
26. Perform the Wiper Alignment Adjustment (ADJ 1.1).
27. Perform the Printhead Parking procedure (ADJ 1.4).
28. Perform the Head Tilt Gear Homing procedure (ADJ 1.2).
29. Perform the Process Drive Homing Procedure (ADJ 1.3).
30. Turn printer power on and print a Configuration page to test operation.

 Loading...


