20 / 99 www.xovis.com
3.2.7.6 Mark the scene floor
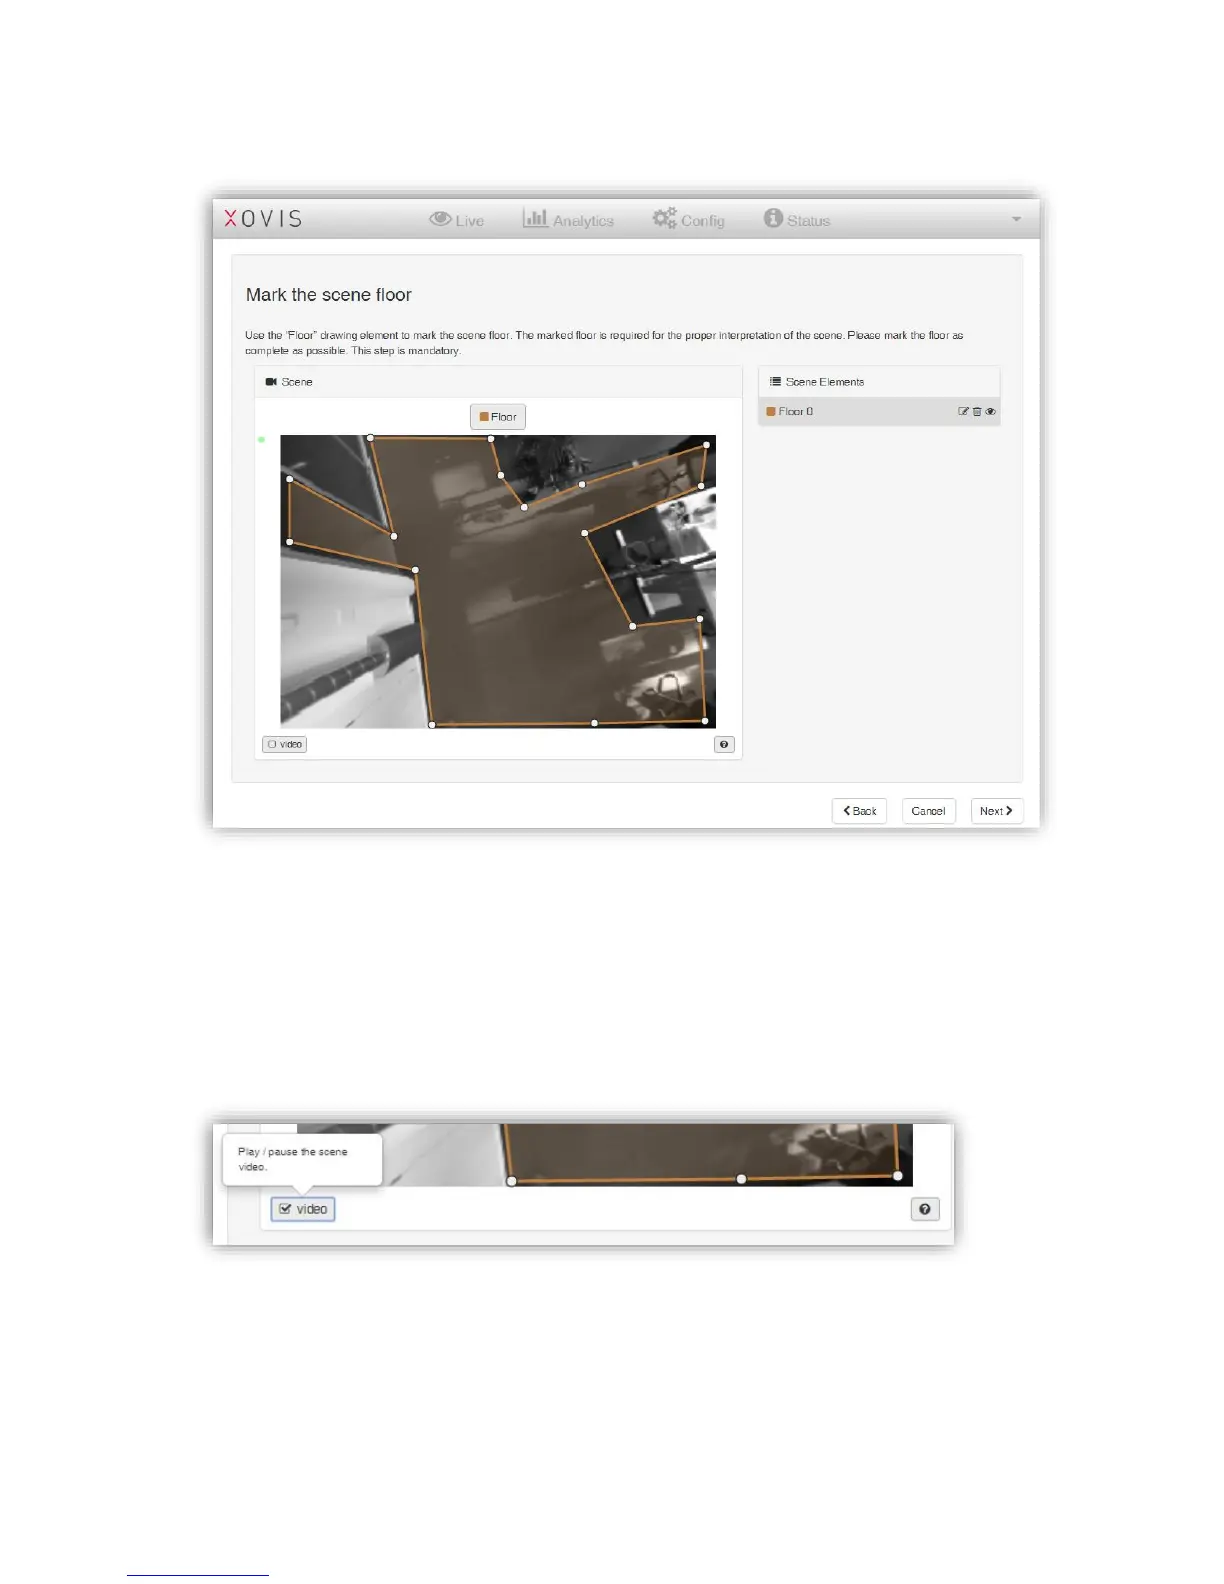
Figure 19: Drawn scene floor
In the next screen, the user is asked to mark the scene floor. The displayed scene image by
default is a still image as this usually simplifies the analysis of the scene environment.
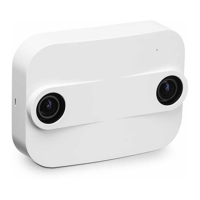
However, if a video stream is preferred or maybe to just recapture a new still image, the live
stream can be displayed by clicking on the play button located below the scene image. The
help button beside the play button also offers a short explanation when hovering over it with
the mouse:
The floor is masked by selecting the drawing tool “Floor” and directly drawing the whole
floor as a polygon in the scene (see Figure 19). With the “Floor” tool activated, one can simply
click in the scene image to draw corners of a floor area. A floor area is finished by clicking on
the first corner again, by double-clicking to create the last corner, by disabling the “Floor”
tool or by pressing [Esc] on the keyboard. After finishing a floor area, one is asked to name it
(see Figure 20). A default name is proposed.