Yuneec Electric Aviation
H520 Start Guide
4
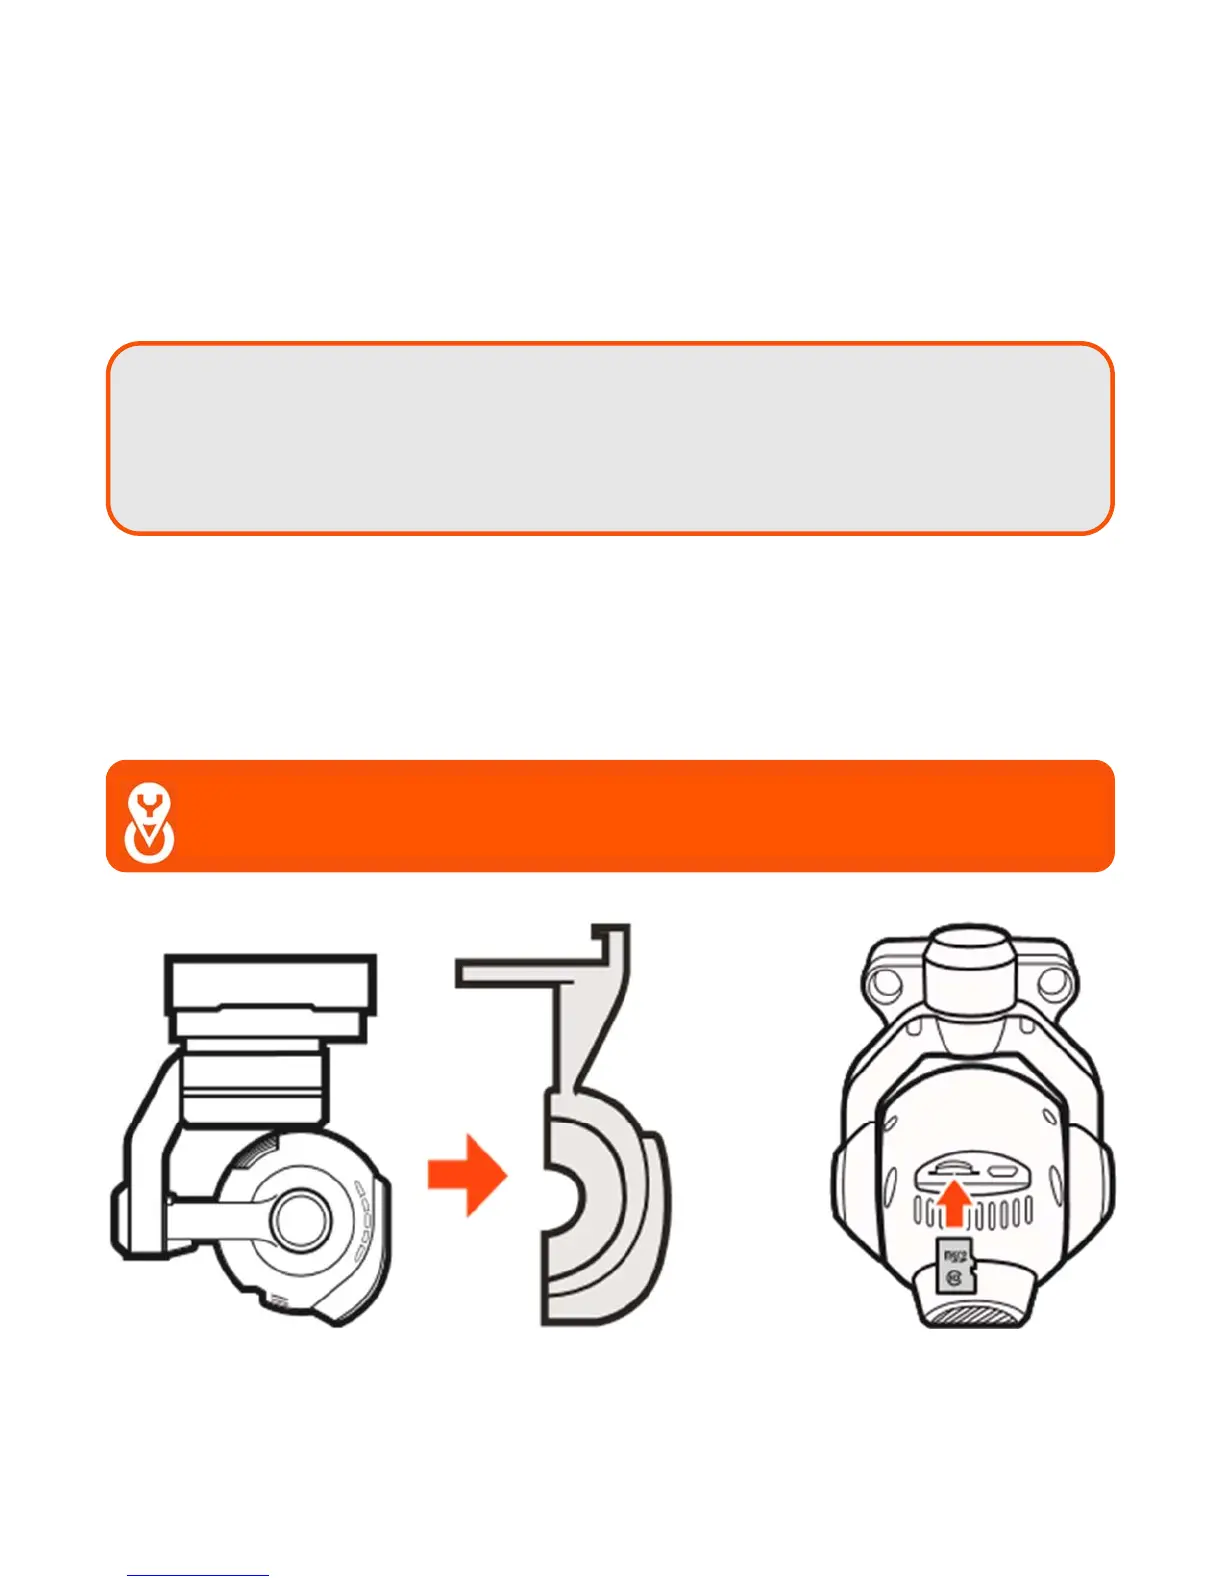
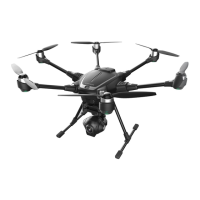
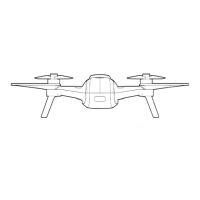
INSTALLING THE CAMERA GIMBAL
Select a camera (E50, E90 or CGOET), remove the protective cover, install a micro SD Card in the rear of
the camera, and mount the camera on the H-Mount. Using the arrow on top of the camera gimbal pointed
towards the H520, slide the camera gimbal (arrow towards the airframe) until the front latch clicks. Gently
pull the camera gimbal away from the aircraft to check proper installation, if the gimbal comes off the rail
or is not solid and secure, remove the gimbal and install the gimbal again.
C
HANGING
T
HE
C
AMERA
G
IMBAL
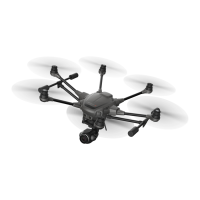
Power down the H520 using the power button on the top of the airframe, press the camera latch on the
front of the camera mount and slide the camera gimbal off the mount. Select the preferred camera gimbal
for use. Using the arrows on top of the camera gimbal, slide the camera onto the mount until the camera
stops. Test the gimbal to ensure the camera is installed. Power on the H520 using the power button on top
of the airframe. Lubricating these slides with graphite occasionally will keep them sliding smoothly.
Note: Ensure both rails on the H-Mount are seated. Do not press the gimbal past the
stopping point, this will result in damage to the six connecting pins and mounting
system. If the installed camera gimbal does not appear to be powering up (flashing
led light on the front of the camera), remove the camera and check the pin connectors
on both the gimbal and H-Mount.
Important Note: When changing cameras, the new camera will require
re-linking through DataPilot™ using the below instructions.