109
Printer Configuration and Adjustment
Printhead Pressure Adjustment
8/23/12 P1051584-002
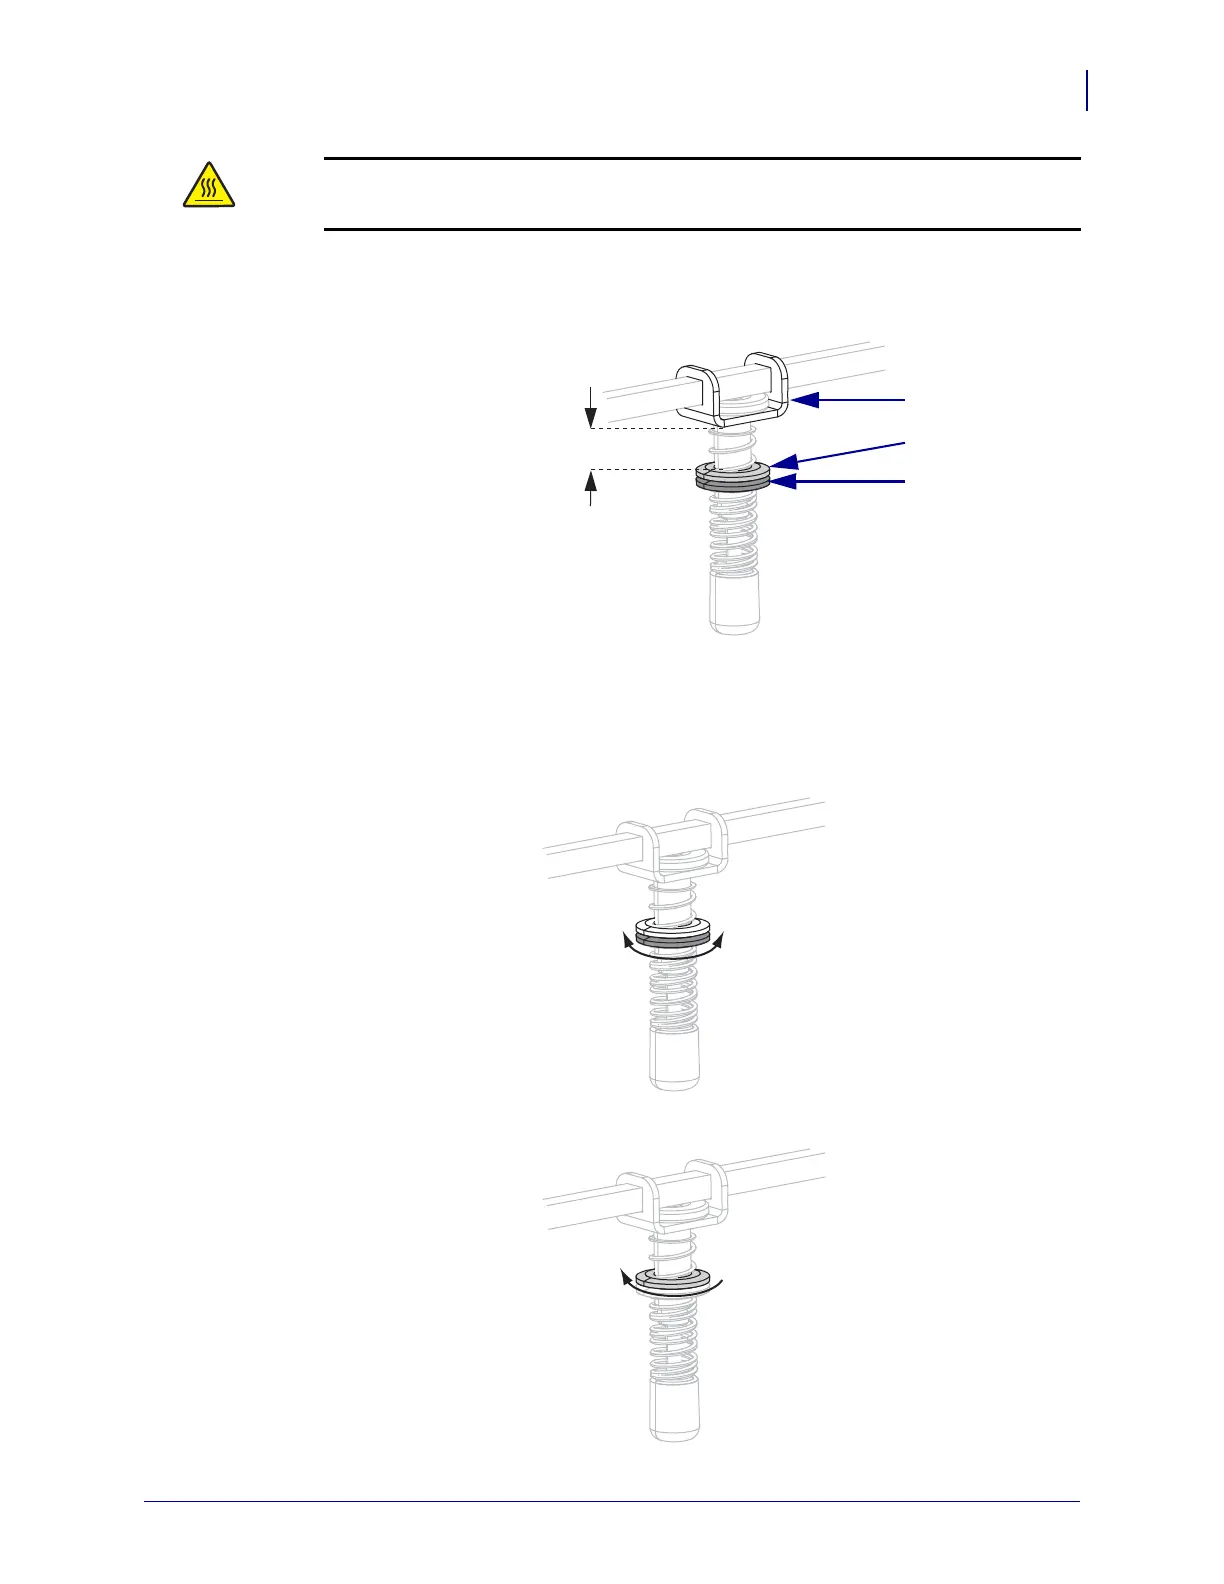
4.
5. Move the adjusting nut until the print quality is acceptable. Use the lowest pressure that
provides the desired print quality.
• To increase printhead pressure, move the adjusting nut downward.
• To decrease printhead pressure, move the adjusting nut upward.
6. To lock the toggle pressure, tighten the locking nut against the adjusting nut.
Caution • The printhead may be hot and could cause severe burns. Allow the
printhead to cool.
As a starting point for adjustment, set the position of the adjusting nut (1) and the
locking nut (
2) so that when the locking nut is tightened, it is approximately 5/16 in.
(8
mm) from the yoke (3).