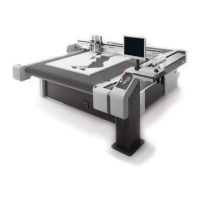
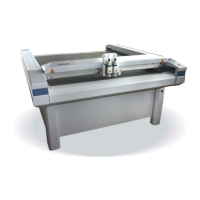
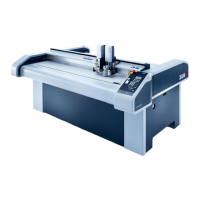
Cutter with material transport and CE
64
1 Right front of auxiliary bracket 5 Cutter base
2 Left front of auxiliary bracket 6 Setscrew with tip
3 Right rear of auxiliary bracket 7 Auxiliary bracket with sleeve
4 Left rear of auxiliary bracket
A Slightly lift the corner of the cutter and remove the leveling pad beneath it.
B Position the auxiliary bracket.
C Slowly lower the base frame. Ensure that the setscrew from the base goes into the sleeve.
D Repeat the process on the other three corners.
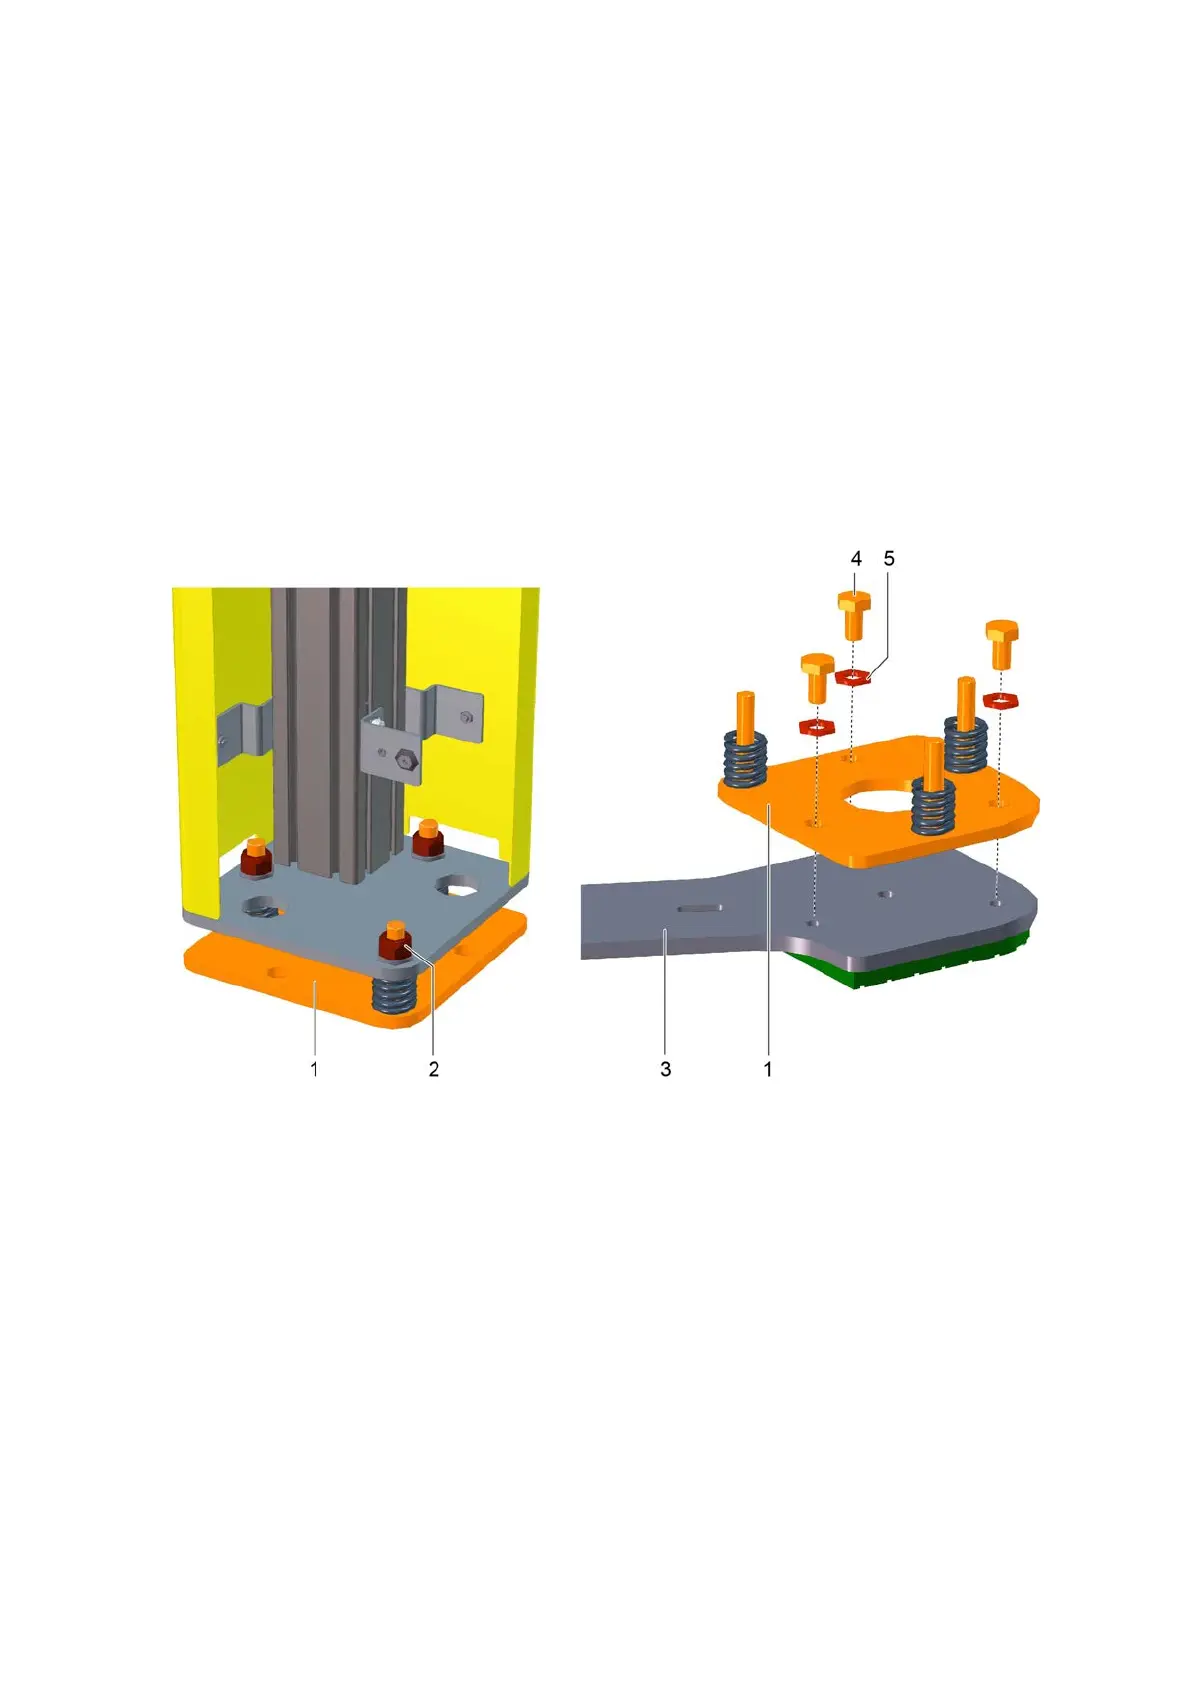
8.4.2 Mounting the base plates onto the auxiliary brackets
1 Base plate 4 Screw
2 Pillar nut 5 Washer
3 Auxiliary bracket
A Loosen the nuts of the pillar and remove with the washers (3x).
B Remove the base plate and put the pillar aside.
C Position the base plate on the auxiliary bracket.
D Attach the hexagonal screws with washers and tighten them (3x).
E Repeat the process on the other auxiliary brackets.