NXC Series User’s Guide
25
CHAPTER 2
Hardware Installation and
Connection
2.1 Overview
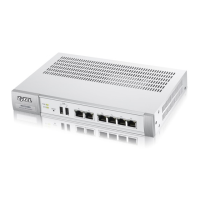
This chapter shows different installation scenarios of the NXC. It also shows the NXC’s front and rear
panel connections.
Make sure you connect the NXC’s power cord to a socket-outlet with
an earthing connection or its equivalent.
Note: Leave 10 cm of clearance at the sides and 20 cm in the rear when installing the NXC.
Note: Failure to use the proper screws may damage the unit.
2.2 Desktop Installation Procedure
1 Make sure the NXC is clean and dry.
2 Attach the rubber feet as shown if they are not already attached - see Figure 4 on page 26.
3 Set the NXC on a smooth, level surface strong enough to support the weight of the NXC and the
connected cables. Make sure there is a power outlet nearby.
4 Make sure there is enough space around the NXC to allow the attachment of cables and the power
cord and allow sufficient air circulation.
Note: Make sure you are using the correct type of Ethernet cable (Category 5e, 6UTP/STP, or
better Ethernet cable).

 Loading...