Pannoramic 250 1.15 User’s Guide 5 Troubleshooting and Maintenance
5.3.3 Replacing Lamp Module (for Fluorescent Option)
NOTE: This section recites some extracts from the HXP 120 operating manual. For detailed
information, especially instructions regarding safety, consult that manual. Also, no alignment is
required for the lamp module. Accordingly, the module is fully operational after lamp replacement.
Warning!
Hot surface! Wait at least twenty minutes to allow the lamp surface to
cool down sufficiently.
1. Disconnect power plug (separate all poles from the mains).
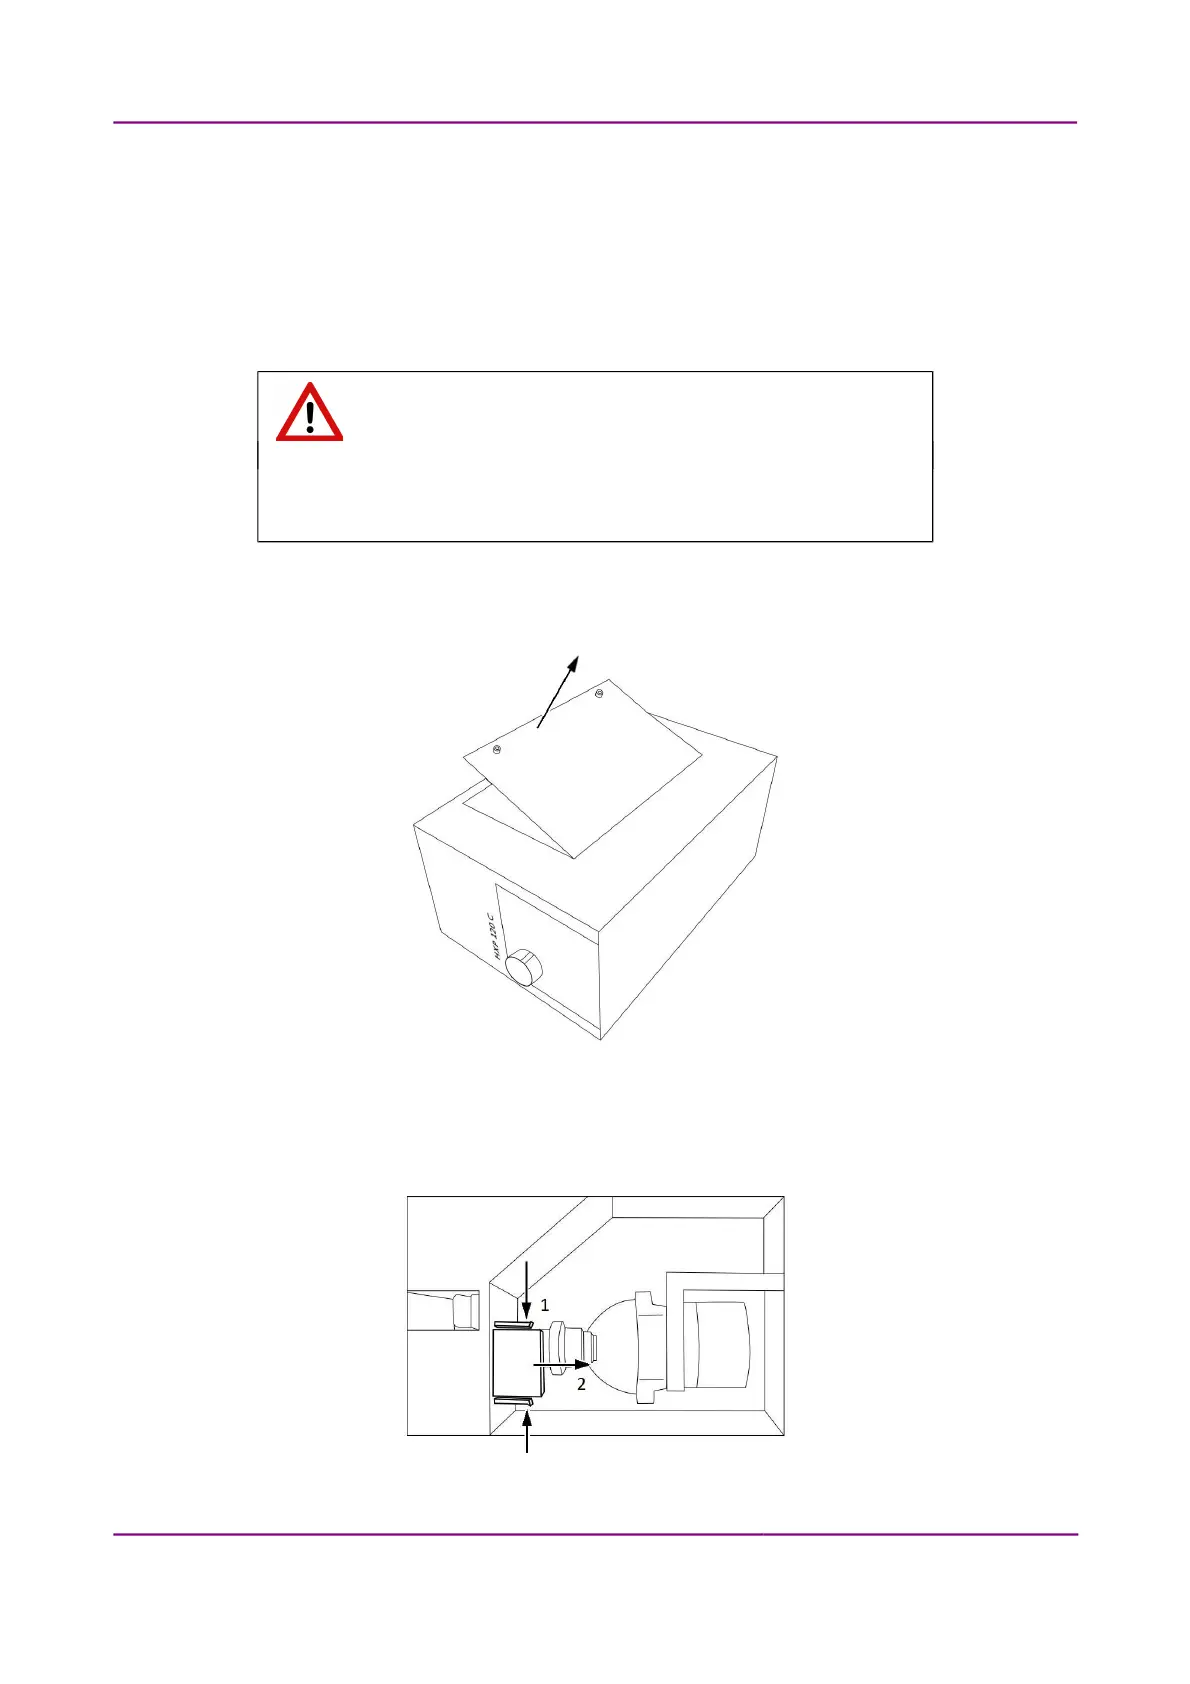
2. Unfix screws of lateral cover plate and remove it from the unit housing (see Figure 81).
Figure 81 – Removing the lateral cover of the HXP 120
3. Press plug securing latches inward (1) then disconnect plug of the lamp module (2) (see
Figure 82).
Figure 82 – Disconnect plug
March 13, 2012 – Rev. 1 3DHISTECH Ltd.
122(135)