3M™ Wireless Communication System Model XT-1
Store Manager Operating Instructions
November 2011 - Revision 1.8
Page 26 of 65
Operation
5. Release the order-taker. If the order taker taps the page button, he or she is no longer
the order taker. The next person to press a talk button becomes the order taker.
6. Enterpagemonitormode,whichpermitsyoutohearonlypagesandnotanyordertakingactivity.
Starting with the power off on the headset, press and hold the page button while turning it on to
enable page monitor mode. The headset will stay in this mode until it is powered off and back on.
7. Enter temporary page monitor mode. If an operator (but not the active order taker) taps
the page button, the headset will hear only pages and not any order taking activity.
The headset will stay in this mode until the operator taps the talk button.
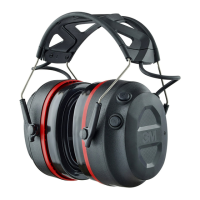
• BatteryRelease: Slide up to remove the battery.
Indicator Light Modes
Use the table below to understand the meaning of the indicator light on the headset:
Indicator Mode Description
Off (no light) Indicates power is off. It will turn off automatically if it
fails to register within two minutes or if the battery dies.
Solid Green Headset is signed on, standby, Lane 1
Solid Amber Headset is signed on, standby, Lane 2
Solid Red Headset is in transmit mode.
Flashing Green
(changed from flashing to amber)
Headset has not registered, but found an open base to
which it will try to register.
Flashing Green
(immediately after power on)
Headset is registered but has not yet synchronized or
sined on to the base station.
Flashing Amber Headset is not registered and has not found a base
station.
Steadily Flashing Red Headset is the active order taker, but the microphone is
muted.
Single Red Flash
(changed from flashing green)
Headset has successfully synchronized and signed on
with a base station (“Lane 1” or “Lane 2” will also be
heard in the earpiece).
Alternating Flashing Green and
Amber
Page Monitor Mode
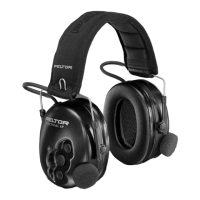
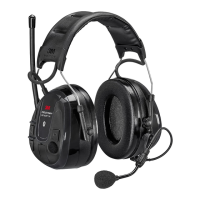
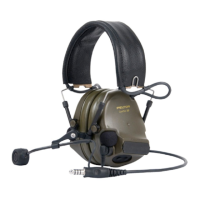
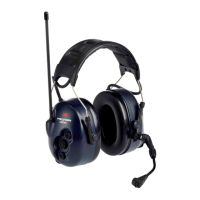
Fitting the Headset
Make the following adjustments to the headset to make it comfortable, less
likely to fall off, and easy for you to hear and speak clearly:
1. Rotate the ear cup and ear pad so that the indicator on the ear cup is aligned to the back of your head.
2. Adjust the size of the headband until the ear pad rests against one ear
and the battery side pad rests just above the other ear.
3. Rotate the microphone boom up or down so its tip is in line with
the corner of your mouth. Do not bend the boom.