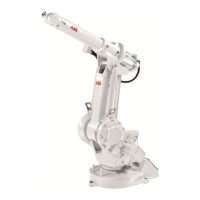
4 Repair
4.3.3 Dismantling the lower arm
82 3HAC026320-001 Revision: A
4.3.3 Dismantling the lower arm
General
See foldouts 1 in chapter, Foldout.
To dismantle
To assemble
Action Note/Illustration
1.
Remove the balancing springs. Described in section:
Dismantling the balancing
springs on page 85.
1.
Remove the cabling down to axis 1. Described in section:
Cabling and serial measuring
board on page 102.
1.
Dismantle the upper arm. Described in section:
Dismantling the complete
upper arm on page 92.
1.
Attach a hoist with lifting slings to the lower arm.
1.
Remove the parallel arm in accordance with. Described in section:
Dismantling the parallel arm
on page 89.
1.
Loosen screws. See foldout/pos. <1/13>
1.
Remove the lower arm.
Action Note/Illustration
1.
Transfer the damping element and calibration mark-
ing to the new lower arm.
2.
Lift the lower arm into position.
3.
Fix the lower arm to gear 2 using screws <1/13> and
tighten them to a torque of 68 Nm ±10%.
WARNING!
To prevent clicking during operation of the robot,
grease the bearing seating of the parallel arm in
the lower arm.
4.
Replace the parallel arm. Detailed in section:
Dismantling the parallel arm
on page 89.
5.
Replace the upper arm. Detailed in section:
Dismantling the complete
upper arm on page 92.