CHAPTER 5
212
Adding Transitions
For example, the Barn Doors transition can be oriented vertically or horizontally. Some
transitions do not have Edge selectors because the transition has only one orientation.
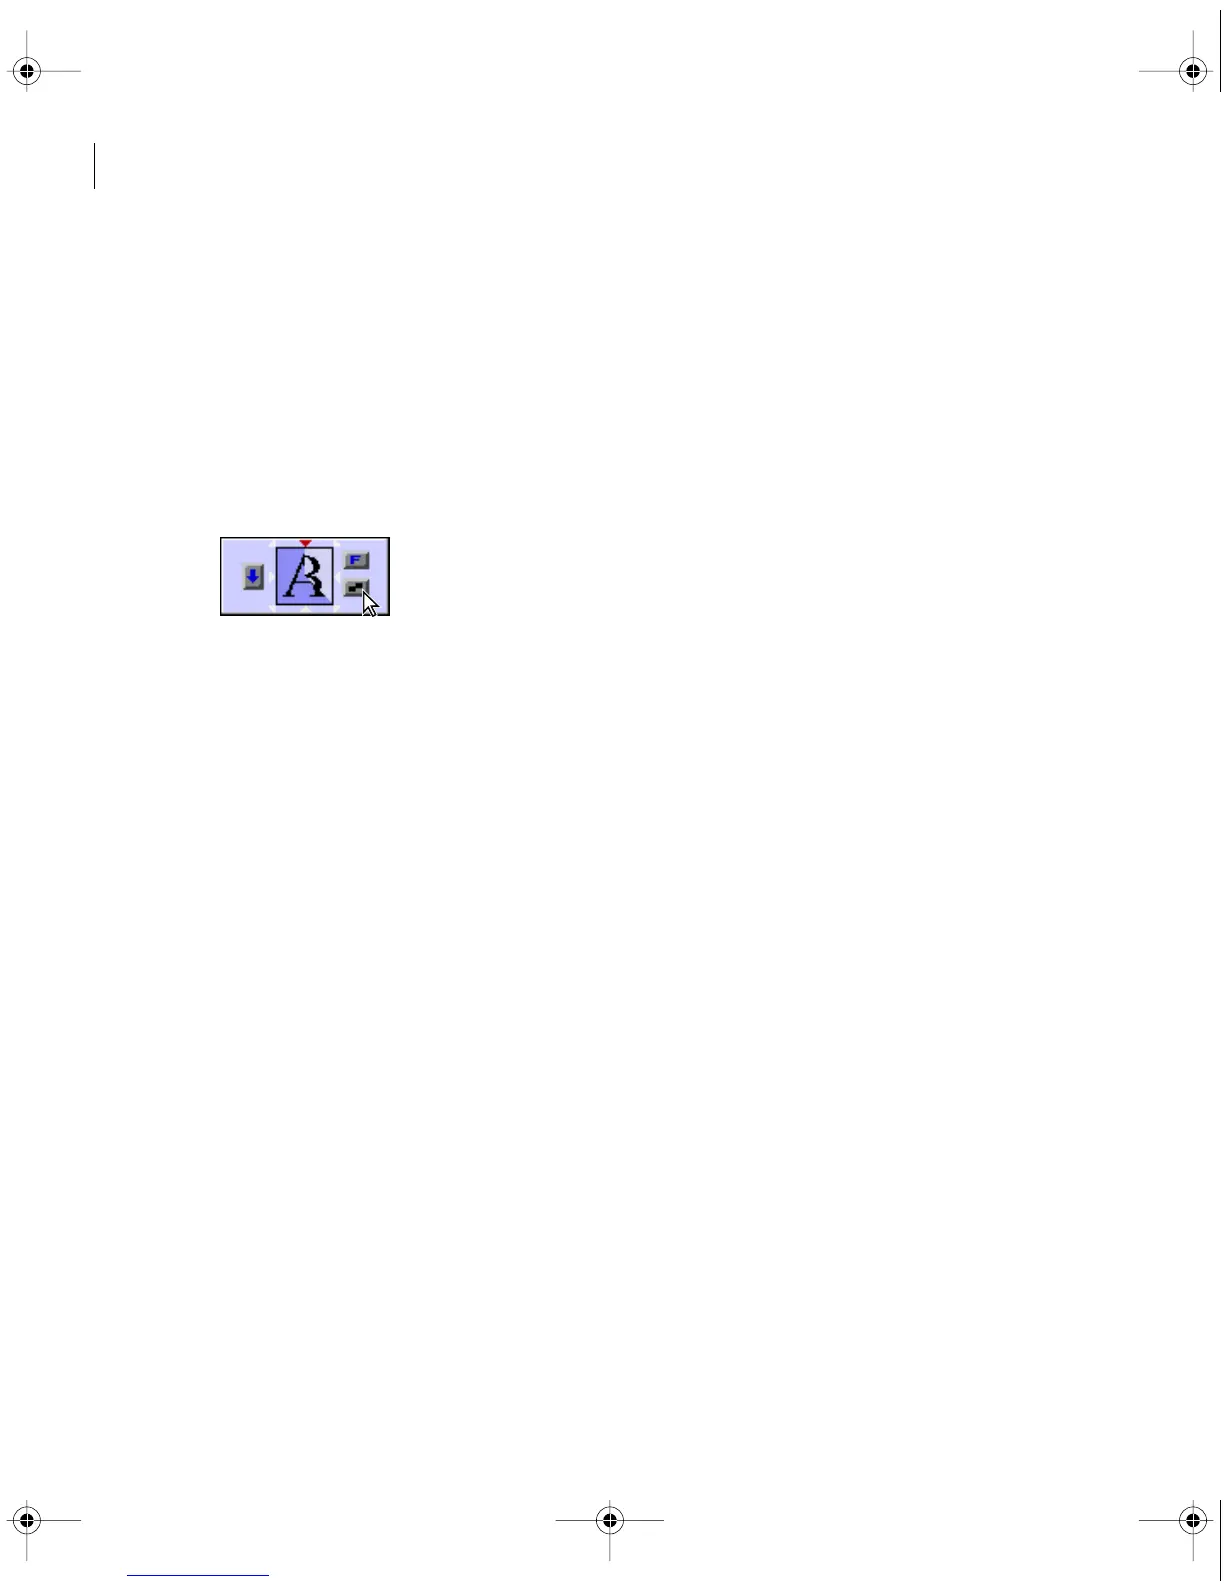
•
To make the transition play forward or backward, click the Forward/Reverse selector in the
upper-right corner of the transition’s thumbnail. For example, the Clock Wipe transition
can play clockwise or counterclockwise.
•
To adjust the smoothness of the transition’s edges, click the Anti-aliasing selector in the
lower right corner of the transition’s thumbnail. Clicking cycles through the values Low,
High, and Off.
Anti-aliasing smooths the edges or borders of the transition, making the transition appear less
abrupt. You can also set anti-aliasing from the transition’s thumbnail in the Timeline window.
•
To adjust the center point of the transition, drag the small box that appears in the Start and
End images. For example, the Iris Round transition can be centered towards the side or corner
of the image.
•
To change settings specific to the transition, click the Custom button. (Transitions without
additional controls do not include a Custom button.)
Using the Image Mask transition
You can use a black-and-white bitmap image as a transition mask in which image A replaces
the black in the mask, and image B replaces the white in the mask. If you use a grayscale image
for the mask, pixels containing 50 percent or more gray will be converted to black, and pixels
containing less than 50 percent gray will be converted to white.
c00.book for PS Page 212 Tuesday, March 31, 1998 1:28 PM