3. Press the new board set onto the four
snap-on standoffs so that the words
“Advanced Instruments, Inc.” are located
in the upper left corner. Reinstall two
screws, if applicable.
4. Reconnect all wiring connections, includ-
ing the remaining connections on the
main harness.
Final Steps:
1. Verify that all wiring connections have
been restored, and that they are not offset
on the mating board’s connector.
325025PM Rev2
(3255 Service Manual)
Page 5 of 6
I
6. Verify that the power switch is OFF, then
reconnect the power cord.
7. Locate the Supervisor/Operator keyswitch
on the rear of the instrument, then turn it
to the Supervisor position (if required).
8. Turn on the instrument and verify that the
instrument boots up correctly by watching
the display and/or printout.
9. At “Press START to Continue”, press
SETUP.
Note: During the first start-up, you may see
“A/D Cal Failure”. This is due to the
board set powering up in an instrument
for the first time. This error message
may be ignored. The error message
will clear and the display will return to
“Press START to Continue”, where
you would press SETUP again to enter
the SETUP menu.
10. Use the SETUP menu to reset the sample
and block probe bin numbers and the sam-
ple stir amplitude, and any other cus-
tomized settings.
11. To reset the serial number, cycle through
the menu options by pressing < or > until
you reach “Serial Number”, then press
START. The display will read
“Serial#:********”.
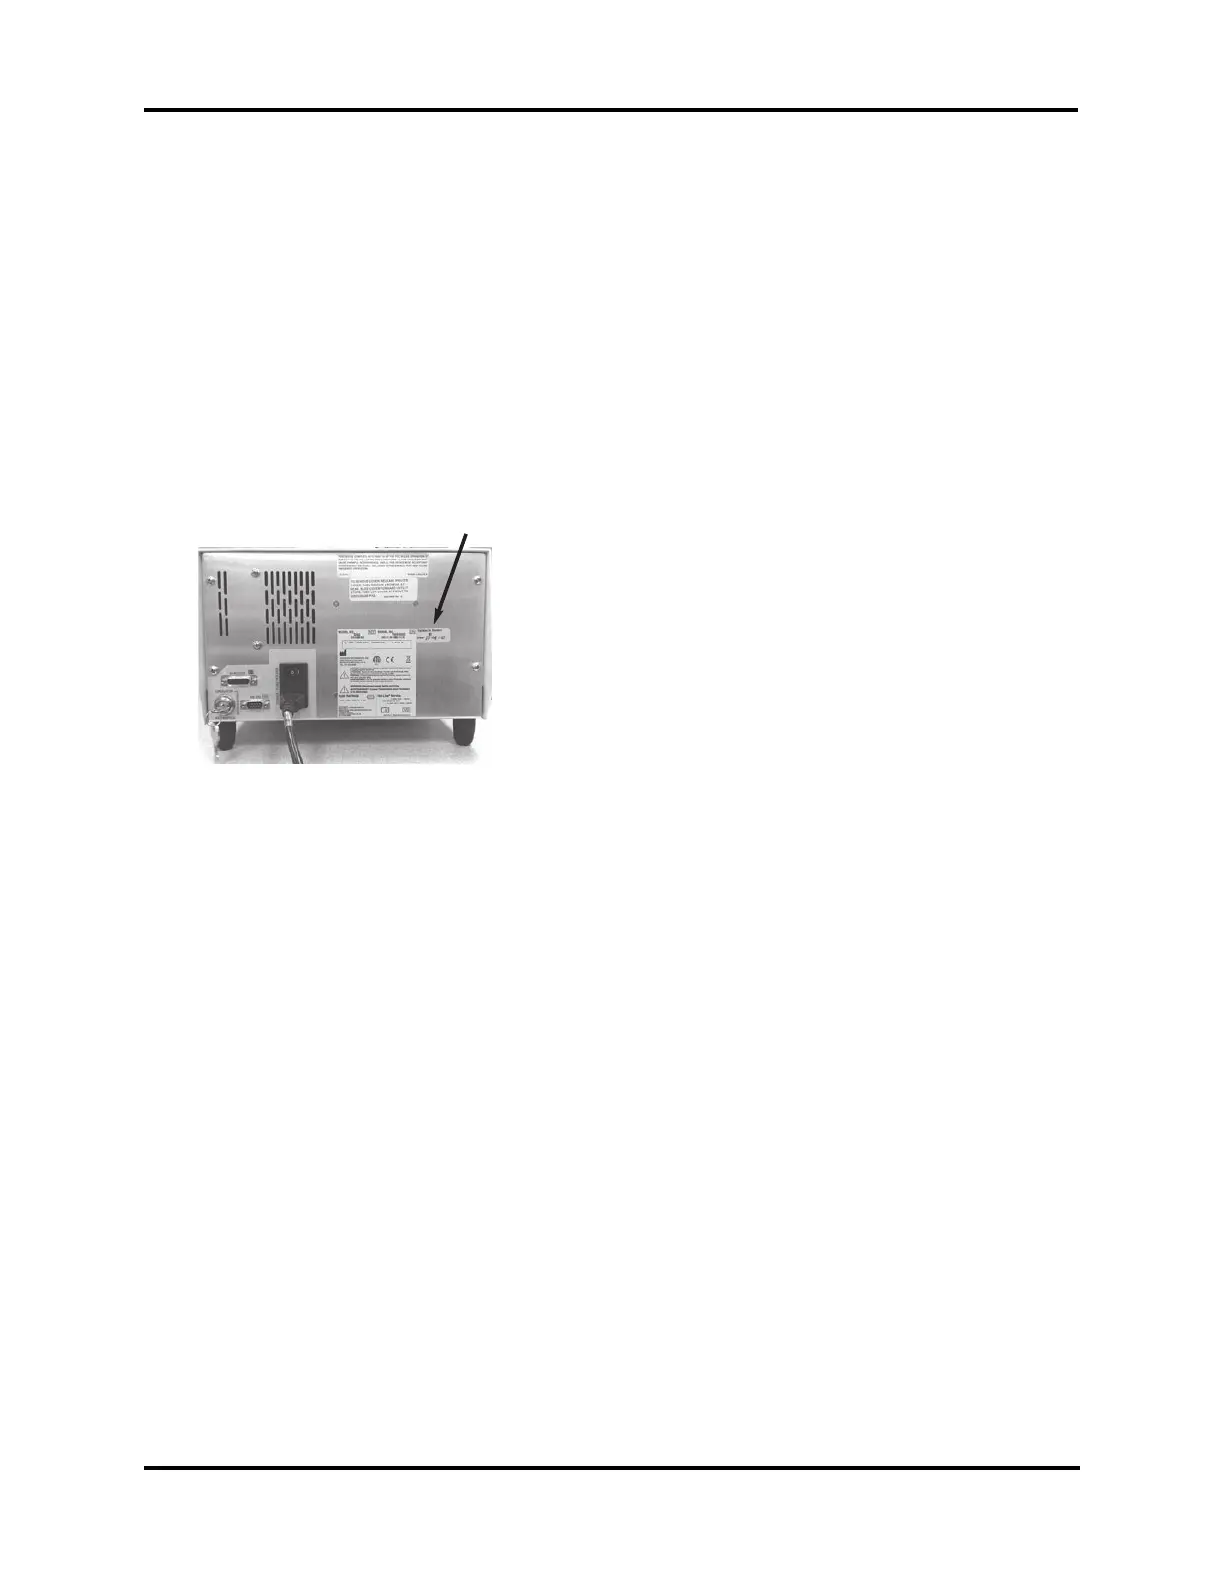
12. Press the following keys consecutively:
2, 4, CLEAR, then enter each digit of the
serial number as it appears on the label on
the back of the instrument. (Note: The
letter suffix at the end of the serial number
will not be entered.) When the number is
correct, press ENTER.
13. The serial number will be recorded in
memory and should appear the next time
you power up your instrument.
2. Remove the anti-static wrist strap.
3. Reinstall the instrument cover. Make
sure to release the printer cover prior to
securing the instrument cover with the
four screws (A) in the rear panel. When
tightening the four screws, make sure the
opening in the instrument cover has clear-
ance around the printer cover. Reinstall
the head cover and secure with the two
screws.
4. Place the “Updated to Revision E” label
(I) as indicated. Write the date the update
was completed.
5. Reinstall the paper roll in the printer per
instructions in the User’s Guide. Close
the printer cover.