Automatic Liquid Sampler and Injector
The 6850 automatic injector
Released: March 2004 6850 Series II GC User Information page 238 of 256
1. When the injector is not operating, open the injector tower door.
2. Slide the syringe carriage up until it stops.
3. Remove the syringe. See “Removing a syringe” on page 224.
4. Carefully remove the needle support assembly from the injector. See
“Replacing the needle support assembly” on page 224 for details.
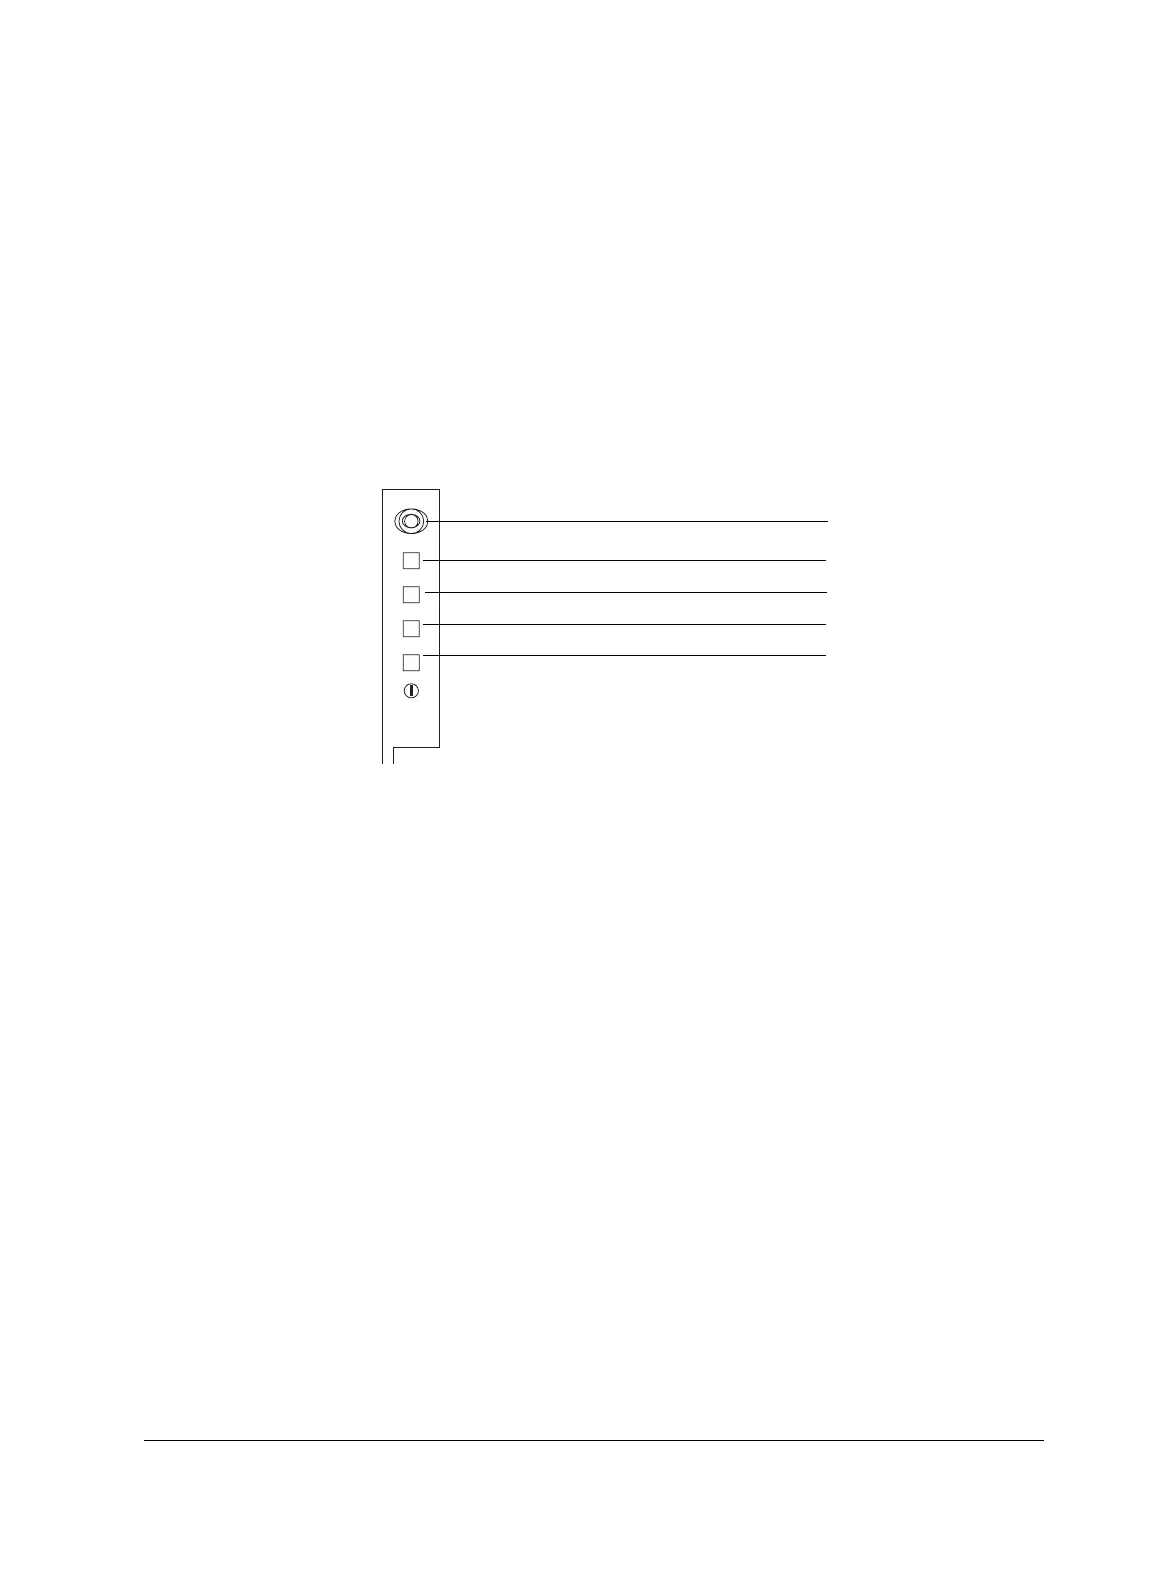
5. Use a pen to press the recessed alignment button above the indicator
lights, then close the door. See Figure 50.
Figure 50. Aligning the turret
6. The injector goes through the following steps:
• The turret rotates to verify that the needle support assembly was
removed, then rotates to determine what type of turret is installed
• The syringe carriage moves all the way down, then moves back up
again and clears the turret
• The syringe carriage steps down until it touches the turret. This sets
its position relative to the turret.
• The plunger moves to calibrate stops
7. When the alignment is complete, the Ready light turns on and the sampler
returns to the ready state. Install the needle support assembly and syringe.
If the injector fails alignment, see “Faults” on page 239.
Press the alignment button
Align Mode
Fault
Run
Ready

 Loading...


