Alfa Laval Micro
Installation, service and operating instruction
25
Preparing the room thermostat
6.5
Installing the batteries 6.5.1
The thermostat constantly monitors the battery power level, which typically lasts for about 2 years before
needing replaced.
When the power is running low a flashing symbol will be displayed on the screen.
To install the Batteries:
1) Lift up the front cover of the thermostat to reveal the battery cover and product controls.
2) Remove the battery cover by pressing down and sliding out.
3) Insert the 2 x AA LR6 Alkaline Batteries supplied with the thermostat, ensuring the correct orientation).
4) After a short pause the thermostat will display information on the screen and is now ready for use.
Replace the battery cover by sliding it firmly back into the front of the thermostat.
Note: While changing the batteries the program settings will be stored but the time needs to be adjusted.
Setting the Date 6.5.2
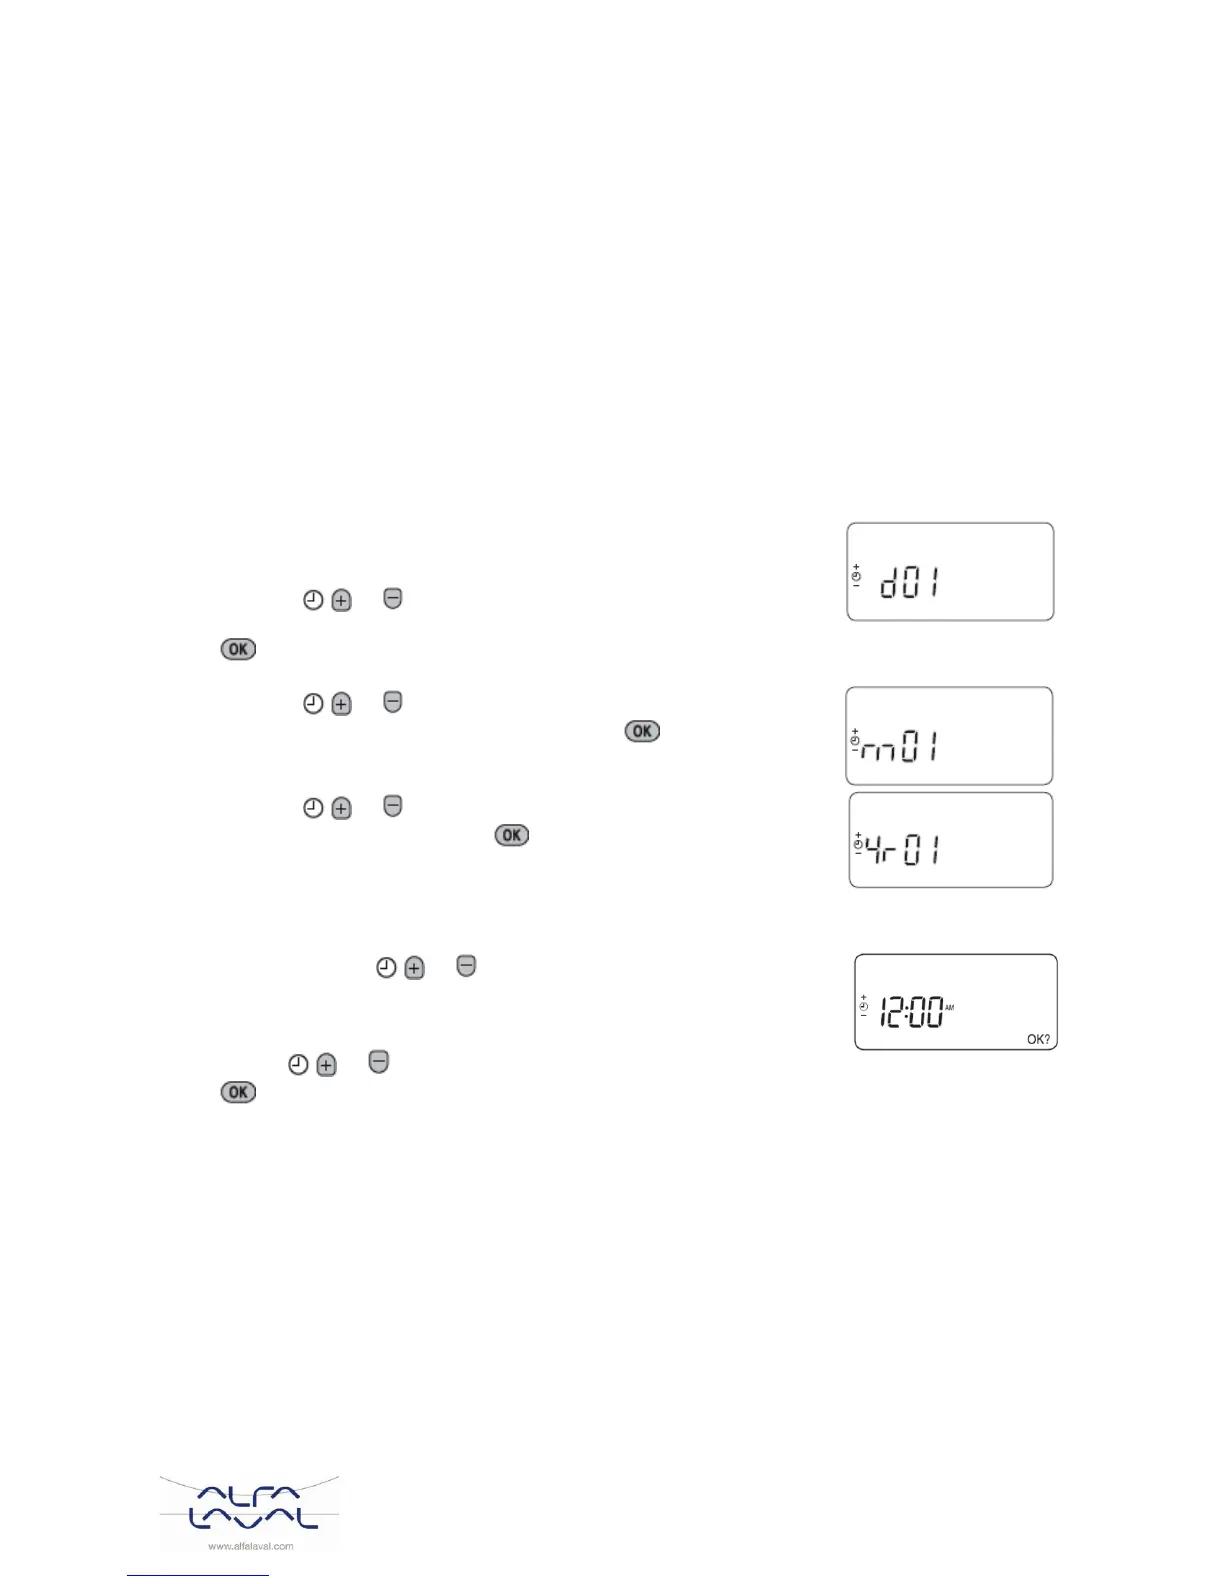
1) Press the DATE/DAY button to begin setting the date. When
you set the date for the first time after the batteries are inserted,
the display will show:
Press the or buttons to set the current day of the
month (e.g. d 01 = 1st day of the month) then press the green
button to confirm.
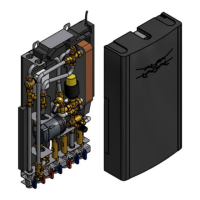
2) Press the or buttons to set the current month of the
year (e.g. m 01 = January) then press the green button to
confirm.
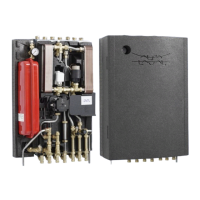
3) Press the or buttons to set the current year (e.g. yr.
06 = 2006) then press the green button to confirm.
The date is now stored.
Setting the time 6.5.3
1) Press either of the or buttons once to enter timer setting mode.
The LCD screen flashes the time digits. When the unit is powered for the
first time the display shows 12:00.
2) Use the or buttons to set the correct time then press the green
button to confirm.
Each press of the buttons will change the time by one minute and holding them down will change the
time slowly at first and get progressively quicker.
Note: to leave this mode, press the AUTO, MAN or OFF buttons.