CHAPTER 3: SYSTEM CONFIGURATION
HF-2500A HIGH FREQUENCY WELD CONTROL
3-2 990-371
From the SETUP 1 screen, press the key.
The
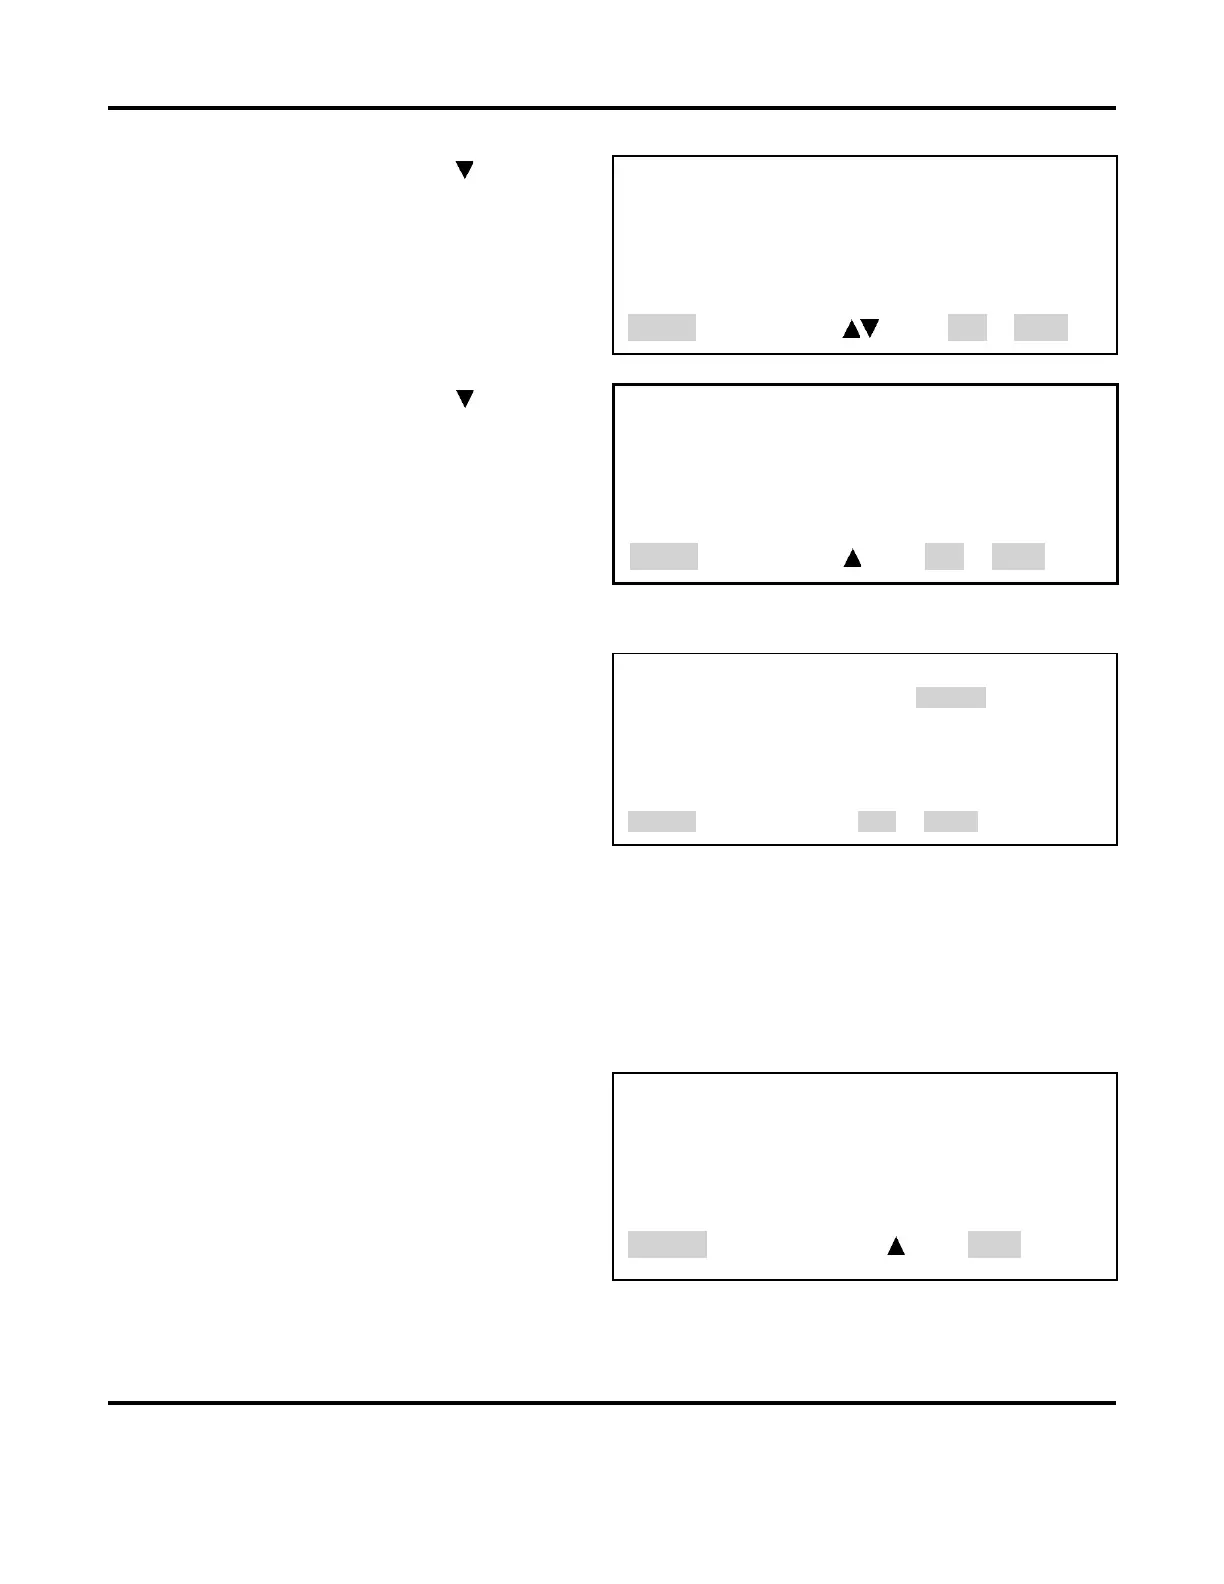
SETUP 2 screen is shown on the right with
<SETUP, page 2 of 3>
1. DISPLAY CONTRAST : 50
2. BUZZER LOUDNESS : 40
3. END OF CYCLE BUZZER : OFF
4. UPDATE GRAPH AFTER WELD : ON
5. LANGUAGE : ENGLISH
Number Select an item, Page, RUN or MENU
SETUP 2
screen, press the key.
The
SETUP 3 screen is shown on the right with
<SETUP, page 3 of 3>
1. DO TEST WELD : ALWAYS
Number Select an item, Page, RUN or MENU
2. WELD COUNTER
1. From the MAIN MENU, press the 2 key to
go to the WELD COUNTERS screen. The
total welds counter increments each time
a weld is made in any weld schedule.
<WELD COUNTERS>
1. TOTAL WELDS : 0000000
2. OUT OF LIMITS HIGH : 000000
3. OUT LIMITS LOW : 000000
4. WITHIN LIMITS : 000000
Number Select an item, , RUN or MENU
NOTE: The Power Supply breaks down the weld count into three additional categories, as
determined by the energy limits monitor: rejects due to higher than programmed weld energy,
rejects due to lower than programmed weld energy, and the number of welds within limits.
2. To select the weld counters, press the
1, 2, 3 or 4 key to select the desired weld counter. The
example below shows the
TOTAL WELDS screen.
3. To reset the counter, press the 0 key.
4. To input a preset number, use the
numeric keys.
5. If you accidentally reset the wrong
counter, press the period (.) key. The
original count will reappear. Press the
MENU key to return to the MAIN MENU
<WELD COUNTERS>
1. TOTAL WELDS : 0000000
NUMBER Change, [.] Restore, Page, MENU