CHAPTER 3: SYSTEM CONFIGURATION
HF-2500A HIGH FREQUENCY WELD CONTROL
990-371 3-7
7. RELAY
1. From the MAIN MENU, press the 7 key to
go to the RELAY output state selection
menu, shown at the right. The Power
Supply has four relays that can provide
dry-contact signal outputs under many
different conditions.
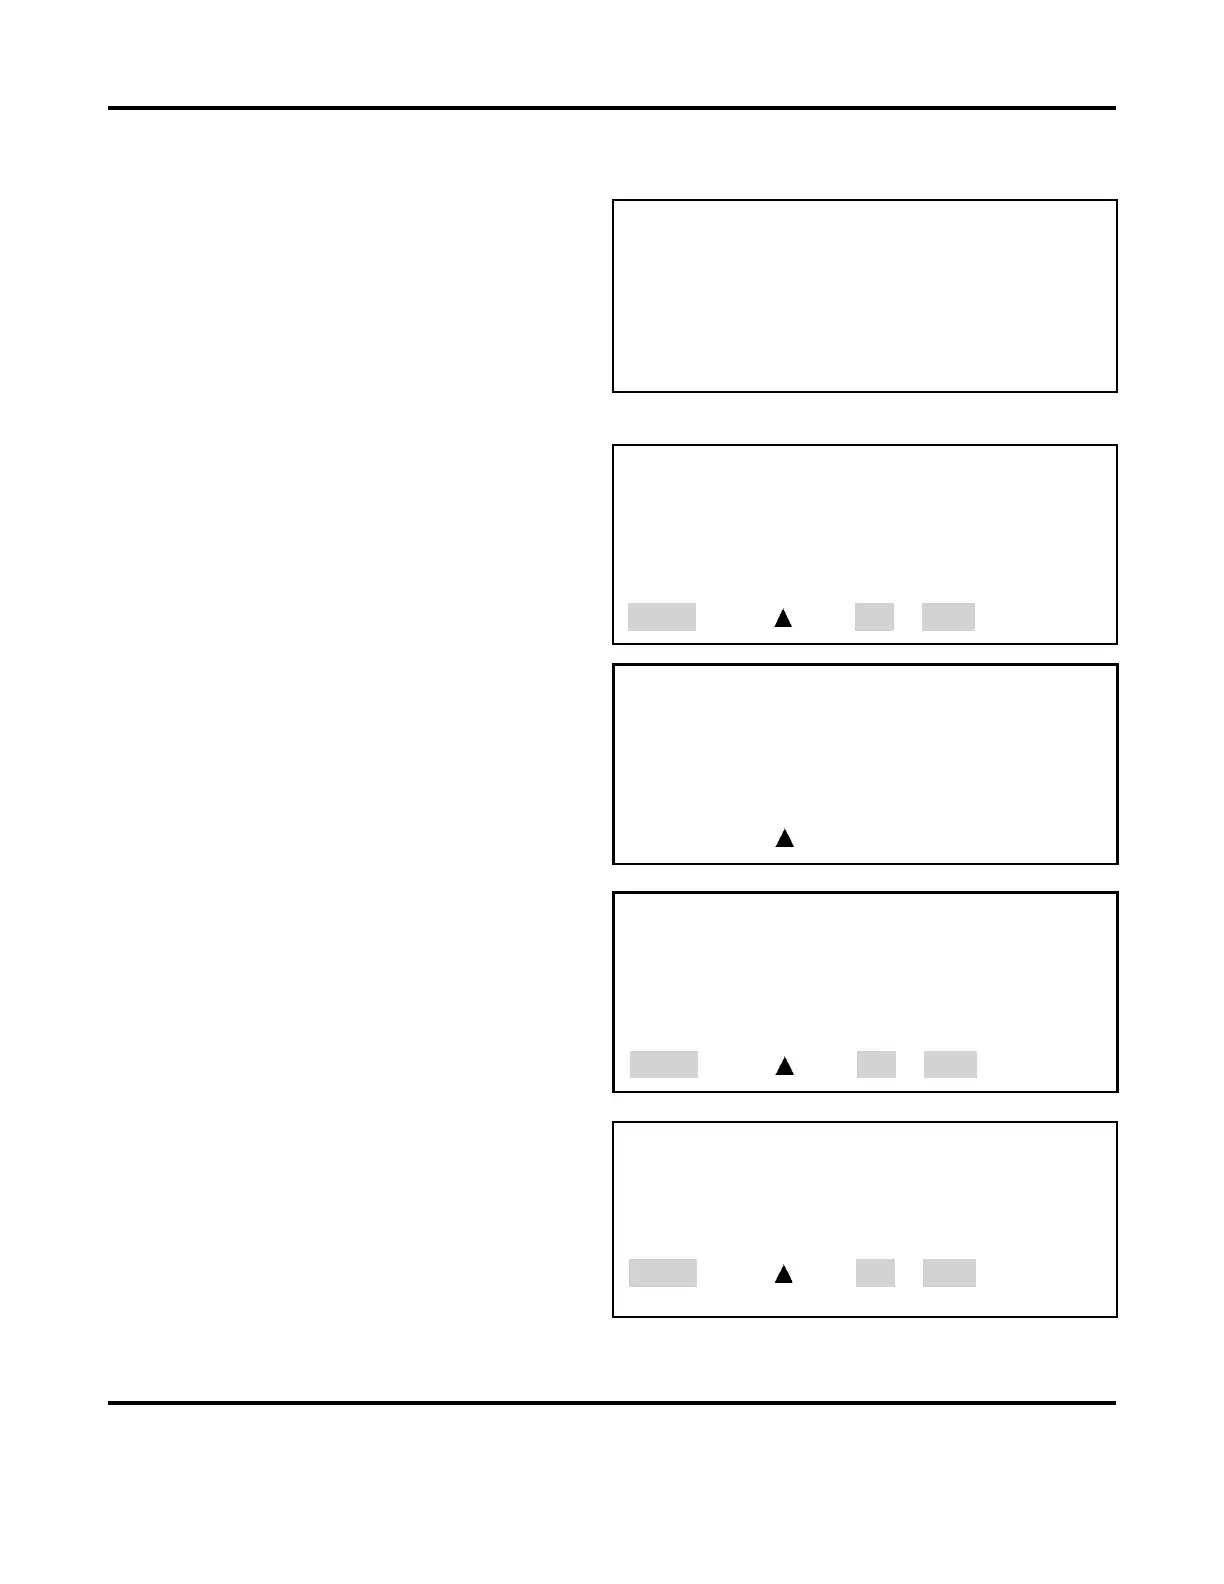
<RELAY>
1. RELAY1:ON OTHER
2. RELAY2:ON ALARM
3. RELAY3:ON ALARM
4. RELAY4:ON ALARM
Number Select an item, RUN or MENU
See Appendix C, System Timing for the timing diagrams for the four relays.
2. From the RELAY menu, press the 1 key
to go to RELAY 1 shown at the right.
3. Press the 1 key to toggle the relay contact
signal state: ON (closed) or OFF (open).
<RELAY 1>
1. SET RELAY TO : ON
2. WHEN : ALARM
Number Select, Page, RUN or MENU
4. Press the 2 key to select the WHEN menu,
shown at the right.
<WHEN>
1. ALARM 6. P1LOW
2. OUT OF LIMITS 7. P2HIGH
3. WELD 8. P2LOW
4. END OF WELD 9. MG3 SYNC
5. P1HIGH
Number Select, Page, RUN or MENU
2
OUT OF LIMITS
as the condition for initiating the Relay 1
output signal. This will bring up the
RELAY 1 menu screen, where the WHEN
line will now reflect
OUT OF LIMITS.
<RELAY 1>
1. SET RELAY TO : ON
2. WHEN : OUT OF LIMITS
Number Select, Page, RUN or MENU
6. Choosing WHEN options 1 - 4 or 9 will
complete the relay programming
process. Choosing options 5 - 8 or 0 will
bring up the RELAY (1, 2, 3, or 4) screen
with a new option, number 3. Press 3 to
access the next level menus which are
<RELAY 1>
1. SET RELAY TO : ON
2. WHEN : OUT OF LIMITS
Number Select, Page, RUN or MENU