CHAPTER 3: SYSTEM CONFIGURATION
HF-2500A HIGH FREQUENCY WELD CONTROL
3-12 990-371
1. From the SETUP 1 screen, press the 2 key
to go to the SWITCH DE-BOUNCE TIME
menu screen.
2. Select the required debounce time by
pressing the 1, 2, 3 or 4 key. NONE
represents a debounce time of 0 ms.
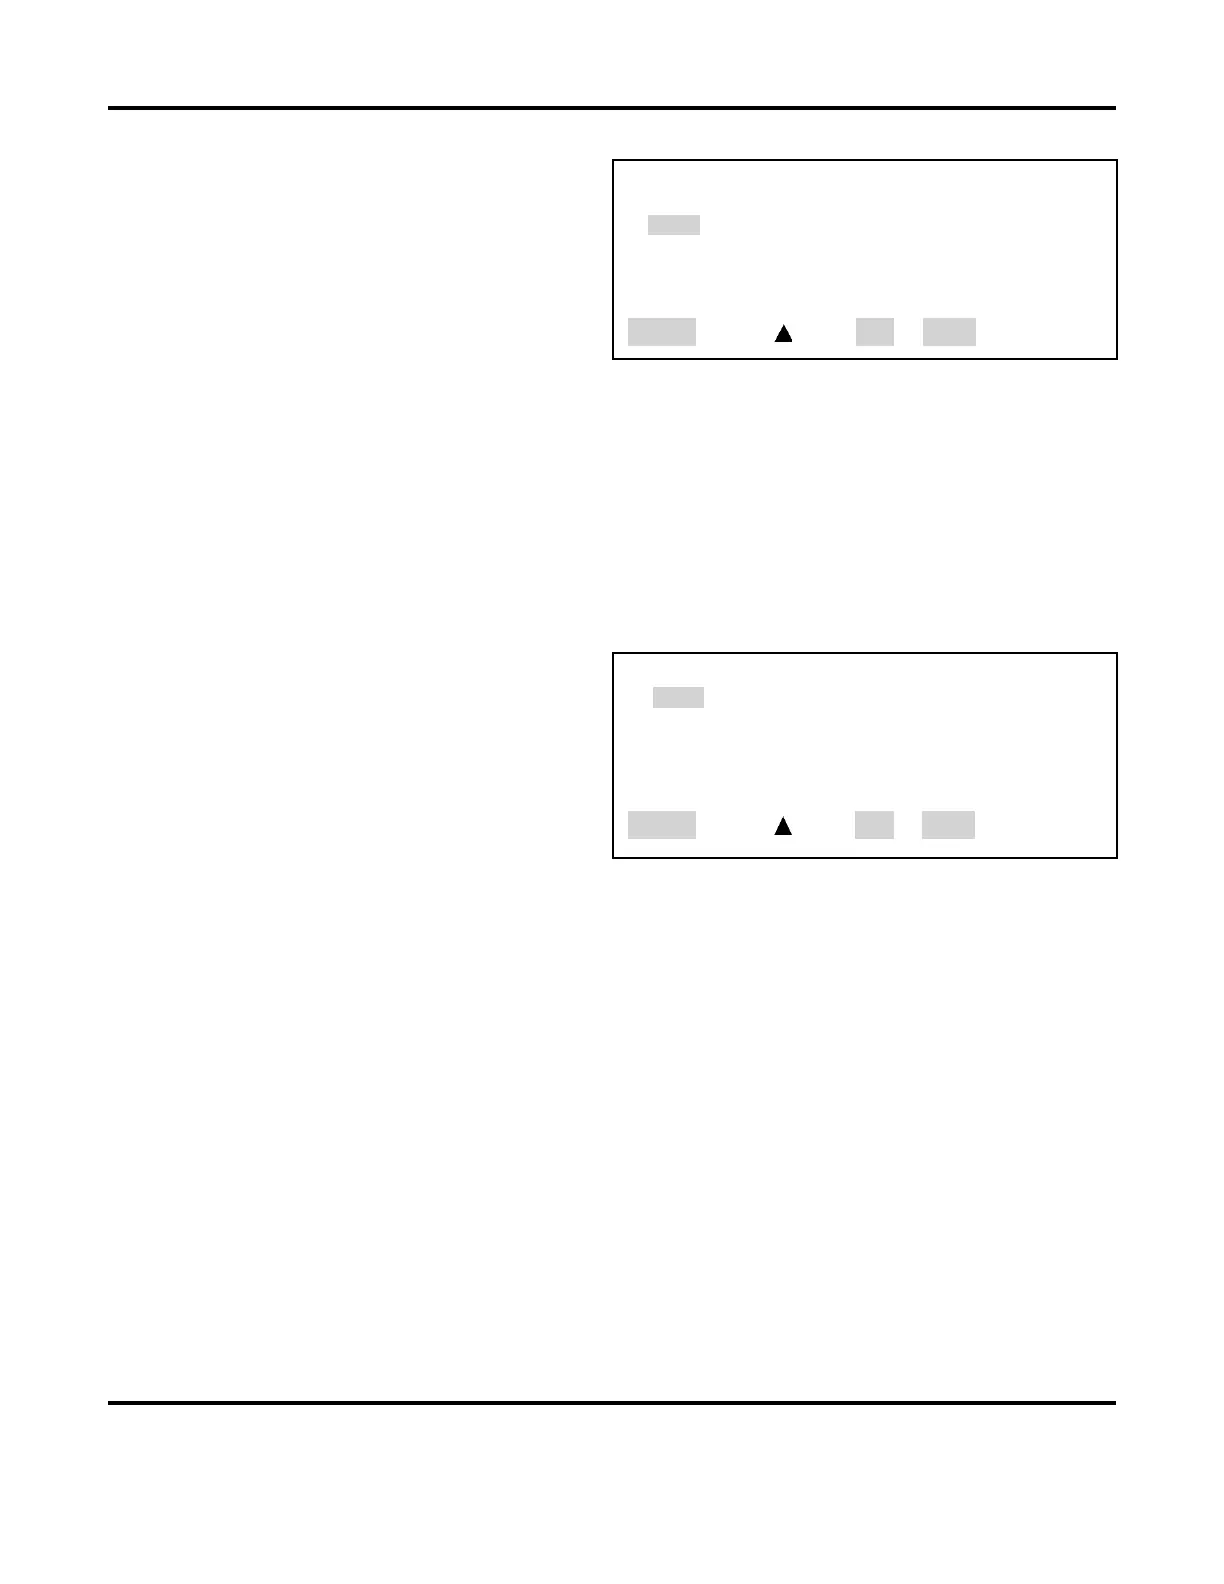
<SWITCH DEBOUNCE TIME>
1. NONE
2. 10 ms
3. 20 ms
4. 30 ms
Number Select, Page, RUN or MENU
Use NONE for interfacing with the AMADA WELD TECH SL-320A Electronic Weld Force
Control.
3. The SWITCH DEBOUNCE TIME line will now reflect your switch debounce time selection.
3. Firing Switch
With the SETUP 1 screen displayed, press the 3 key to select this function. The firing switch input, in
conjunction with or without inputs from the foot switch input, initiates the weld energy sequence. Select
the required switch type by pressing the 1, 2, or 3 key. Pressing the numeric keys automatically returns
the display to the SETUP 1 screen.
Power Supply accepts a single pole, double
pole or optical firing switch input from a
n
MADA WELD TECH weld head. Firing switch
activation indicates that the weld head has
reached the set weld force, thus permitting the
weld energy sequence to start.
<FIRING SWITCH>
1. AUTO
2. NONE
3. REMOTE
Number Select, Page, RUN or MENU
2. None
When using a non-force fired weld head, weld energy initiation must be supplied with the foot switch
input. Additionally, you must select sufficient squeeze time to permit the weld force to stabilize after
contacting the weld pieces.
3. Remote
Use this setting in an automation application or when using PLC control. The BCD input lines, via the
CONTROL SIGNALS connector (see Appendix B. Electrical and Data Connections), select weld energy
schedules and initiate the weld energy sequence.