CHAPTER 5. OPERATING INSTRUCTIONS
HF-2500A HIGH FREQUENCY WELD CONTROL
5-2 990-371
Initial Setup
1. Adjust the weld head force adjustment knob for a force appropriate for your welding application.
A good starting point is the mid-point in the range of the weld head force.
2. Set the WELD/NO WELD switch on the Power Supply front panel to the NO WELD position. In
this position, the Power Supply will operate the weld head without producing weld energy.
NOTE: When you are ready to perform a weld, be sure to set this switch back to the WELD
position.
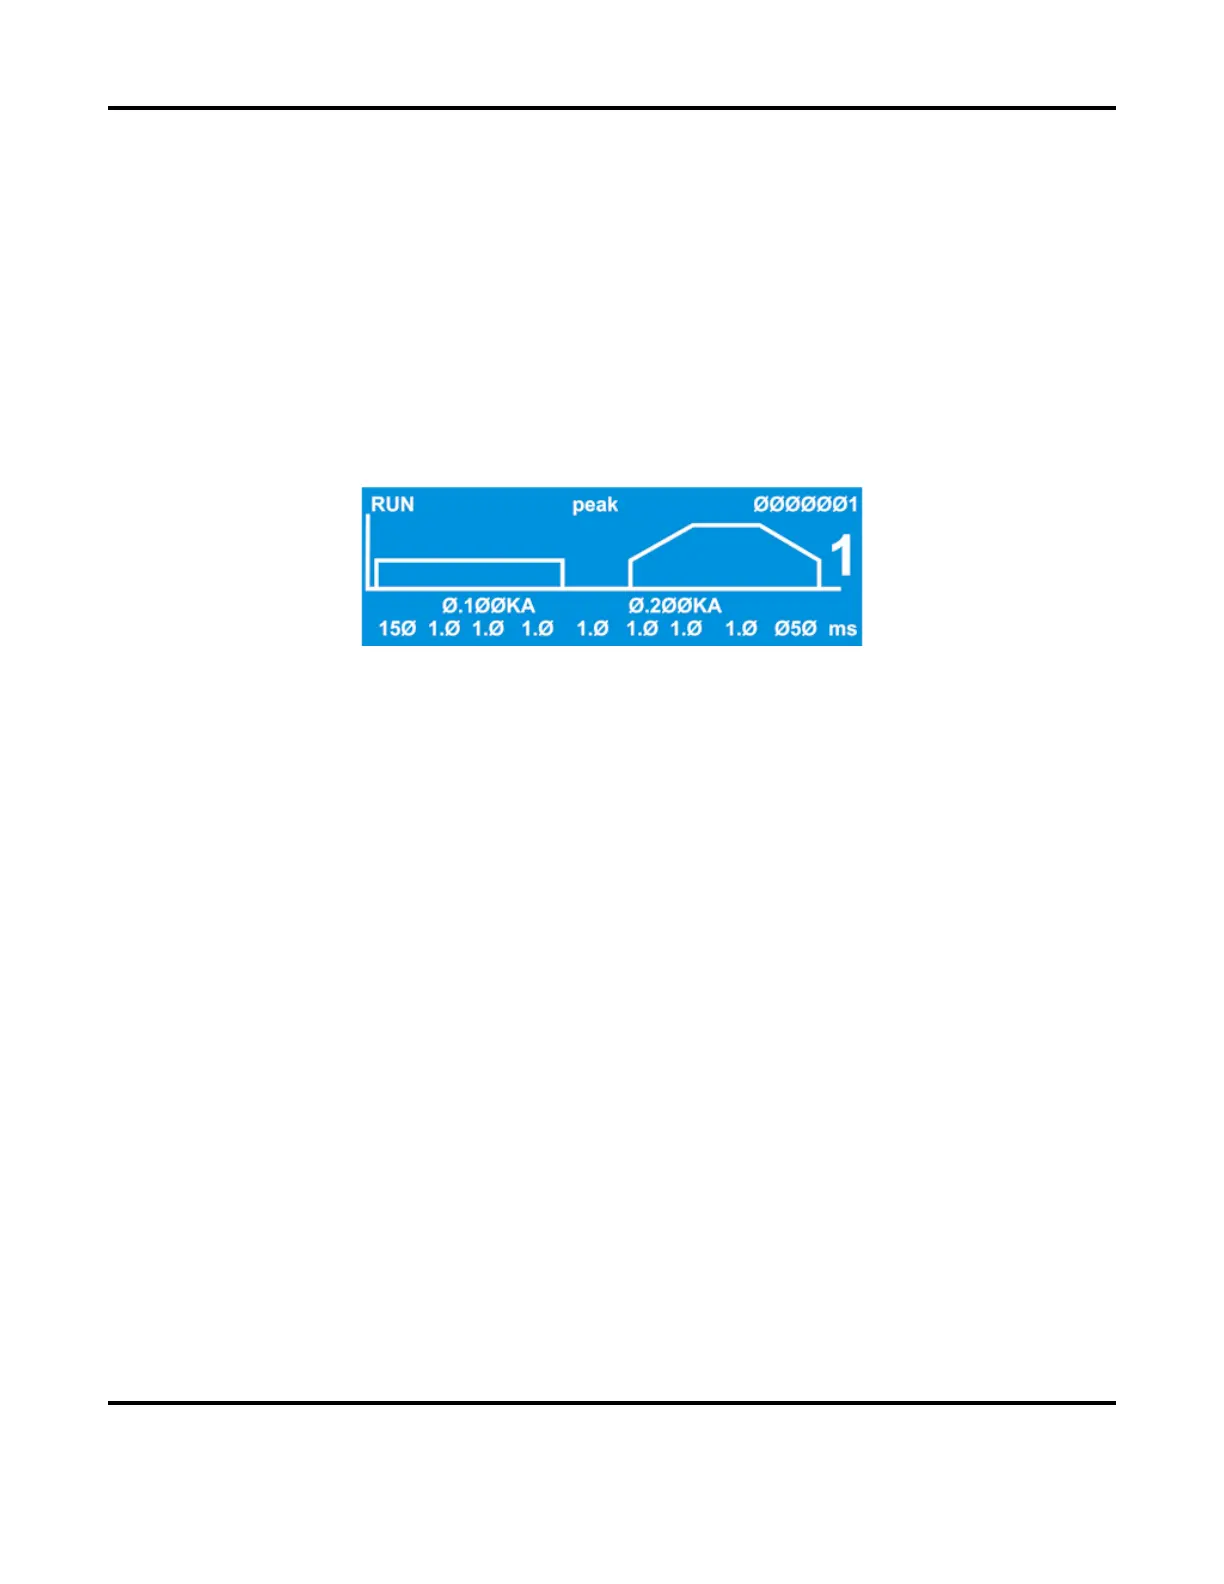
3. Turn the ON/OFF switch on the rear panel of the Power Supply to the ON position. The default
RUN screen will be displayed. You will use this screen to enter welding parameters.
Default RUN Screen
 Loading...


