MU-100A
9. Schedule Setting
9-1
9. Schedule Setting
a. Schedule menu
Sets each schedule.
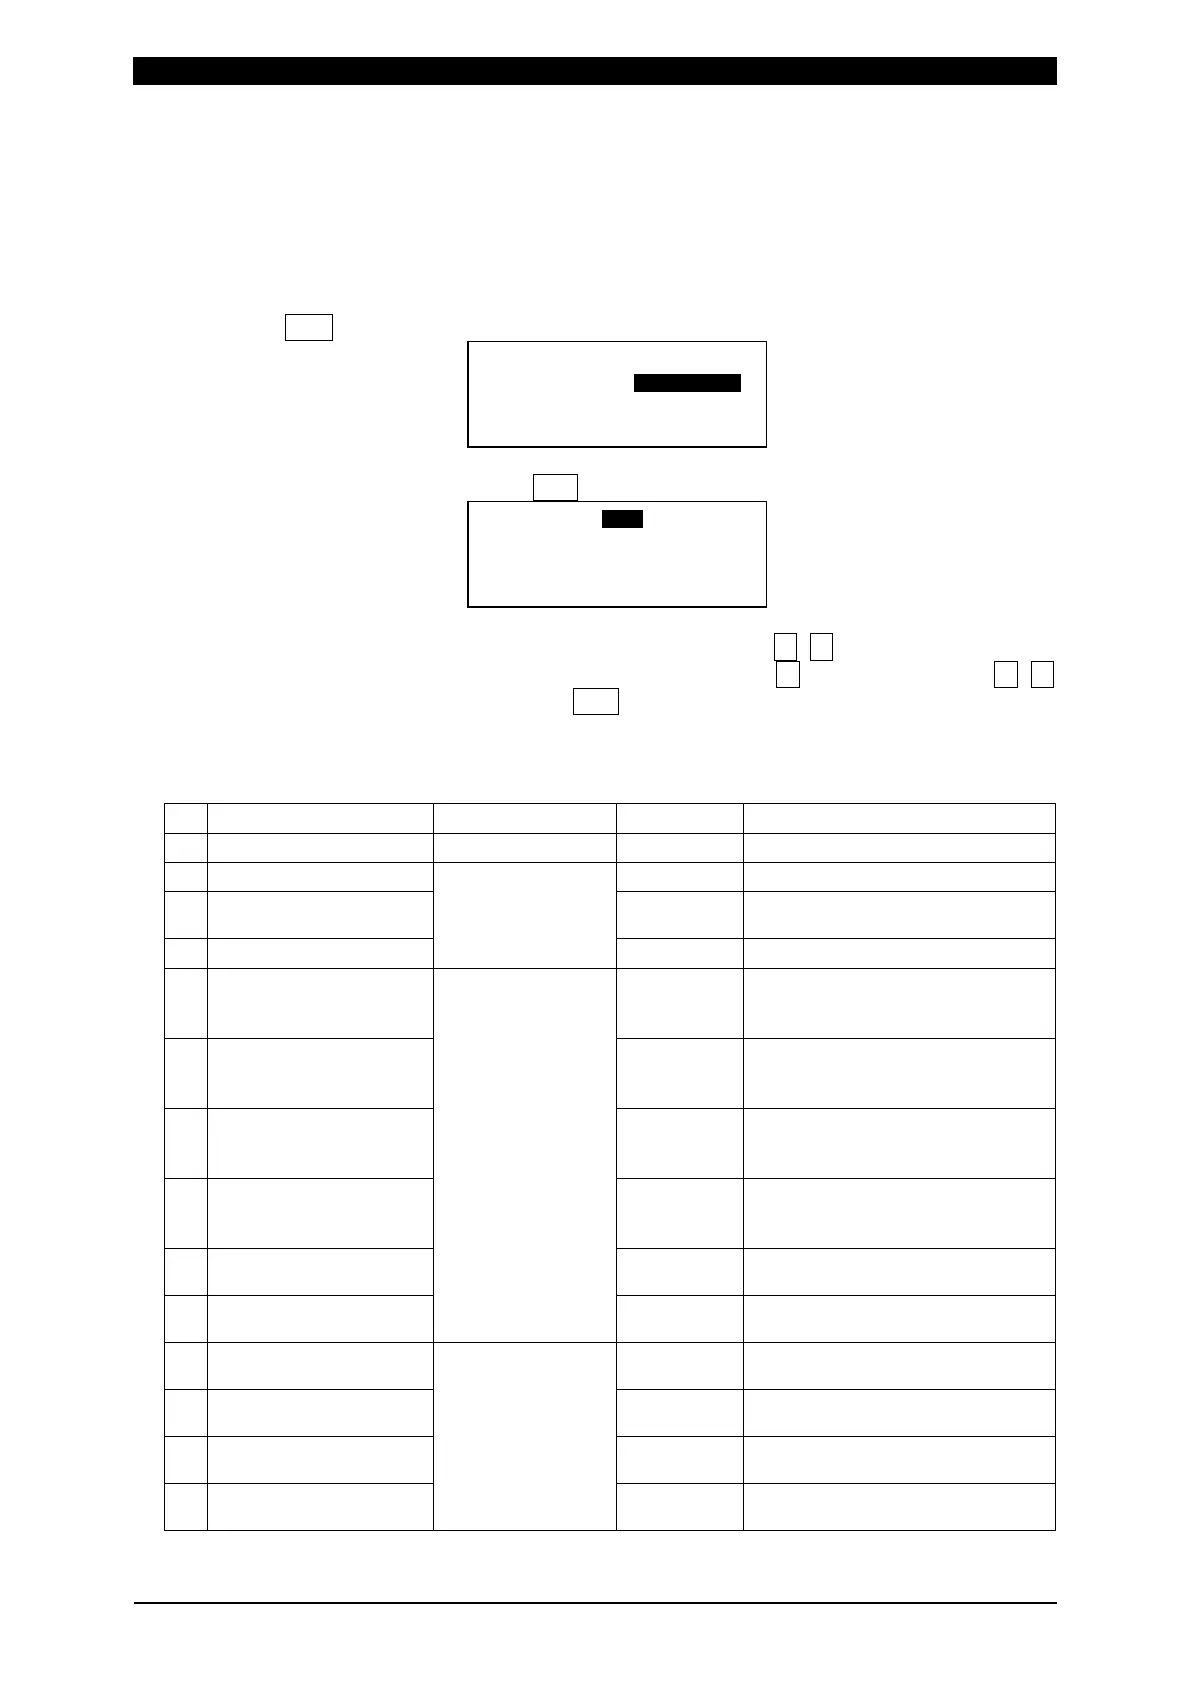
When SCH key is pressed, the LCD display becomes as shown below.
Select the axis to set and press ENT key to display the schedule setting screen.
Move the cursor to the schedule item number to set with ▼, ▲ or numeric key.
Next, move the cursor to the setting item to change with ▼ key, change it with ▼, ▲
or numeric key, and establish it with ENT key.
b. Parameter item
Setting item Setting range Initial value Description
Schedule Number 1 to 127 - Sets the schedule number.
1 Squeeze-Time 0.300sec Sets the squeeze time.
2 Weld-Time 0.050sec
Sets the weld time (including the
cool time).
3 Hold-Time
0.000 to 9.999sec
0.300sec Sets the hold time.
4 Before Weld Work LO -99.999mm
Sets the lower limit of the
before-welding workpiece
thickness.
5 Before Weld Work UP +99.999mm
Sets the upper limit of the
before-welding workpiece
thickness.
6 After Weld Work LO -99.999mm
Sets the lower limit of the
after-welding workpiece
thickness.
7 After Weld Work UP +99.999mm
Sets the upper limit of the
after-welding workpiece
thickness.
8 Displacement LO -99.999mm
Sets the lower limit of the
displacement.
9 Displacement UP
-99.999 to
+99.999mm
+99.999mm
Sets the upper limit of the
displacement.
10 Before Weld Force LO 0.00N
Sets the lower limit of the
before-welding force.
11 Before Weld Force UP Rated value
Sets the upper limit of the
before-welding force.
12 After Weld Force LO 0.00N
Sets the lower limit of the
after-welding force.
13 After Weld Force UP
*1
Rated value
Sets the upper limit of the
after-welding force.
#ZKU5%*
UGE
UGE
5EJGFWNG0WODGT
5%*#ZKU
#ZKU