MU-100A
13. Data Communication
13-3
(3) Protocol
a. Single-directional communication
The measured value is automatically sent after each measurement. When the
measurement is done, the past measured values are deleted.
When the measurement is not done, “-” or space is displayed.
Note) For the 2-axis type, if the welding starts with only one axis, the previous
measured values of another axis is sent.
Data strings:
!31
:127,99999,5000.0,N,5000.0,N,-99.999,N,-99.999,N,-99.999,N,
A B C D E F G H I J K L M
127
,99999,5000.0,N,5000.0,N,-------, ,-99.999,N,-99.999,N,FF [CR][LF]
N O P Q R S T U V W X Y Z
Character
String
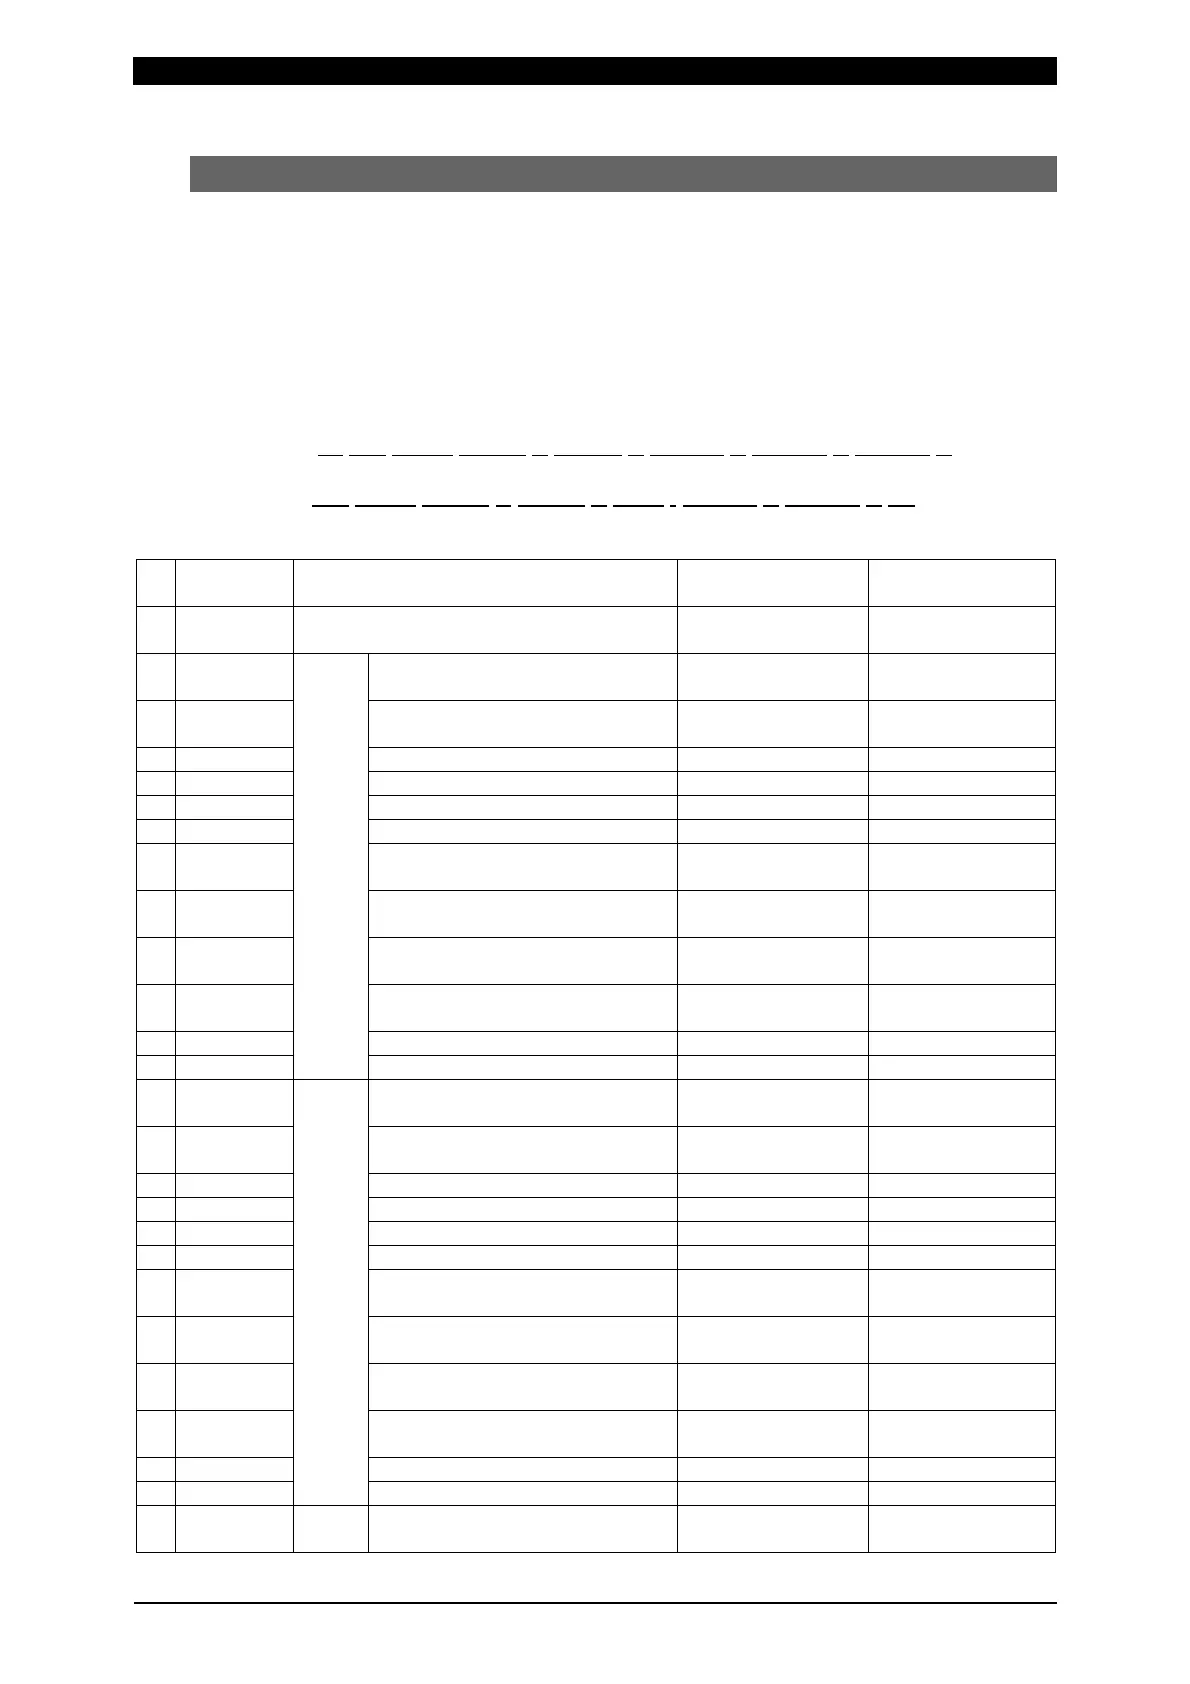
Item Data length Remarks
A nn Device address number
Fixed to 2 digits,
1 to 99
B nnn Schedule number
Fixed to 3 digits,
1 to 127
C nnnnn Counter
Fixed to 5 digits,
0 to 99999
D nnnnn Before-welding force Refer to Table 1.
E n Before-welding force judgment Refer to Table 2.
F nnnnn After-welding force Refer to Table 1.
G n After-welding force judgment Refer to Table 2.
H nnn.nnn
Before-welding workpiece
thickness
Refer to Table 1.
I n
Before-welding workpiece
thickness
Refer to Table 2.
J nnn.nnn
After-welding workpiece
thickness
Refer to Table 1.
K n
After-welding workpiece
thickness
Refer to Table 2.
L nnn.nnn Displacement Refer to Table 1.
M n
1-axis
Displacement judgment Refer to Table 2.
N nnn Schedule number 3 digits, 1 to 127
At no 2-axis:
--- (3 digits)
O nnnnn Counter 5 digits, 0 to 99999
At no 2-axis:
----- (5 digits)
P nnnnn Before-welding force Refer to Table 1.
Q n Before-welding force judgment Refer to Table 2.
R nnnnn After-welding force Refer to Table 1.
S n After-welding force judgment Refer to Table 2.
T nnn.nnn
Before-welding workpiece
thickness
Refer to Table 1.
U n
Before-welding workpiece
thickness
Refer to Table 2.
V nnn.nnn
After-welding workpiece
thickness
Refer to Table 1.
W n
After-welding workpiece
thickness
Refer to Table 2.
X nnn.nnn Displacement Refer to Table 1.
Y n
2-axis
Displacement judgment Refer to Table 2.
Z nn
FCS (frame checksum) 2 digits, 0 to FF
At no FCS setting:
“**”
 Loading...