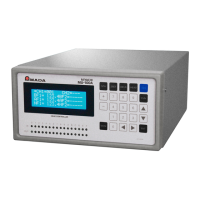
MU-100A
10. Setting of Measurement Mode and Schedule
10-15
4Set No.2 “Weld-Time” to the time longer than the set time for the welding power
supply.
5Set the monitoring level according to your use conditions.
When No.2 “Weld-Time” is shorter than the setting of No.28 “Force Sampling”
or “Force Average”, the setting is not done.
Monitoring of the force during welding
No.12 “After Weld Force LO” (after-welding force lower limit)
No.13 “After Weld Force UP” (after-welding force upper limit)
6Set the level output according to your use conditions.
Use of the force level output
No.17 “Force Level1”
No.18 “Force Level2”
No.19 “Force Level3”
7Set the weld start output force value to your use conditions.
Setting of the weld start output force value
No.21 “Tangential Force”
c. Measurement
1
Press MONI key to display the normal screen.
2Set the schedule by selecting schedule switching signals “SCH1”, “SCH2”,
“SCH4”, “SCH8”, “SCH16”, “SCH32”, and “SCH64” or via the panel.
3Apply the force to the load cell with the ready state. When the force value
reached the setting of No.21 “Tangential Force”, the sequence moves to
Weld-Time and the measurement is done.
“ST-FORCE1” or “ST-FORCE2” (second axis) is not used. Also, two axes do
not start simultaneously.
 Loading...