Section 4 Unit Operation
4-34
(3) Menu F3: Enclosing the menu F3 in a thick frame with the [>] and [<] keys and then pressing the [Enter] key display
the GPIB setup screen shown in 4-36.
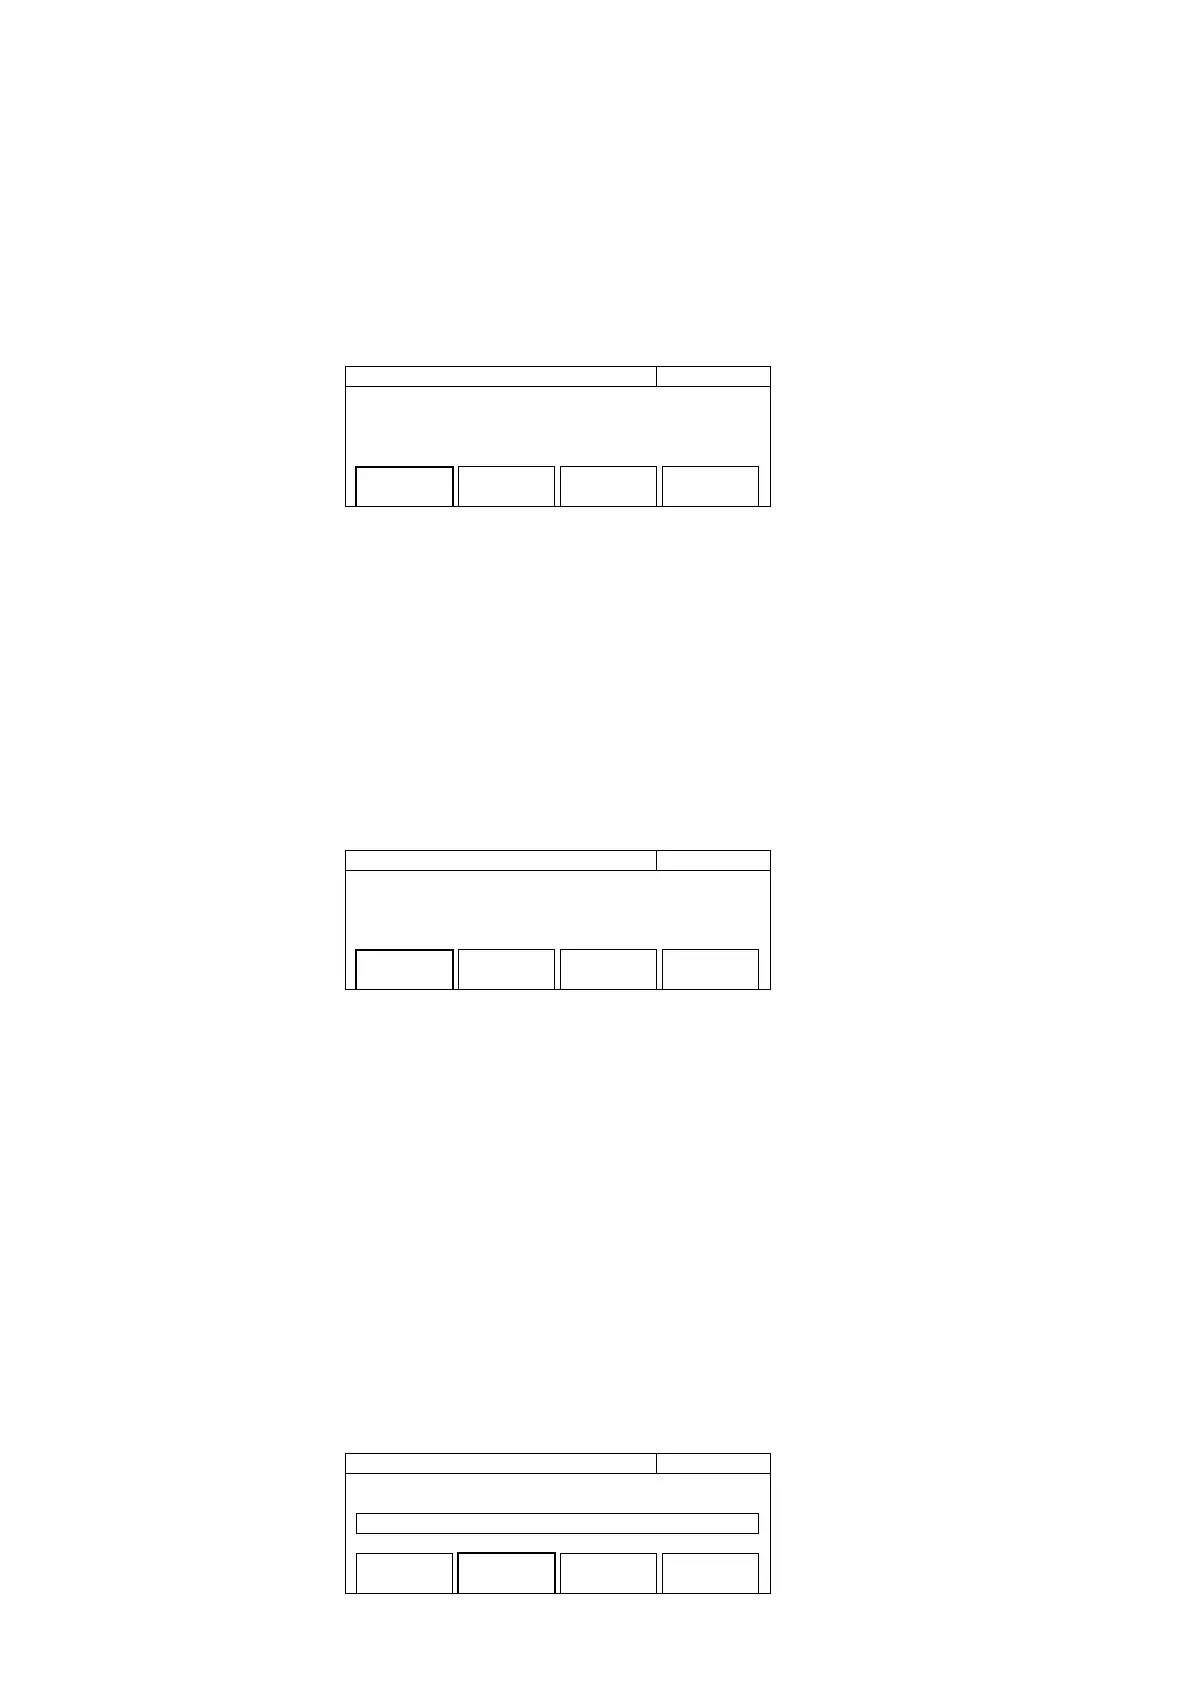
20 000 000 0
00
Hz GPIB
Address : 8
Address Talk Onry
[Off]
Fig. 4-36 System Setup Screen
(3-1) Menu F1: Set the GPIB address. Selecting the menu F1 highlights "Address", allowing you to set an address
using numeric keys. You can set the address between 0 and 30.
(3-2) Menu F2: Turn on or off the GPIB talk-only function. Pressing the [Enter] key toggles between On and Off.
(4) Menu 4: Enclosing the menu F4 in a thick frame with the [>] and [<] keys and then pressing the [Enter] key display
the Config Setup screen shown in Fig. 4-37.
20 000 000 0
00
Hz Config
Freq Ref
[Auto]
AUX
[Off]
Intensity
[Bright]
System
Fig. 4-37 Config Setup Screen
(1-1) Menu F1: Select a reference signal. Determine whether only the internal reference signal is used as the
counter's reference signal (Int) or it is automatically switched to the external reference signal when the
external signal is input from the outside (Auto).
The set parameter is displayed in the square brackets of menu F1.
(1-2) Menu F2: Choice of the signal output to the AUX output connector determines the signal output from the
AUX terminal. When menu F2 is selected, the AUX signal selection screen shown in Fig. 4-41 pops up.
Selecting one of Off, Go, End, Lvl, Gate, Rest, and Acq using [<] and [>] keys and pressing the [Enter] key
display the Config setup screen shown in Fig. 4-37. At this time, the set parameter is displayed in the square
brackets of menu F2.
20 000 000 0
00
Hz Config
Off / Go / End / Lvl / Gate / Rest / Acq
Freq Ref
[Auto]
AUX
[Off]
Intensity
[Bright]
System
Fig. 4-38 Config Setup Screen