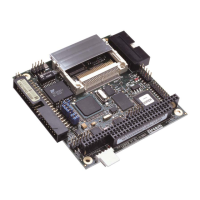
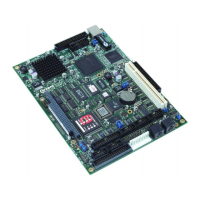
SBC-GX1 Technical Manual Appendix G – Display Converter 1 (DC1)
Using the DC1
In order to use the DC1 with the SBC-GX1 you must make sure that:
• The TFT display is enabled on the GX1 board.
• The jumper that controls the TFT interface signal levels (LK4) is in position 2-3 (3.3V).
Setting this jumper in the 5V position will cause damage to the DC1 board
and must be avoided.
• The backlight voltage jumper (LK3) is in the appropriate position.
There are two cables required for connection to the SBC-GX1:
• A 34-way 1:1 ribbon cable should be connected between PL11 on the SBC-GX1
and J2 on the DC1.
• A 20-way 1:1 ribbon cable should be connected between PL13 on the SBC-GX1
and J5 on the DC1.
Once these connections are made the rest of the configuration is display-specific.
The requirements for the Sharp LM8V302 and Nan Ya displays are as follows:
• Sharp LM8V302 – DC1-Color
Connection to this display is made via two separate connectors J3 and J4. The pin
out of these connectors is designed to provide a 1:1 connection.
This display requires an extra contrast voltage which is not generated by the DC1
board. This voltage must be provided by an external source and connected to J6
pin 2. J7 provides support for a
TDK CXA-L0612A-VJL inverter that can be used with
this display.
Once the connections are made, refer to the section
Configuring the CS9211 on
page 103
.
• Nan Ya LTBLDT168G16C
–DC1-Mono
Connection to the display is made via J1, the pin out of this connector is designed to
provide a simple cable between the DC1 and the display. J7 is used to connect to
the backlight inverter and provides connections that enable the backlight brightness
to be controlled. The Nan Ya display requires an LCD BIAS voltage VEE which is
generated on the DC1.
The VEE generation circuit uses a MAXIM MAX686 which is configured by default
to provide a contrast voltage range of 20 to 24V. The output can be controlled via
GPIO5 and 6 from the SBC-GX1. The MAX686 provides 64 steps between the
minimum and maximum voltage. The example code provided can be used to show
how the GPIO lines are used to set the output level. The voltage range can be
modified to operate across the 12V to 27.5V range. This may be required if the DC1
is used to support an alternative display.
© 2004 Arcom Issue D 102
 Loading...