PU-4010 1-11
About the Battery Icon
1-4-2 For Use with the Printer
Use the following procedure to attach (or detach) the printer to (or from) the instrument.
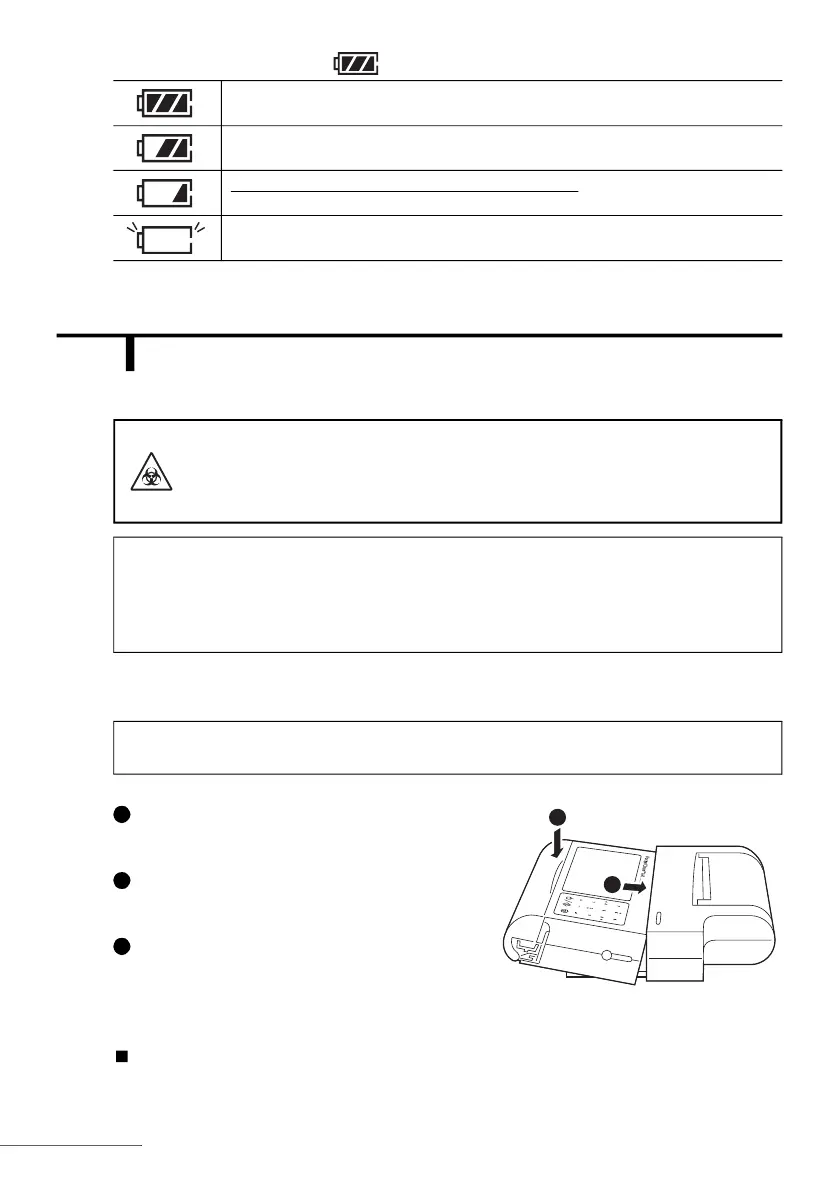
How to Attach
Place instrument onto the printer at an
angle as shown in the figure.
Press the top of the instrument to snap it
into place.
Make sure the top of the instrument and
printer are horizontally level with one
another and that both units are firmly
locked to each other.
Go to “1-4-3. For AC-Power Operation” on the next page.
Battery power is sufficient or AC power in use.
The battery level has lowered, but testing is still possible.
Immediately replace the batteries with new ones. Measurement may stop in
progress because of insufficient battery power.
A blinking icon indicates the instrument cannot perform testing anymore because
of insufficient battery power. Replace the batteries immediately.
The printer must be directly attached to the instrument in order to
use it. Therefore, the printer can also be contaminated by
pathogenic microbes. Take care when attaching, detaching and
storing the printer to prevent exposure to pathogenic microbes.
NOTE: Turn off the power and disconnect the AC adapter from the AC receptacle before
attaching or detaching the printer. Failure to do so may cause damage to the instrument
and printer. The printer may print nonsense if it is accidentally attached or detached while
connected to the AC receptacle. However, this does not mean that there is something
wrong with the printer.
NOTE: The printer runs on AC power only, not on batteries. Once the printer is attached to
the instrument, connect the instrument through the printer to an AC receptacle.
1
2
1
2
3