PU-4010 2-5
Set the test strip type, measurement number and patient ID (if needed) before testing. If they
have already been set correctly, skip this step and go to
“2-5. Normal Measurement” on page
2-8.
2-4-1 Selecting Test Strip Type
Select the type of test strip you will be testing. However, you can skip this procedure if you
have auto-identifiable test strips, whose type can be automatically detected by the instrument
during measurement.
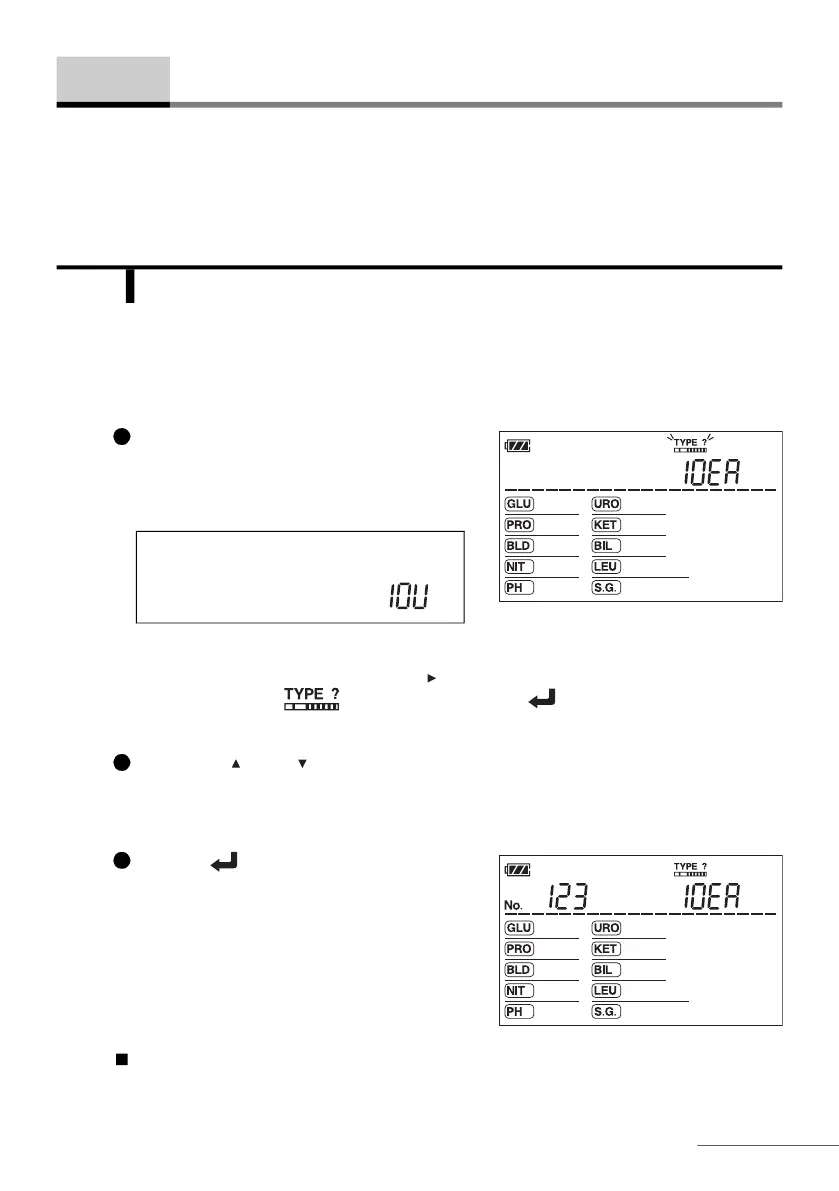
On the standby screen, press the hyphen
button.
• The currently selected type of test strip will
appear.
REFERENCE: Alternately, you can use the following procedure to access this screen:
1. On the standby screen, press the button five times.
2. Making sure the icon is blinking, press the button.
Press the or button to select the type of test strip.
REFERENCE: “C” is for check strip. Do not select it here.
Press the button.
• This will confirm your entry and the standby
screen will appear again.
Go to “2-4-2. Setting Measurement Number” on the next page.
2-4 Test Conditions Setup
1
NOTE: For devices with 10V specifications,
the default display is "10V", as shown
below.
2
3