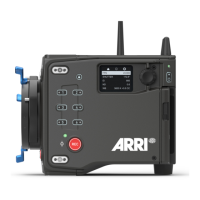
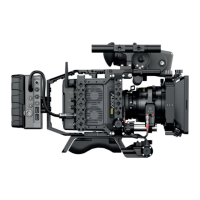
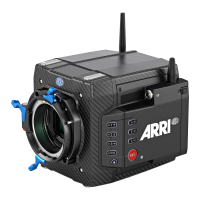
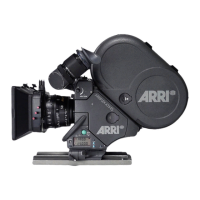
42 Connectors
9.10 12 V
The 12 V connector supplies an external accessory with 12 V power and up
to 2.2 A current.
It is located on the camera right lower front.
9.11 TC
The TC connector is a 5pin LEMO socket. It accepts and distributes LTC
(Longitudinal Time Code) signals.
It can be used to
Jam sync the camera time code to a Clockit, TC Slate or another
camera
Transmit the camera's time code to a Clockit, TC Slate or another
camera
Tune the camera crystal oscillator's frequency with an Ambient ACC
Clockit Controller
It is located on the camera right lower front.
9.12 AUDIO OUT
The AUDIO OUT is a 3.5mm TRS connector (headphone jack), which
outputs the audio fed to the 5-pin XLR connector with a maximum power of
2.5 dBm.
It is located on the camera right lower front.
Note: Do not connect a headphone to the camera during recording. Connecting a
headphone to the camera can cause a short audio signal interruption due to static
electricity.
9.13 SD Card
The SD card slot is located at the bottom on the camera right side middle.
Most SD or SDHC card with a capacity of up to 4 GB can be used. The card
should be pre-formatted with a FAT or FAT32 file system. The slot is
protected from dirt and rain by a slider door. Insert the SD card according to
the drawing on the camera housing.
Note: Always keep the slider door closed during operation to prevent dirt and
moisture from entering the camera.