13
GigaX3112 Series Layer 3 Managed Switch
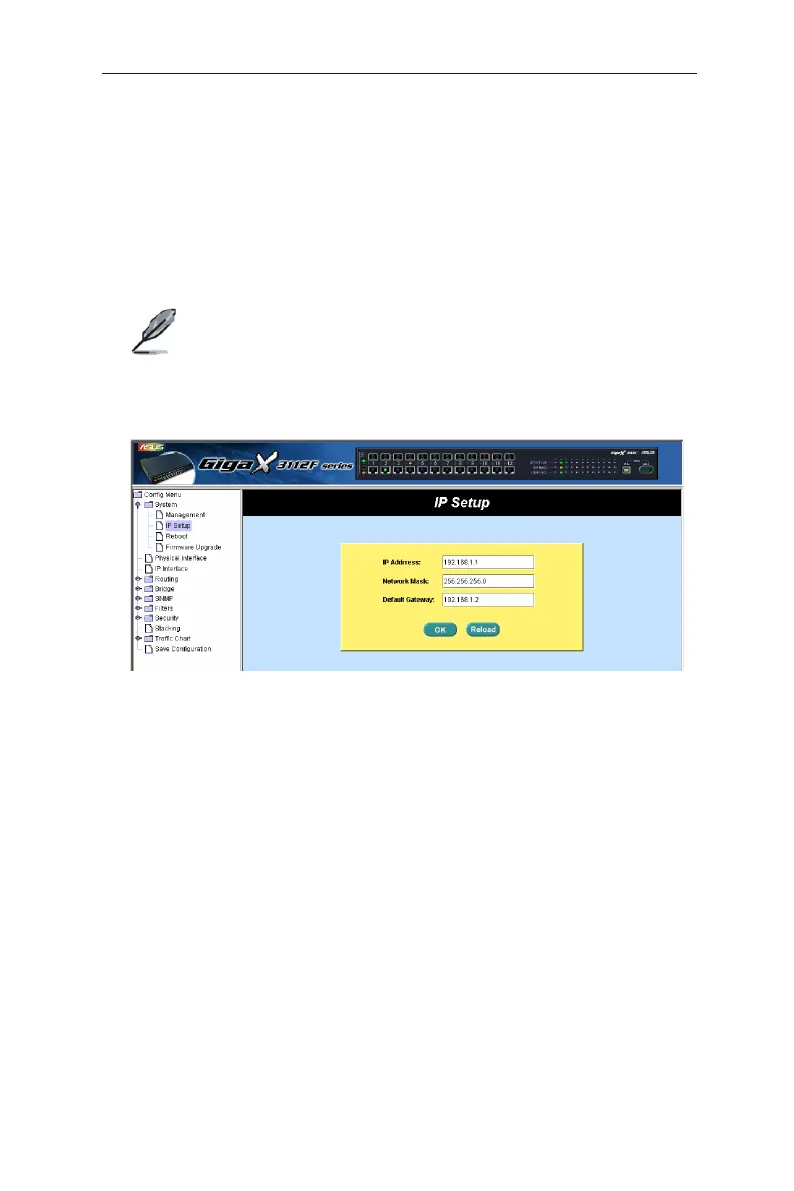
To setup a new IP address, click “System”, select IP Setup. Fill in the IP address,
network mask and default gateway, then click
OK
.
If your new address is different from the default, the browser wonʼt be able to
update the switch status window or retrieve any page. This is normal. You have
to retype the new IP address in the address/location box, and press <Enter>.
The WEB link returns.
A login window appears immediately after you click
OK
. See the figures on the
next page.
Note that the GigaX 3112 and GigaX 3112F models have the
same web interface, except for the front panel image on top of
the screen (see figures on the next page).
The following sections show only Gx3112F image as example to
configure both GigaX3112 and GigaX3112F model.
Figure 7. IP setup (GigaX 3112F)
 Loading...