Ch. 9. Scanning Tunneling Microscopy Sec. 9.4. Load the tip
Alternately, simply bonding a small length of wire directly to the sample puck with solder or silver
epoxy works well. In many cases fixing the sample and bias voltage connections are sample specific.
The sample socket on the terminal block is sized to accept the diameter of a standard 1/4watt resistor
lead or similar diameter wire for making your own bias leads.
9.4. Load the tip
1. Locate your box of STM probe tips or see
Section 9.10 on page 111 about making your own.
2. With tweezers insert the STM probe into the holder. Note that the probes are straight and not
curved. This is intentional. The tube in the STM holder is bent with a slight curve. This bend will
cause the straight probe wire to fit tightly and reduce potential of drift due to the effects of stress
in the wire. Push the probe wire into the tube until the end of the wire begins to extend out of the
top of the tube. Don’t touch the tip at any time.
3. Install the sample on the scanner.
4. Attach bias voltage lead from sample to ‘Sample’ socket on scanner’s terminal block.
5. Insert the tip holder into the scanner and secure it with the 0.050” hex driver tool.
9.5. Zero Various Offsets
NOTE
The specific values in the screen shots in the following steps are often just
examples of what you might encounter. Read the instructions carefully and record
your own values where necessary. The parameters used in this procedure are for
the Graphite test sample provided.
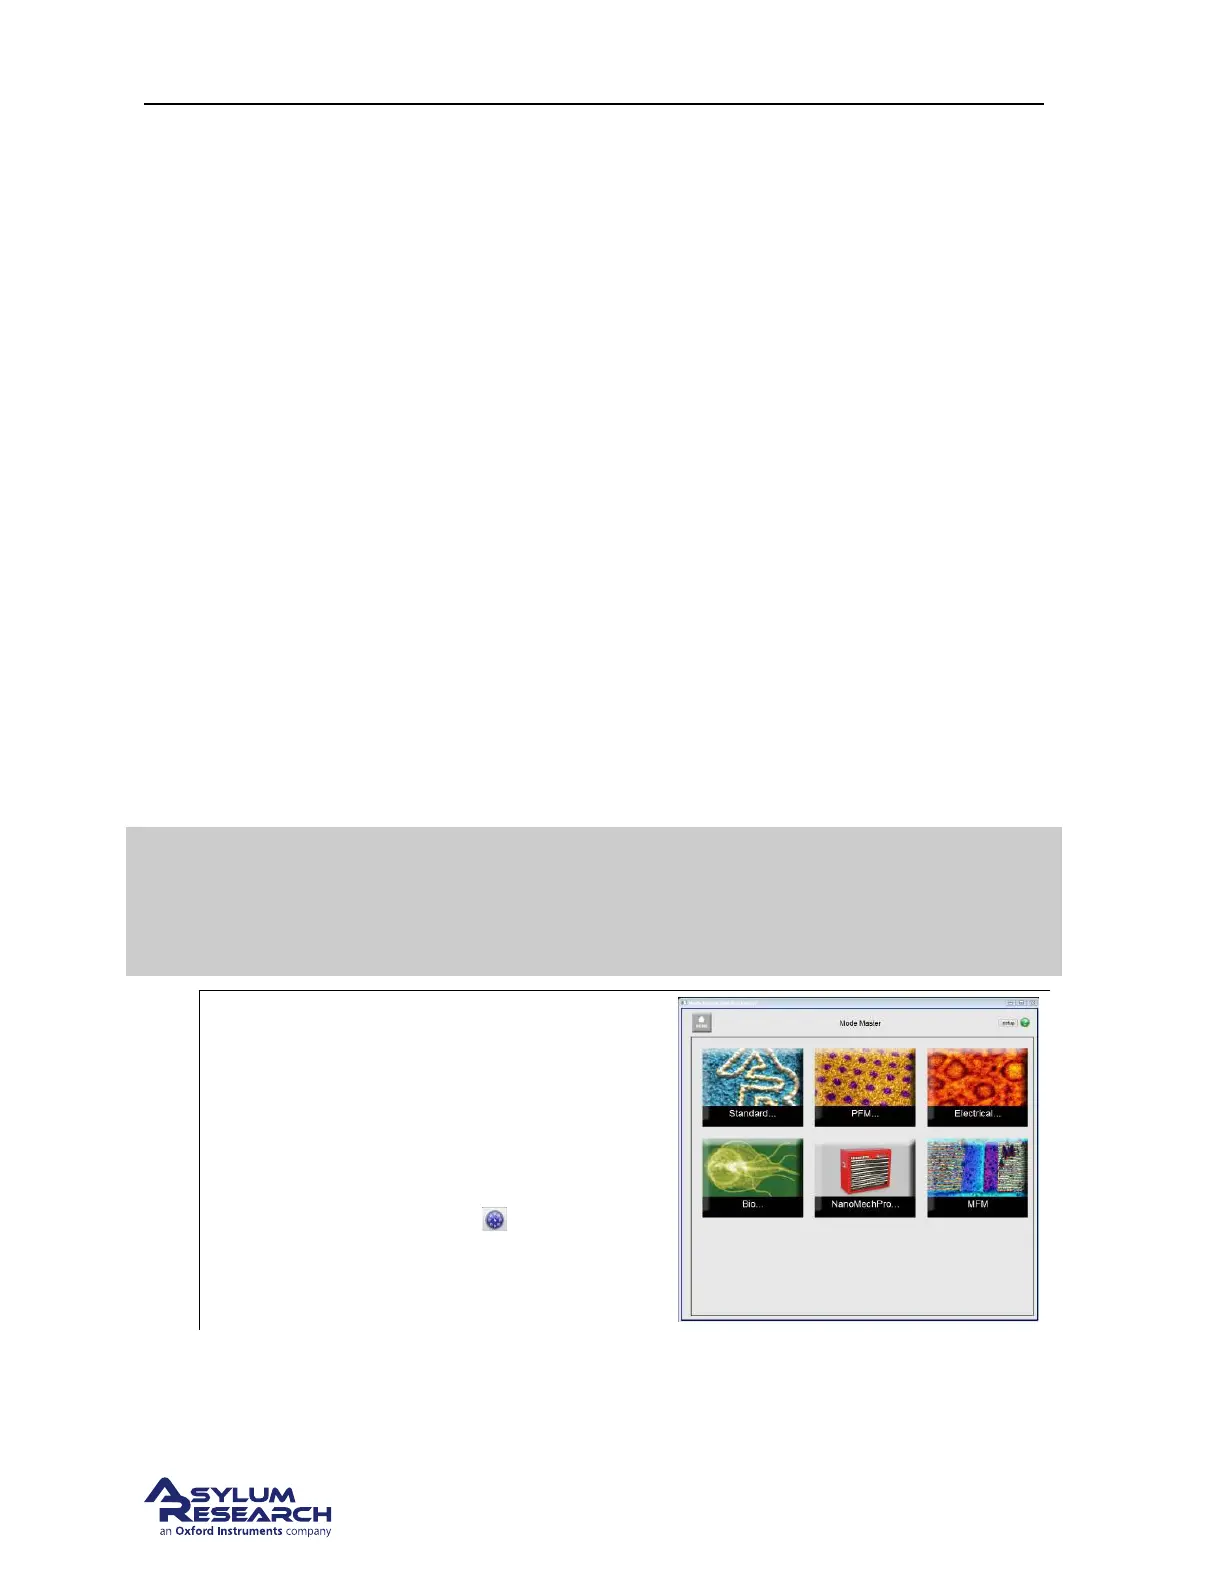
1.
Mode Master:
• The software should now be showing
the mode master window.
• If not, click s the Mode Master button at
the bottom of the screen: .
support.asylumresearch.com Page 105