Ch. 18. Laser Sources Sec. 18.3. ’Spot On’ calibration
9.
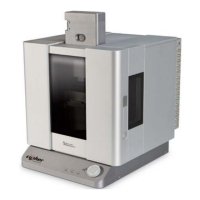
Pull the light tube out:
• Touch a metal part of the SPM
instrument to ground yourself.
• Grip the light tube’s red handle.
• Gently push straight back. The light
tube should slide out very smoothly. If
not, further loosen the knob.
• Once the tube clears its cradle, move it
to the right and pull it forward and out.
Redo photo.
10. Unplug the power cable.
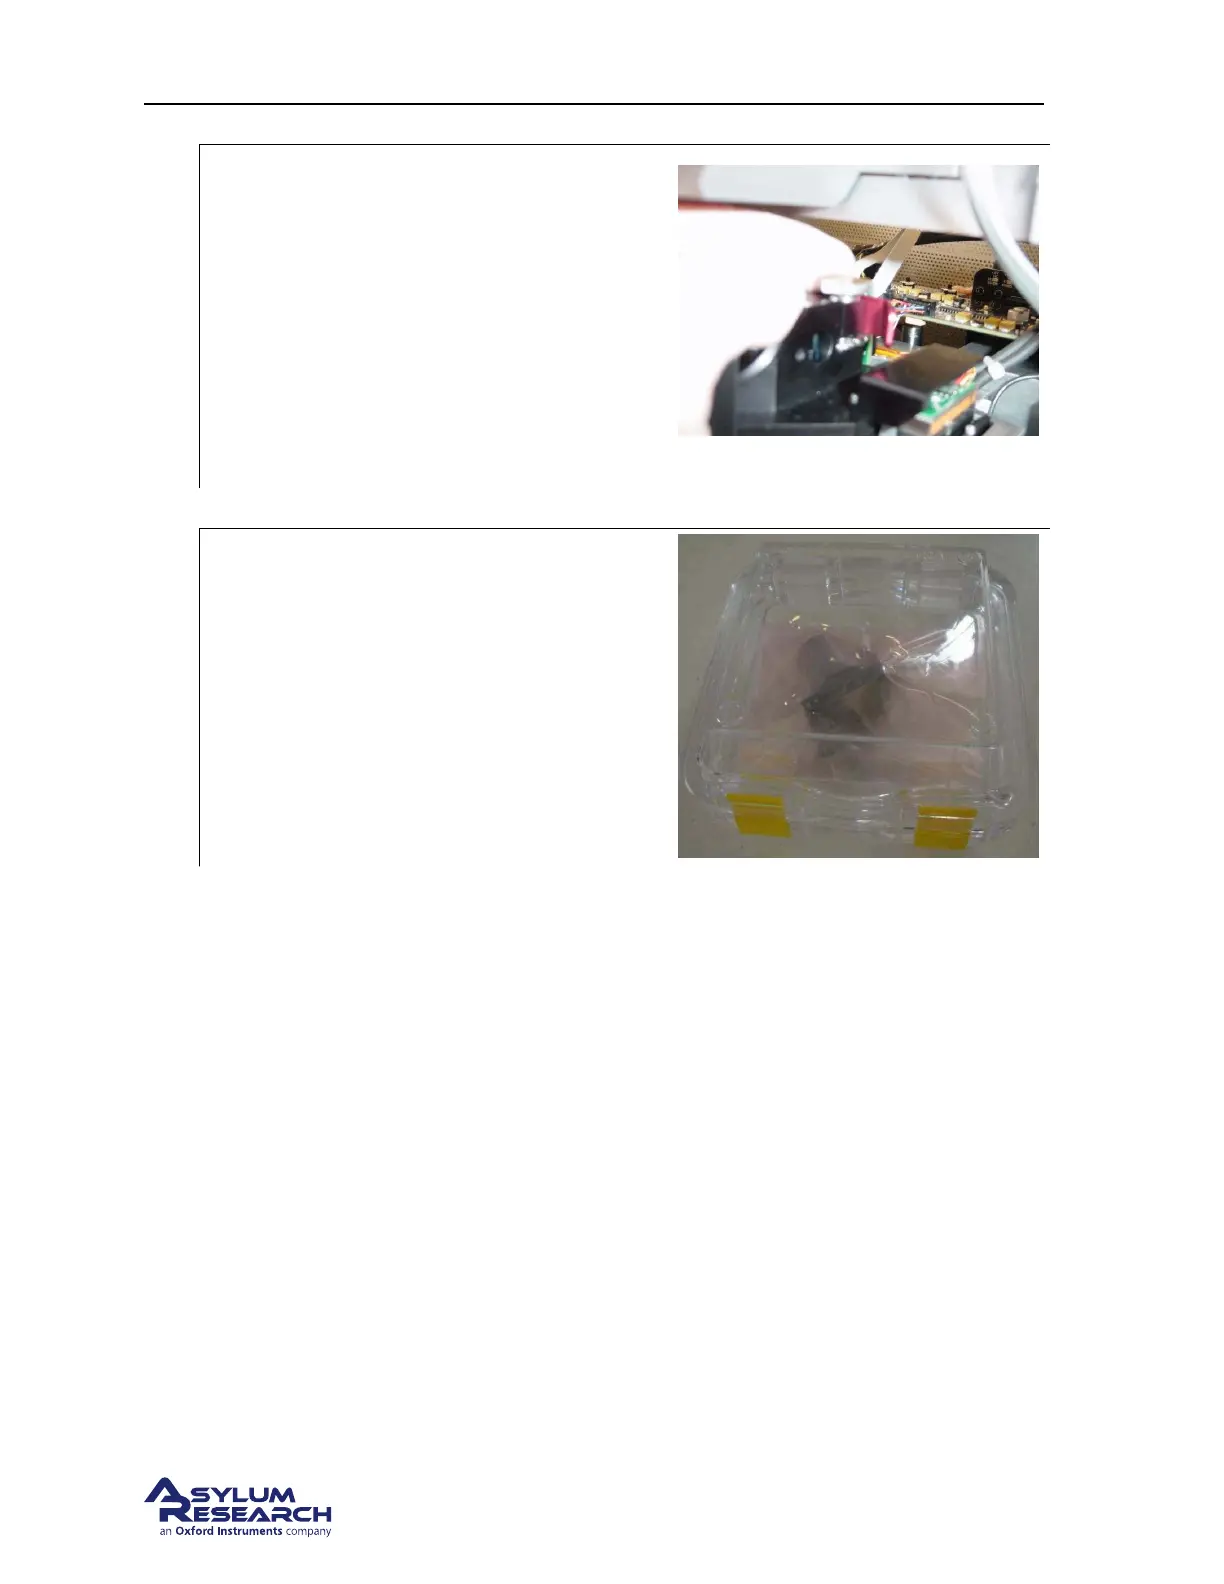
11.
Store the light tube immediately:
• Place the light tube in its pink anti static
bag (IMPORTANT!)
• Place the bag and light tube inside its
plastic enclosure.
• Store in a safe place. The light tube is
fragile and can be damaged or knocked
out of focus if it is dropped.
12. Connect the new Light Tube to the power cable.
13. Install the light tube (reversing the removal process) into the head making sure that the tube is
fully seated. The tab on the left side of the tube will key the rotation of the tube in the head.
14. Tighten the clamping knob to secure the Light Tube.
15. Replace the optics cover (See
Step 4 on page 192)
16. Turn theARC2 power back on.
17. Power the system back up and align the laser spot on the cantilever. If you are unsure of this
process, follow these steps
a) Power up the system as described in Chapter 2 on page 10.
b) Follow the “AC Mode in Air tutorial” (Chapter 4 on page 17) up to Step 12 on page 30.
c) If the ’Spot On’ process does not perfectly center the laser, then please see
Section 18.3 on
page 194.
18.3. ’Spot On’ calibration
A small amount of misalignment in the light spot position is normal after the light tube is exchanged.
Great care is taken at the factory to ensure that the “spot on” calibration is correct but due to subtle
BETA
Page 194