Operating Instructions Xenotest
®
150 S+
45
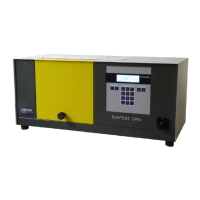
7.2 Operating the touch screen
Functional units:
Fig. 31: The instrument control via touch screen is achieved
either with a finger or with a touchpen and the three functio-
nal units:
2 Function keys for activating the basic functions with
arrow keys 1 for navigation through the menus,
3 Menu keys for activating the program modules and
the pertaining submenus,
4 Numeric keypad for entering parameter values.
Program module:
The instrument is controlled with 6 program modules that
can be accessed via the menu keys. Each program module
is represented in the pertaining dialog window by an icon C.
The icons have the following meaning:
" Enter / change tests
Output data
Help
Change settings
# Display data
User profiles
The program modules can be accessed anytime; the sym-
bol C in the display and a frame in the corresponding sym-
bol color indicate which menu key has been activated.
User guiding:
The user menus are generally self-explaining. Each dialog
window contains notes about possible user actions or wor-
king steps and displays information about the status of an
initiated action as well as general, primary information:
5 Prompt for user action
B Note about next possible, executable working steps
6 Status bar with display:
• Text information 7: Test running / interrupted /
completed
• Progress indicator 8 (during a running test)
9 Time
A Date
7 Operation
Fig. 31
 Loading...