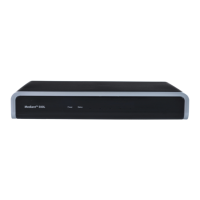
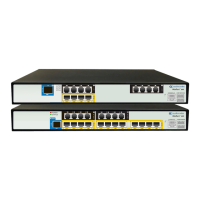
Mediant 1000B Gateway & E-SBC
Hardware Installation Manual 88 Document #: LTRT-41441
• Stop Bits: 1
• Flow Control: None
3. Connect the USB port, located on the OSN3 module, to a USB storage device
containing the operating system installation files (disk-on-key or external CD-ROM /
DVD-ROM drive).
4. Power up the device; the OSN server boots up from the USB storage device and the
terminal application prompt appears.
5. Follow the online installation instructions to install the operating system.
A.4 Connecting Remotely to OSN3 using Windows
You can connect to the OSN3 server using Microsoft's Remote Desktop Connection
program.
Notes:
• To connect remotely to the OSN3 server running Windows, make sure that Remote
Desktop is enabled.
• The remote PC must be in the same subnet as the OSN server (default IP address
is 10.1.10.12).
• If, for any reason, you use an HDMX module taken from another chassis with OSN3
running Windows 2008, the default static IP address (10.1.10.12) is no longer
applicable. This is because the module becomes a DHCP client and acquires a
different IP address. To configure a specific IP address, you need to use a serial
console, as described in Section A.4.1 on page 88.
A.4.1 Modifying the OSN3 IP Address
If, for any reason, you use an HDMX module taken from another chassis with OSN3
running Windows 2008, the default static IP address (10.1.10.12) is no longer applicable.
This is because the module becomes a DHCP client and acquires a different IP address. To
configure a specific IP address, you need to use a serial console, as described below.
To manually configure an IP address (for the scenario described in the note
above):
1. Connect the OSN3 serial interface port to a PC console using the RJ-45-to-DB-9 cable
adapter (see Section A.2.2 on page 81).
2. Use a serial communication software (e.g., HyperTerminal) to establish a serial
communication link, using the following communication port settings:
• Baud Rate: 115,200 bps
• Data Bits: 8
• Parity: None
• Stop Bits: 1
• Flow Control: None
3. Wait until the following Windows 2008 message is displayed:
EVENT: The CMD command is now available.
 Loading...
