Mediant 1000B Gateway & E-SBC
Hardware Installation Manual 64 Document #: LTRT-41441
4. Gently insert the module into the empty slot, aligning the module with the rails in the
slot in the following module orientation, depending on whether you are inserting it in
the top- or bottom-row slots:
• Top-row slots: Ensure that the module is orientated such that the port-number
labels are located at the bottom of the module's front panel. This module
orientation is considered as facing up.
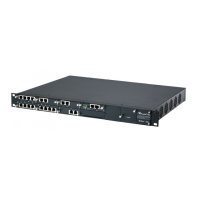
Figure 6-5: Inserting a Module into the Empty Slot
• Bottom-row slots: Ensure that the module is orientated such that the port-
number labels are located at the top of the module's front panel. This module
orientation is considered as facing down.
5. Push the module into the slot and press on it firmly to ensure that it has been fully
inserted.
6. Using a flathead screwdriver or your fingers, tighten the module's two captive screws
to secure the module to the chassis.
Figure 6-6: Captive Screws on Module
6.2.1.2 Replacing I/O Modules
The procedure for replacing a front-panel I/O module depends on the type of module as
well as hardware configuration.
If the chassis houses at least two I/O modules of any of the following types—FXS, FXO,
BRI, TRUNKS, and/or MPM—you can replace any one of these modules with a module of
the same interface type and same number of ports (e.g., a 2-port FXS module with a 2-port
FXS module) using a hot-swappable process. In other words, you can replace the module
without powering down the device and thus, without affecting other components and
processes. The hot-swappable procedure includes physical removal and insertion of the
module as well as software-based removal and insertion of the module through the Web
interface.

 Loading...