Changes on the Detection Loop
Installation Handbook, Autroprime Interactive Fire Detection System, 116-P-APRIME2-INSTAL/DGB, Rev. C, 2016-29-02,
Autronica Fire and Security AS
Page 78
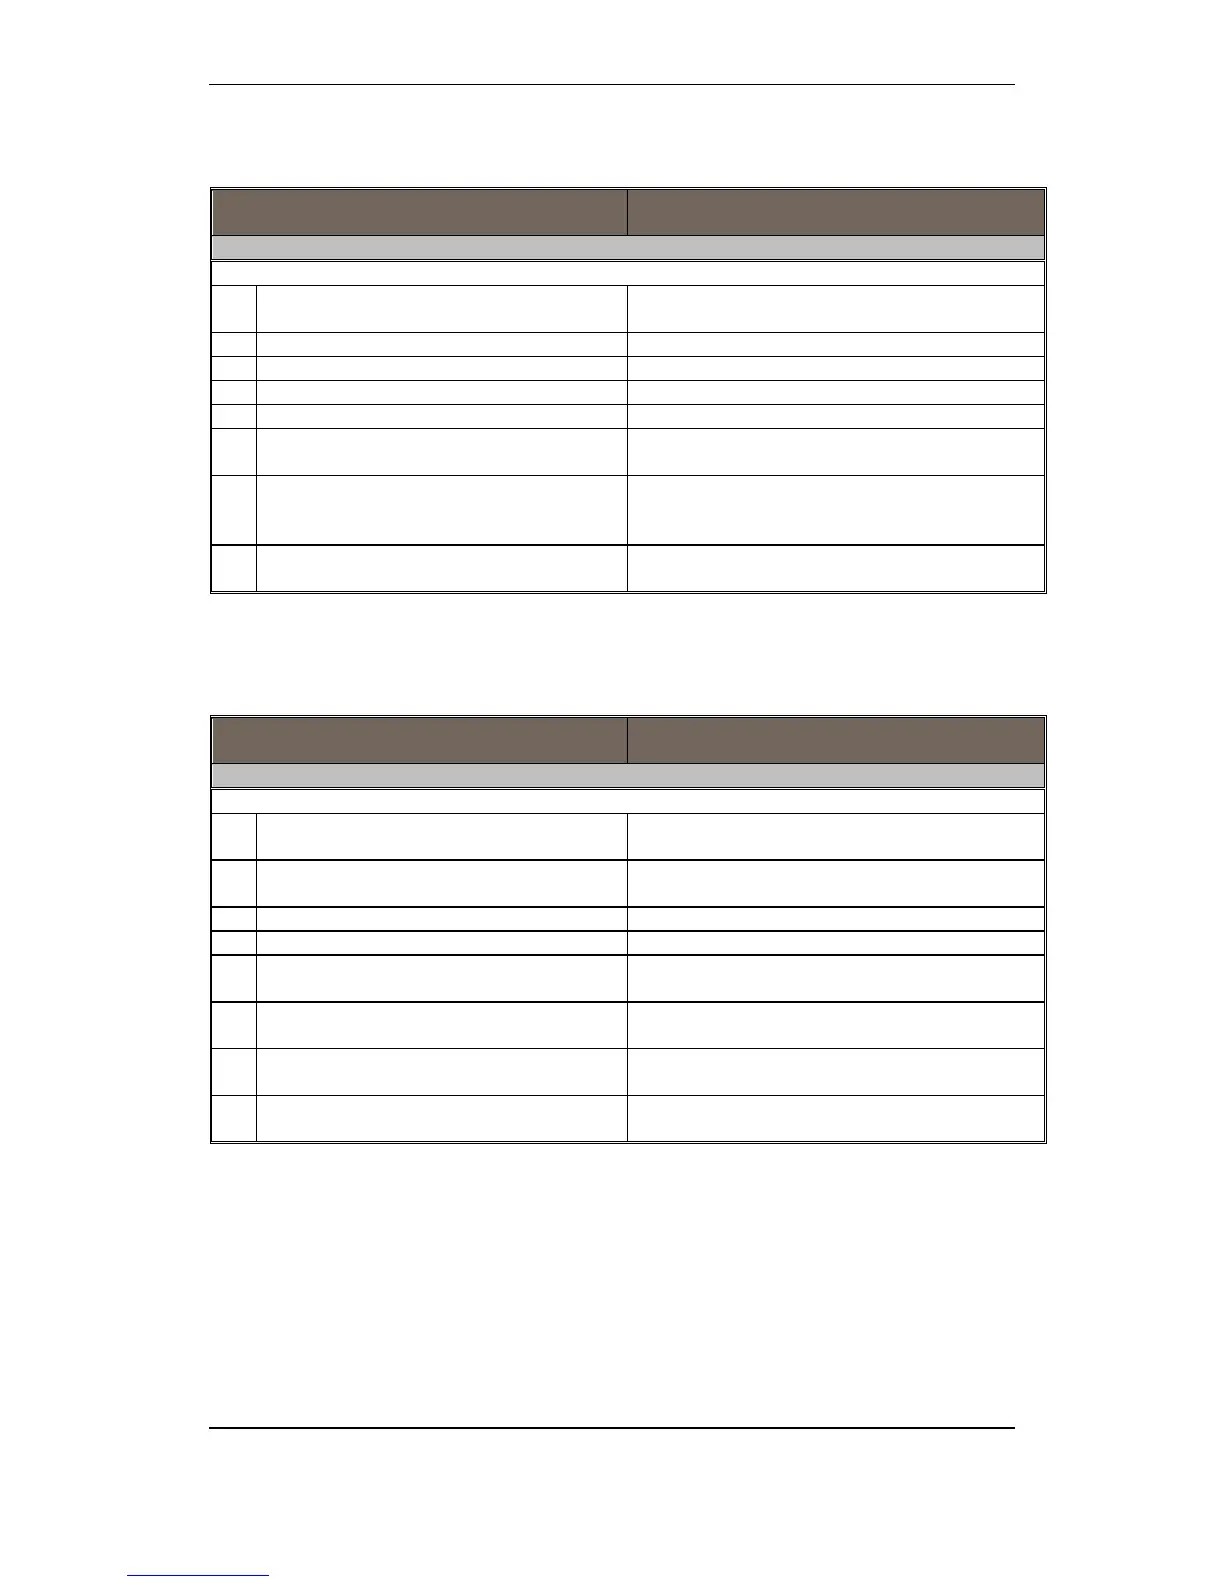
14.5 Add a new unit to the detection loop
Scenario during normal operation / actions to be
carried out
Panel indication (visual/audible)
For example, an optical smoke detector BH-300 is added to the detection loop.
1 Enter service mode and disable the detection
loop in question.
2 Mount a new base on the detection loop.
3 Insert the new detector in its base.
4 Enable the detection loop. Observe Fault Warning “Configuration Mismatch”
5 Acknowledge all faults. Buzzer off, indicator to steady
6 Add the appropriate properties to the new unit
(Service Menu/Unit Configuration/Points).
7 In service menu, select System Settings/Save
Configuration-Restart System. Acknowledge
restart of system.
After restart of system observe quiescent condition on
panel.
8 From the menu check the loop topology. Observe that the topology is in accordance with the
new detector added.
14.6 Remove a loop unit from the detection loop
Scenario during normal operation / actions to be
carried out
Panel indication (visual/audible)
For example, an existing heat detector BD-300 is removed from the detection loop.
1 Enter service mode and disable the detection
loop in question.
2 Remove the detector from its base and repair
the cable break.
3 Enable the detection loop. Observe fault warning “Loop Unit not responding”
4 Acknowledge all faults. Buzzer off, indicator to steady
5 Enter service mode.
Select fault warning “Loop Unit not responding”.
6 Select function “ Remove Unit from
Configuration”.
7 In service menu, select System Settings/Save
Configuration, then Restart System.
After restart of system observe quiescent condition on
panel.
8 From the menu check the loop topology. Observe that the removed detector is no longer found
in the topology.

 Loading...