Setting Wireless Communications 5-1
SETTING WIRELESS COMMUNICATIONS
Using the Wireless Menu, you can view the signal strength, set the Service Set
Identifier (SSID), wireless mode, roam threshold, transmit rate, and channel.
All nodes of a wireless network need to have the same settings to communicate with each
other. If the printer is not communicating with the wireless module, the Network Menu
options do not appear.
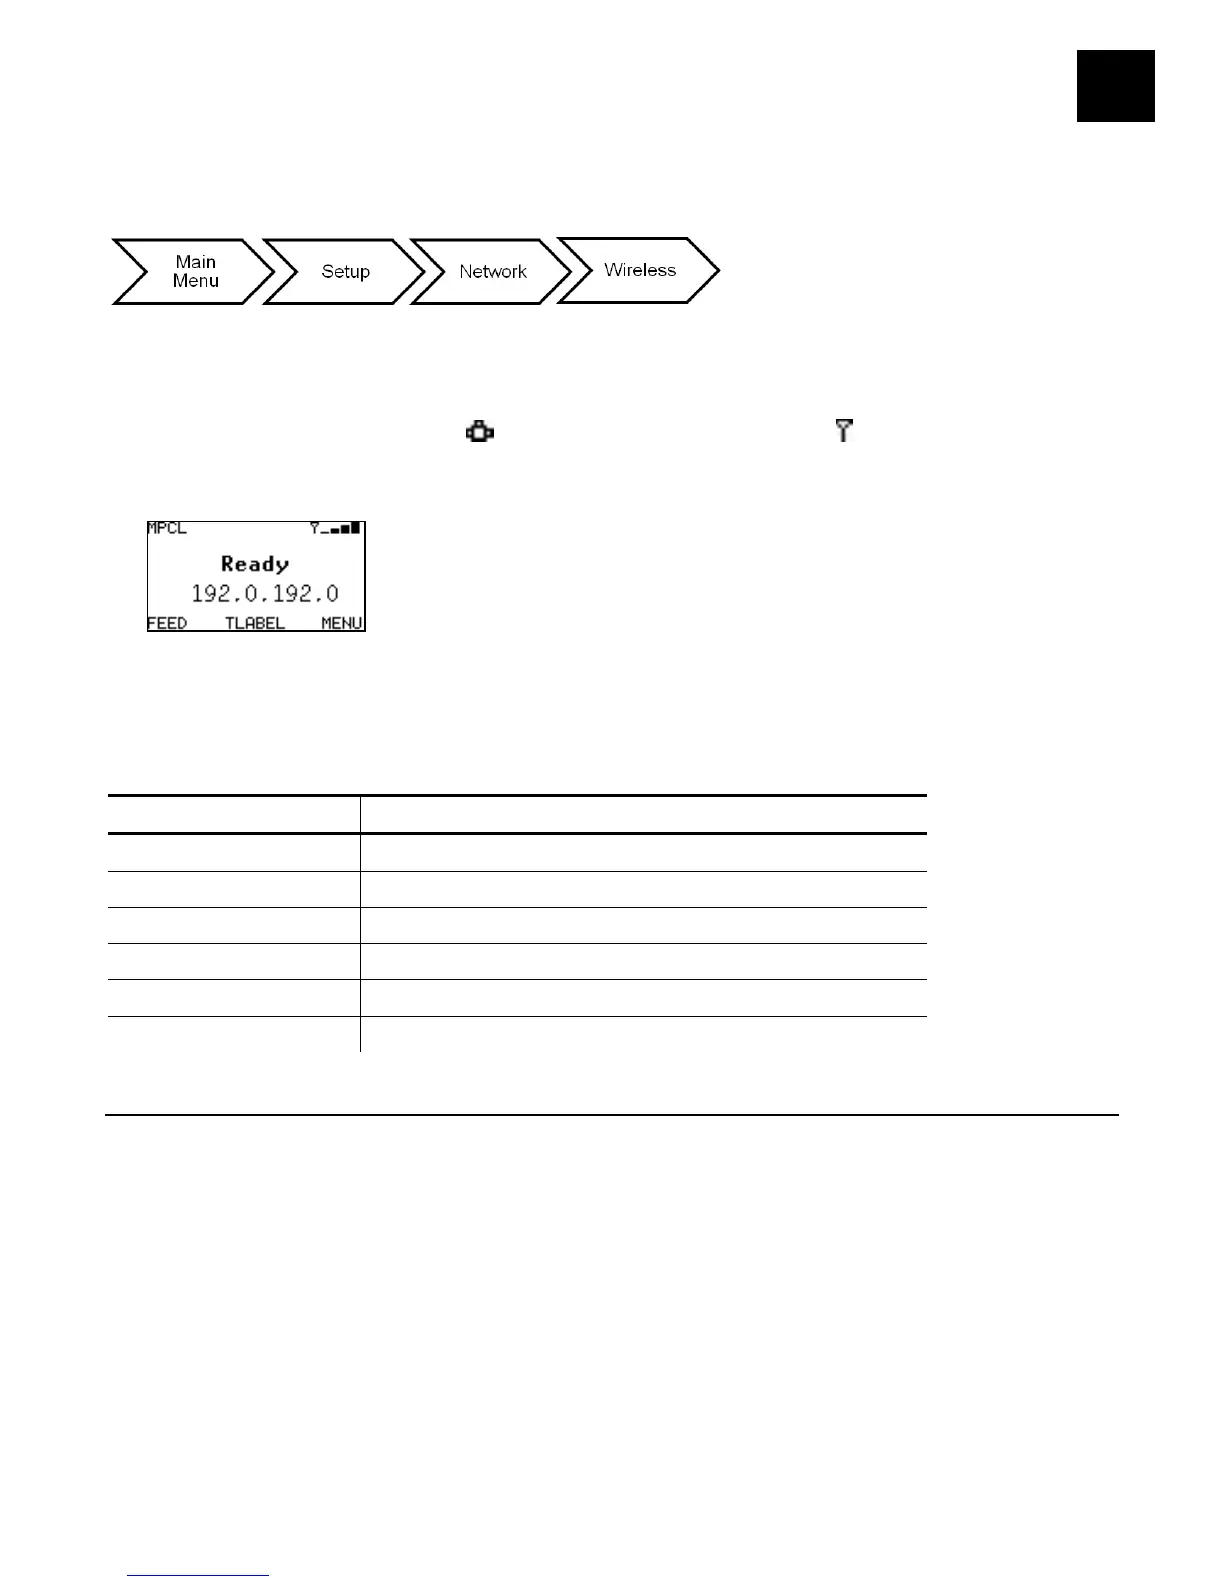
The printer’s display shows the network symbol (wired) or the antenna symbol
(wireless) when the printer is connected and ready to receive data. Additionally, the
printer’s IP address is displayed when a connection is established.
Note: To configure the printer using MonarchNet2™, refer to the MonarchNet2
Operating Instructions on our Web site.
The printer has different IP addresses for wired vs. wireless communication.
The options are listed in the table below.
Option Choices
Signal Strength 0 to 100
SSID xxxxxxxxxxxxxx
Wireless Mode Ad-Hoc/Infrastructure
Roam Threshold 1 to 15
1/2/5.5/11/12/18/24/36/48/54
Channel 1 to 11
Viewing the Signal Strength
The connection between the device and access point is shown as signal strength, which
is a percentage from 0 to 100, where 0 is no connection and 100 is an excellent
connection. A percentage below 30 indicates you may be experiencing interference or
are close to being out of the access point’s range. With a percentage below 50, printing
performance could be affected. If the signal strength is low, increase the number of
retries. To improve the signal strength, try moving the printer closer to the access point
and away from other radio devices such as Bluetooth wireless devices, microwave
ovens, or 2.4-gigahertz cordless phones.
Select To
Signal Strength View the printer’s signal strength.