R5913197 /02 SP2K-S90
7.12 Installing a HDD into the ICMP-X
This procedure assumes that the HDD slot of the ICMP-X is empty. If not, see procedure “Removing
a HDD from the ICMP-X”, page 89.
CAUTION: Always use a new empty spare part HDD approved by Barco to replace a malfunction
HDD. Do not use a HDD from another ICMP-X HDD set.
CAUTION: Always make sure that all HDDs in the ICMP-X HDD set have the same storage
capacity. See label on top of the HDD to know the storage capacity.
Re-initialization or rebuild of RAID
Installing or exchange one or several HDDs into ICMP-X has an impact on data presents on the already
inserted drives. RAID integrity depends on the type of HDD swap. Refer to the chapter “What are the possible
HDD swaps ”, page 77.
How to install a HDD ?
1. Ensure that the projector is switched off.
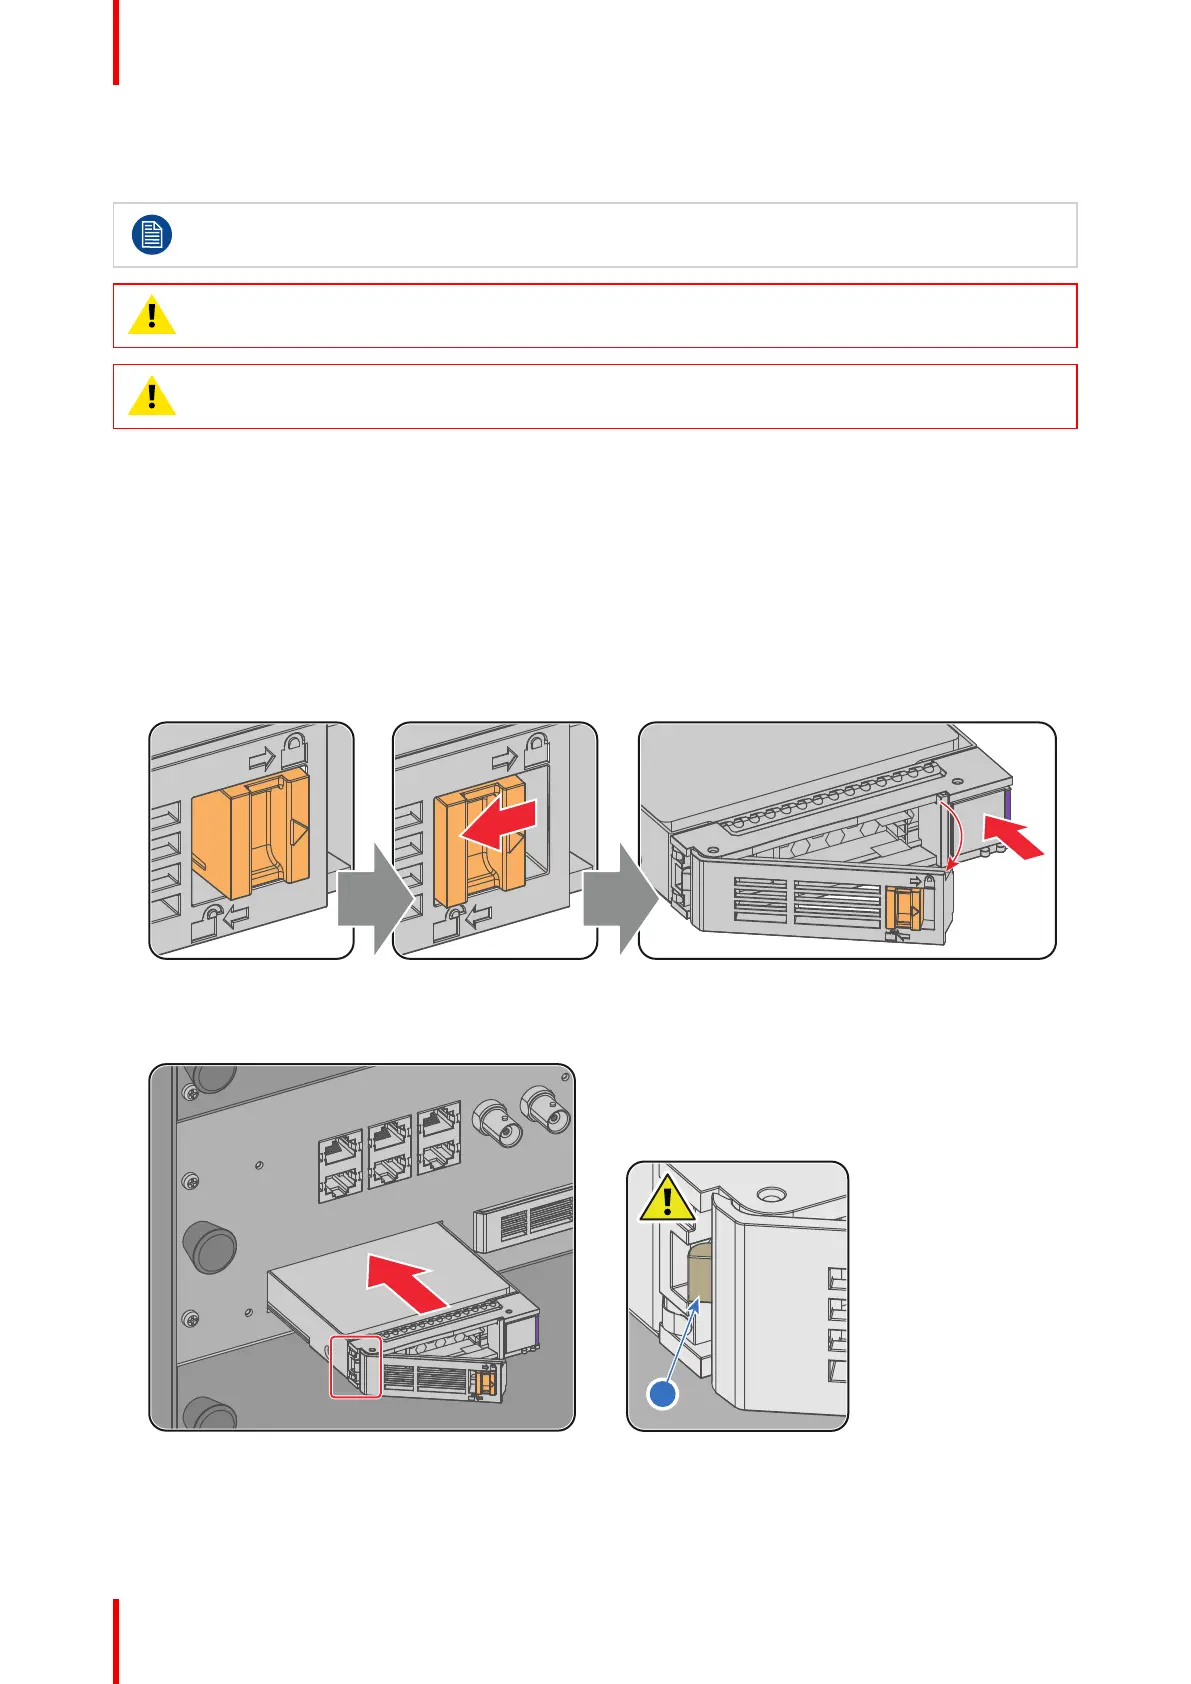
2. Prepare the HDD for insertion by moving the latch towards the left and push the unlock button to open the
handle.
Image 7–16
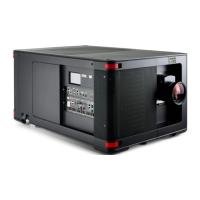
3. Insert the HDD into the HDD slot. Ensure that the handle is sufficiently open so that the hook (reference 1)
of the handle can pass the front plate of the ICMP-X.
Image 7–17
4. Push the HDD completely and firmly inside its slot, close the handle, and move the latch towards the right.
ICMP-X