LB 983 NightSHADE Operating Manual Quick Start
19
4.1.3 Unpacking
Unpack the boxes and make sure that the delivery is complete. If you should discover any sign of
damage on the instruments or instrument parts, please notify the shipping agent and/or the dis-
tributor immediately.
Remove the transport safety devices with care!
Provide adequate space for setting up the instruments. To set up the NightSHADE, the computer
and the printer next to each other about 2 meters are required.
The device feet of the NightSHADE are height-adjustable to compensate a possible unevenness
of the table. By turning the device feet, their height can be adjusted to ensure a safe foothold of
the NightSHADE.
4.1.4 Camera Installation
For safety reasons, the camera is delivered in a special case to prevent damage during
transport. Therefore, the camera has to be installed first before it is taken into operation.
Please note: Do not turn on the NightSHADE as long a no camera has been installed. Af-
ter switch on, the device is initialized.
If the device is transported over larger distances (e.g. in a car or truck), you have to dismantle
the camera prior to the transport to rule out that the camera will get damaged. To prevent dam-
age please remove or secure the base plate whenever you transport the device.
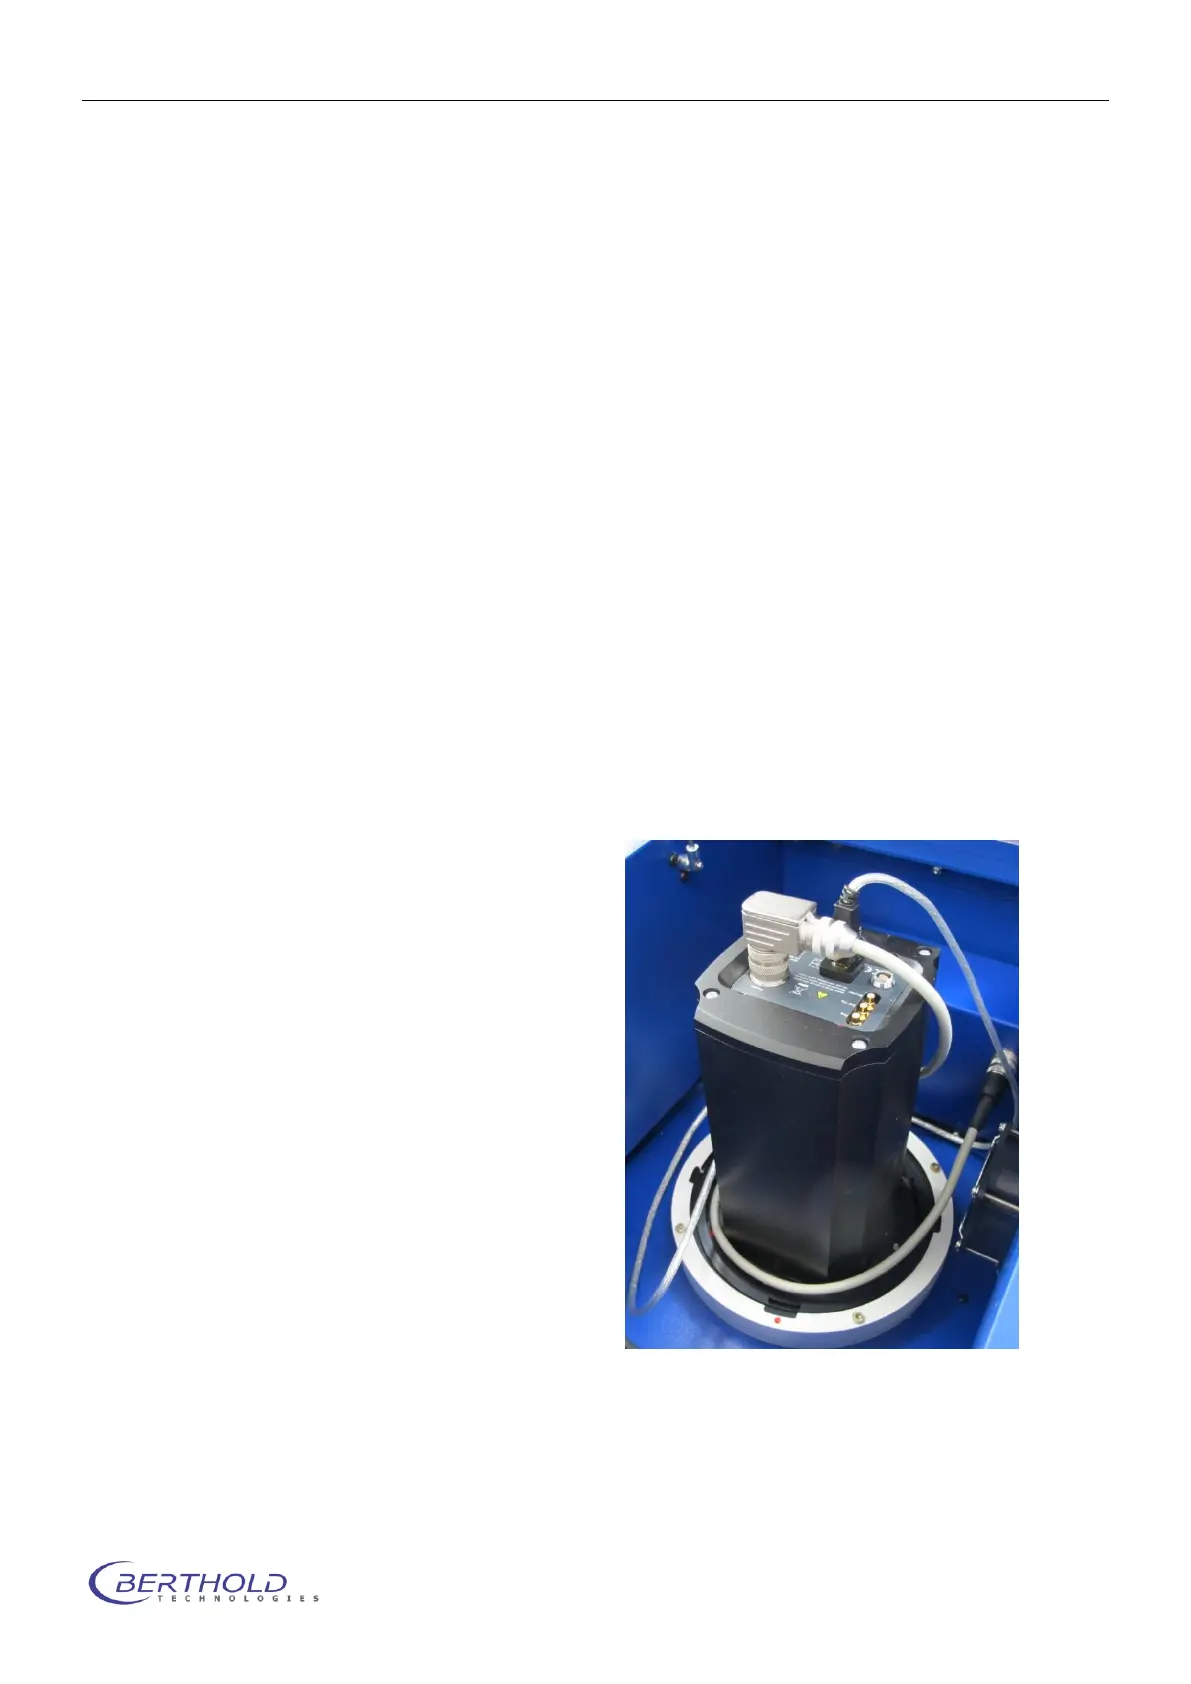
4.1.4.1 Top view camera
The NightSHADE camera has a USB port to
control the camera and to transfer data. In case
of the Ikxx version, the camera is delivered in a
separate case which also accommodates other
accessories, such as the connection cable etc.
Install the camera with the “Front” label facing
the front and fix it in the bayonet socket until it
clicks into place. Connect the power supply ca-
ble (1) to the camera and screw it.
Make sure that the USB-connector (2) is plugged
into the camera properly.
With this last step the installation of the camera
is completed.