Rollform PipeMarker
Adding Labels and Areas in Applications
112
BMP71 User’s Manual
A dialog box displays.
If using NA Safety>Rollform Pipemarker, proceed to Step 5.
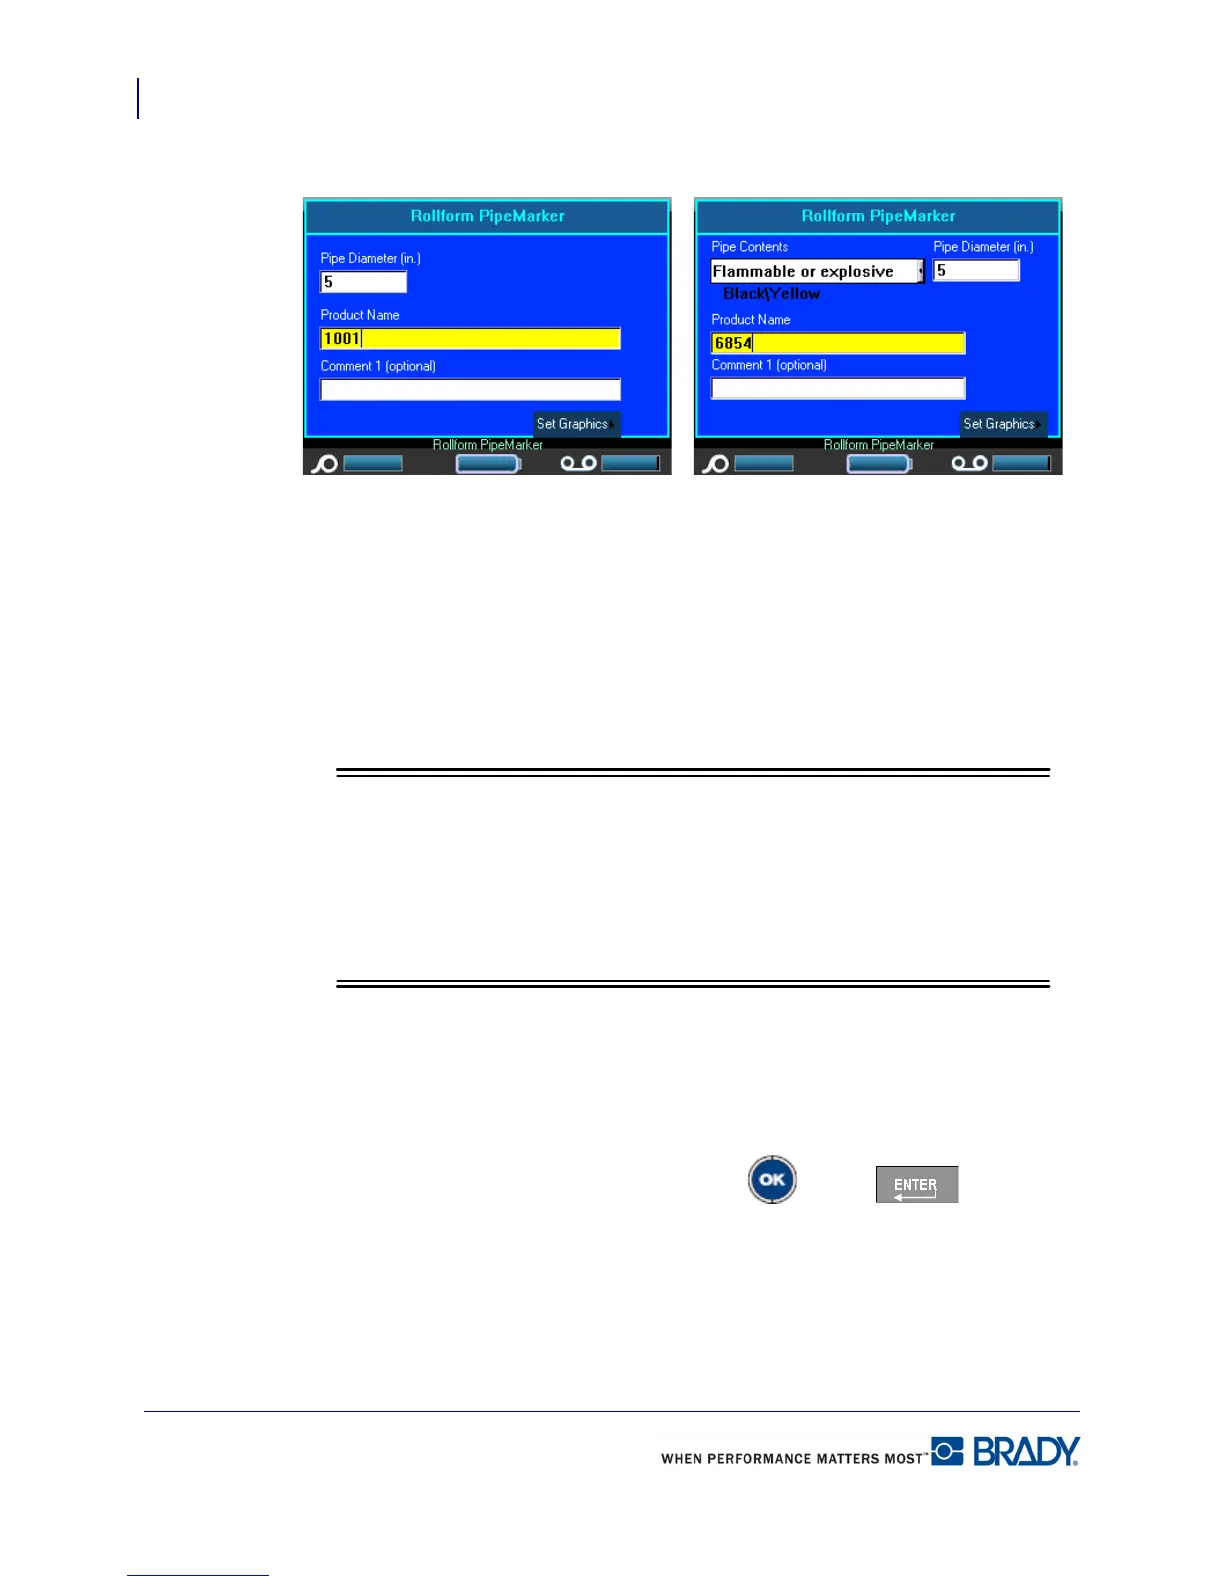
4. In the Pipe Contents field, from the drop down list, select the property of the material
contained in the pipe to be labeled.
5. In the Pipe Diameter field, enter the diameter of the pipe (in inches or millimeters,
depending on your unit of measurement) around which the label will be placed.
When entering the pipe diameter, the application calculates the length of tape
necessary to wrap around the circumference of the pipe, adding 15% as overlap.
This calculated length is displayed in the Label Size indicator on the Status Bar.
The maximum that can be entered in the Pipe Diameter field is 11 inches (279.4
mm).
6. In the Product Name field, enter the contents of the pipe or conduit. (E.g., Water, Gas,
Steam, etc.)
7. In the Comment 1 (optional) field, enter any additional text that should display on the
label. As the field name suggests, this field is optional.
8. Navigate to the Set Graphics button and press OK or Enter .
NA Safety>Rollform PipeMarker EU Safety>Rollform PipeMarker