9
Power Source
Printer Driver Installation
BMP71 User’s Manual
Printer Driver Installation
BMP71 accepts data from a number of Windows based programs. In order to send data from
these programs to the BMP71 printer, you must install the BMP71 printer driver. The printer
drivers can be found on the CD enclosed with your BMP71 printer package.
The BMP71 printer is a “plug-and-play” printer which means your PC will automatically
recognize the new hardware (printer) when it is attached and will launch a wizard that will
auto-install the printer drivers.
To install the printer drivers:
1. Insert the product CD into the CD drive of your
computer.
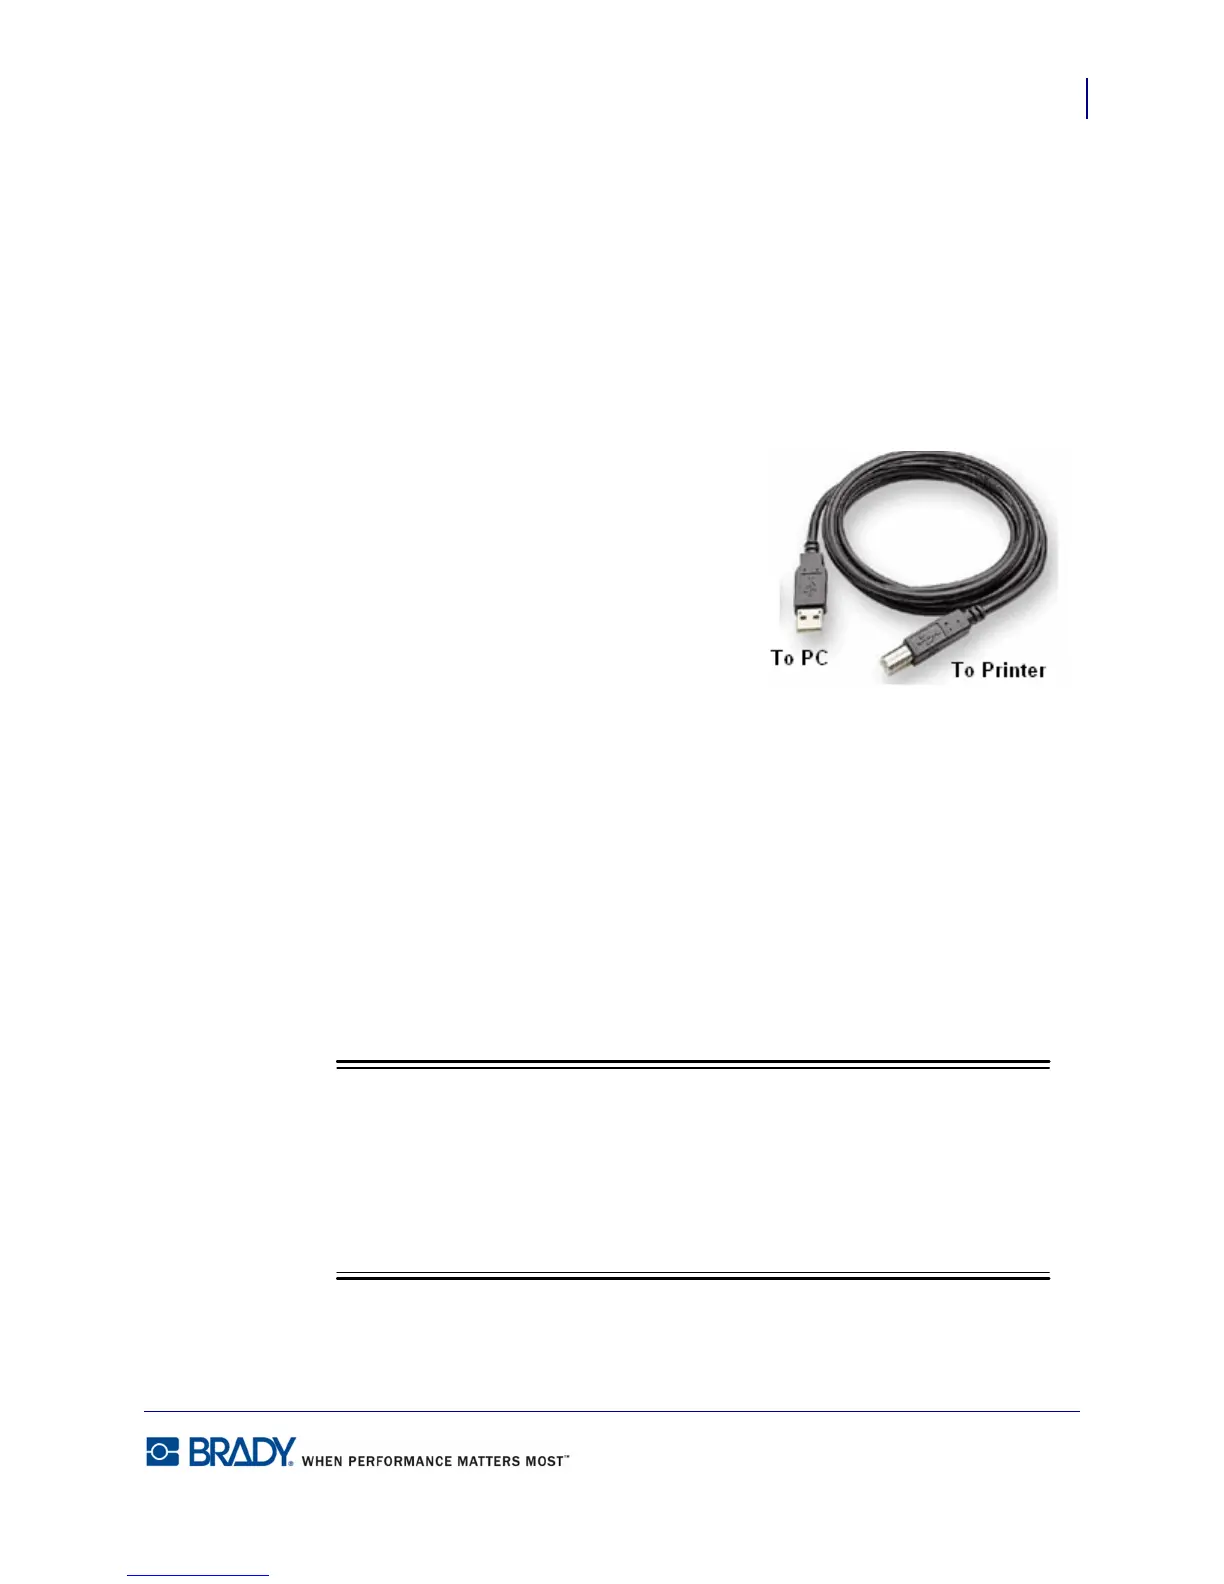
2. Attach the small end of the USB cable to the
printer, then the flat end of the cable to the PC.
3. Turn the printer on.
On the PC, “Found New Hardware” pops up in the
lower right corner of the screen and the printer driver
wizard is launched.
For Windows 2000, Windows XP, Windows NT:
1. In the launched Wizard, click “Install the software automatically” (if it is not already
selected).
2. Click Next.
The printer driver installs. This takes a minute or two.
3. When complete, in the Wizard, click Finish.
For Windows 7:
1. Display the Autoplay pop-up window.
The Autoplay pop-up window displays when a CD is placed in the CD drive. If
you are currently running the BMP71 CD, either eject the CD, then immediately re-
insert the CD to again display the Autoplay window.
OR
In Windows Explorer, right click the CD drive and select Open Autoplay.