BradyPrinter S3700 User Manual 23
General Operation
Creating a Simple Text Label
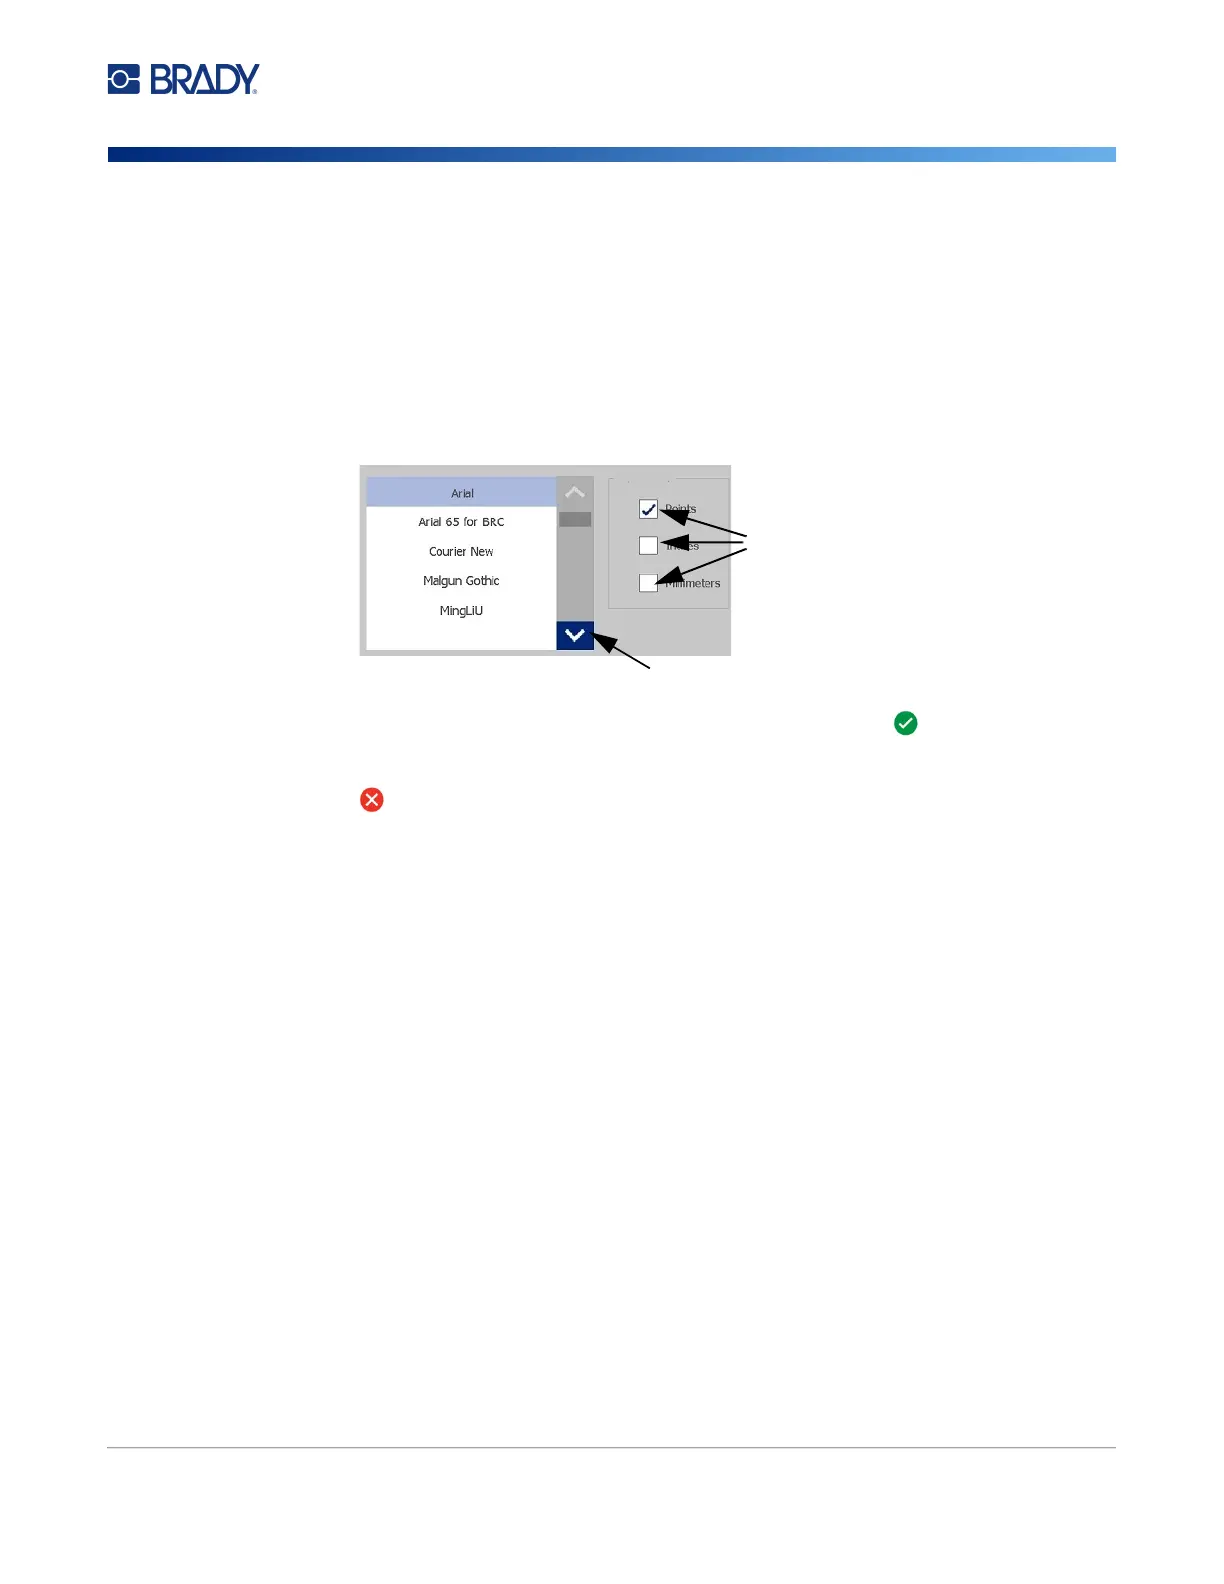
Option Boxes and Scroll Bar
Touch an option box to select or deselect the choice. Selected options will show a checkmark in the
box. Some option box choices are connected to higher level choices for which the sub-choices are not
available (grayed out) if the higher level choice is not selected.
If more choices are available than what is displayed, a scroll bar to the right of that option area allows
you to scroll through the options. Touch the up or down arrow in the scroll bar, to move through the list
of choices. A greyed out scroll arrow indicates that the top or bottom of the list has been reached.
Touch OK (sometimes called Finish depending on the menu or dialog box) to accept the edits
and close the window.
Touch Cancel to remove the edits and leave the dialog box. Cancel may need to be touched a
number of times to back out of all options.
Creating a Simple Text Label
Creating your first label is as easy as starting to type! You don’t need special software and you don’t
have to be connected to a computer to create or print labels.
This section describes the process of creating a text label with minimal formatting, using basic editing
techniques, and printing the label. For more detailed information, see “Formatting Labels” on page 24.
1. Be sure the ribbon and labels are loaded and the power is on.
When the printer is first turned on, you are presented with the Home page, displaying a
blinking vertical bar (the cursor) and the message “Type or touch here...”
2. Type the desired text.
The text displays on the screen, surrounded by a frame. The frame indicates you are working
with a text element. (See “Text Elements” on page 30.)
3. Press the ENTER key on the keyboard to start another line of text.
4. If you wish to insert, delete, or format text, do so now.
5. When you are ready to print, touch the Print icon on the screen.
6. Enter the number of copies and touch Start Printing.
Option Boxes
Scroll Bar